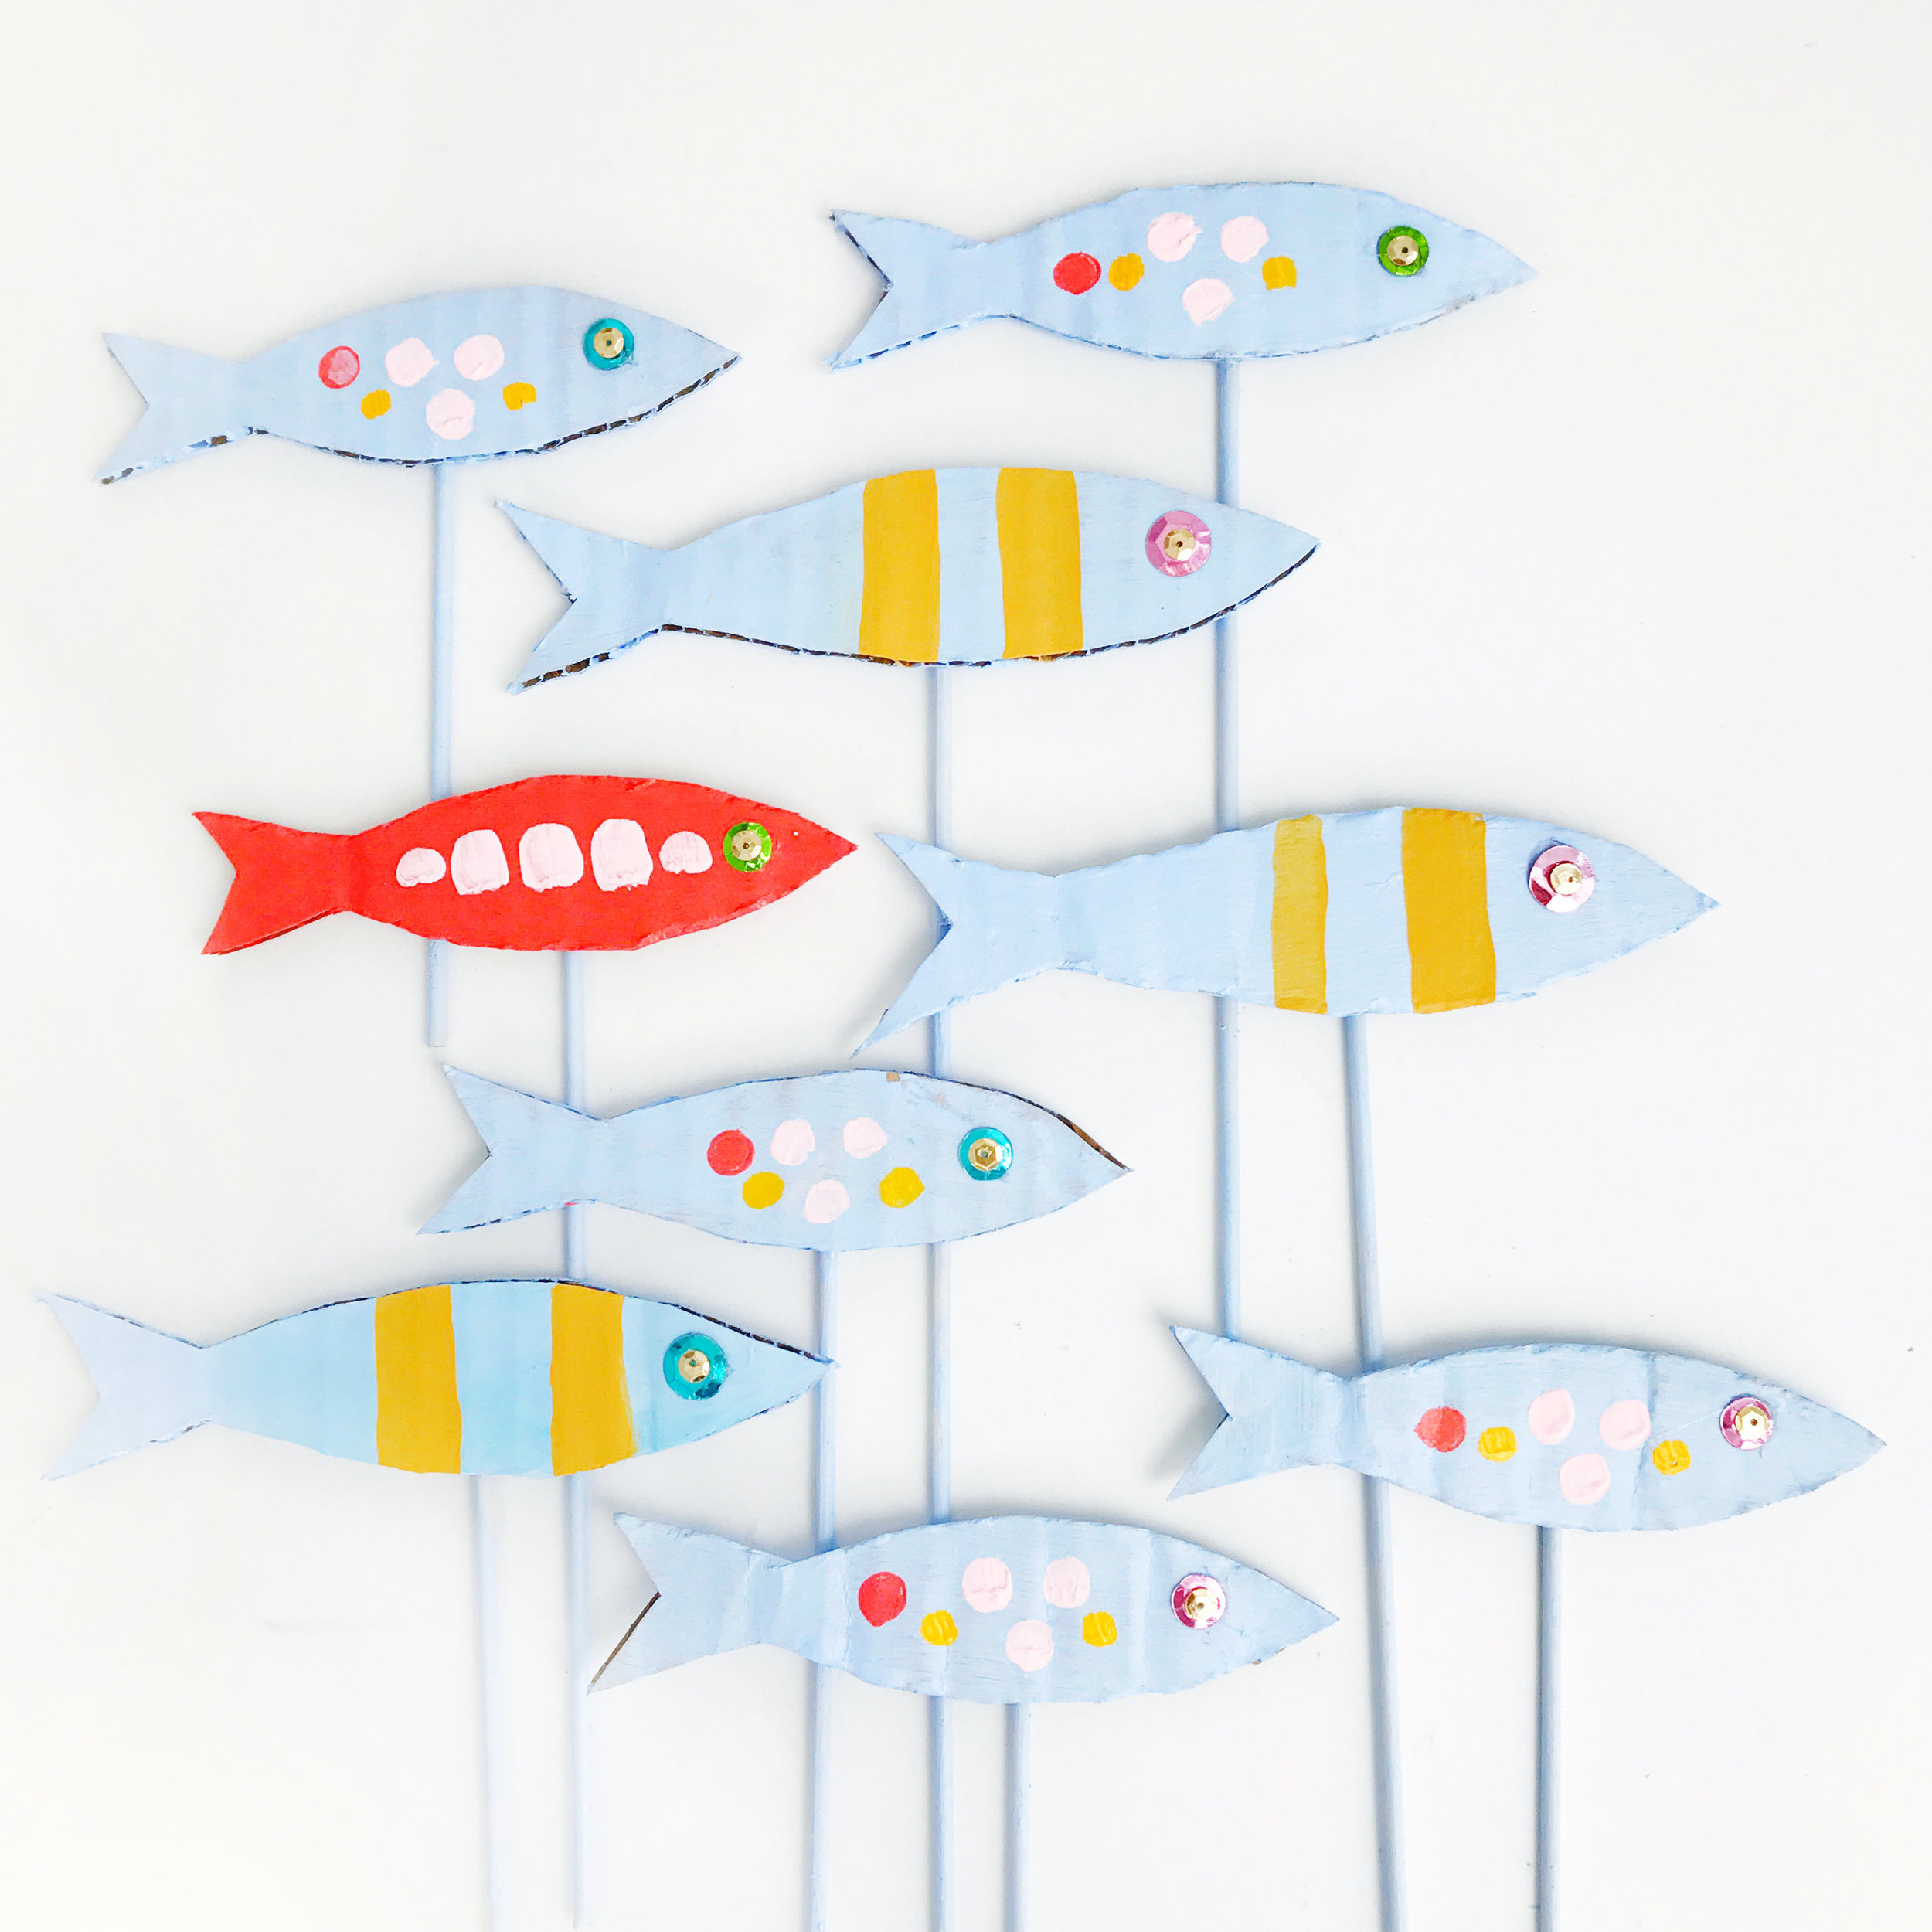
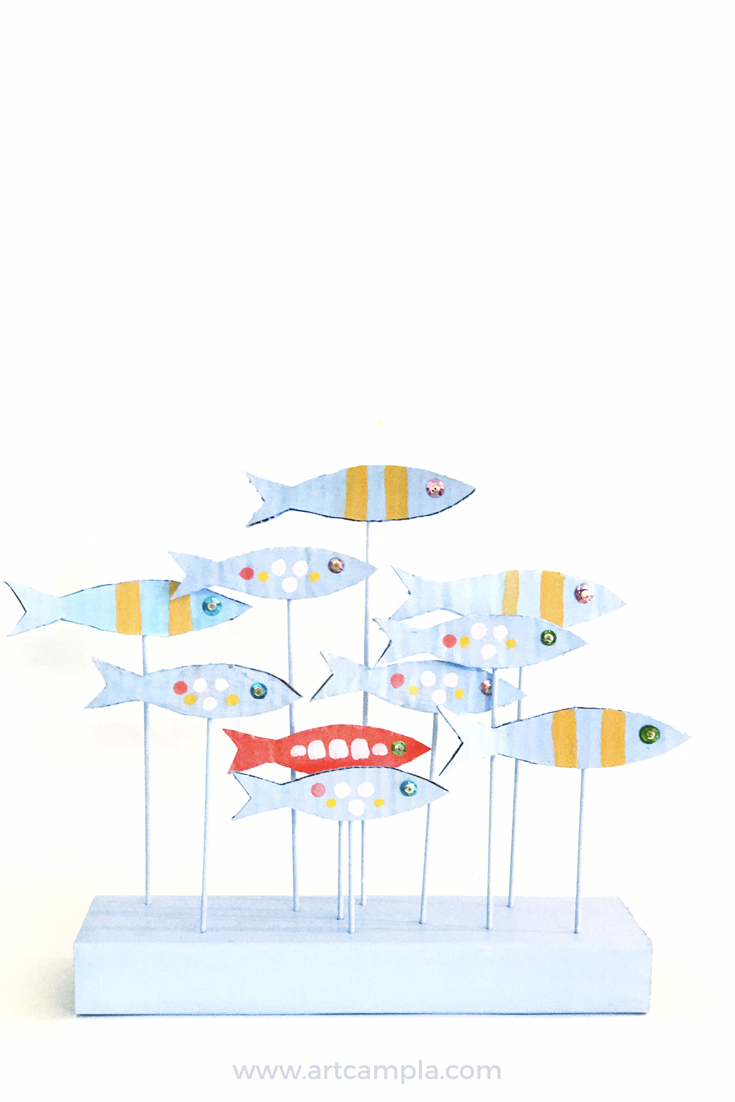
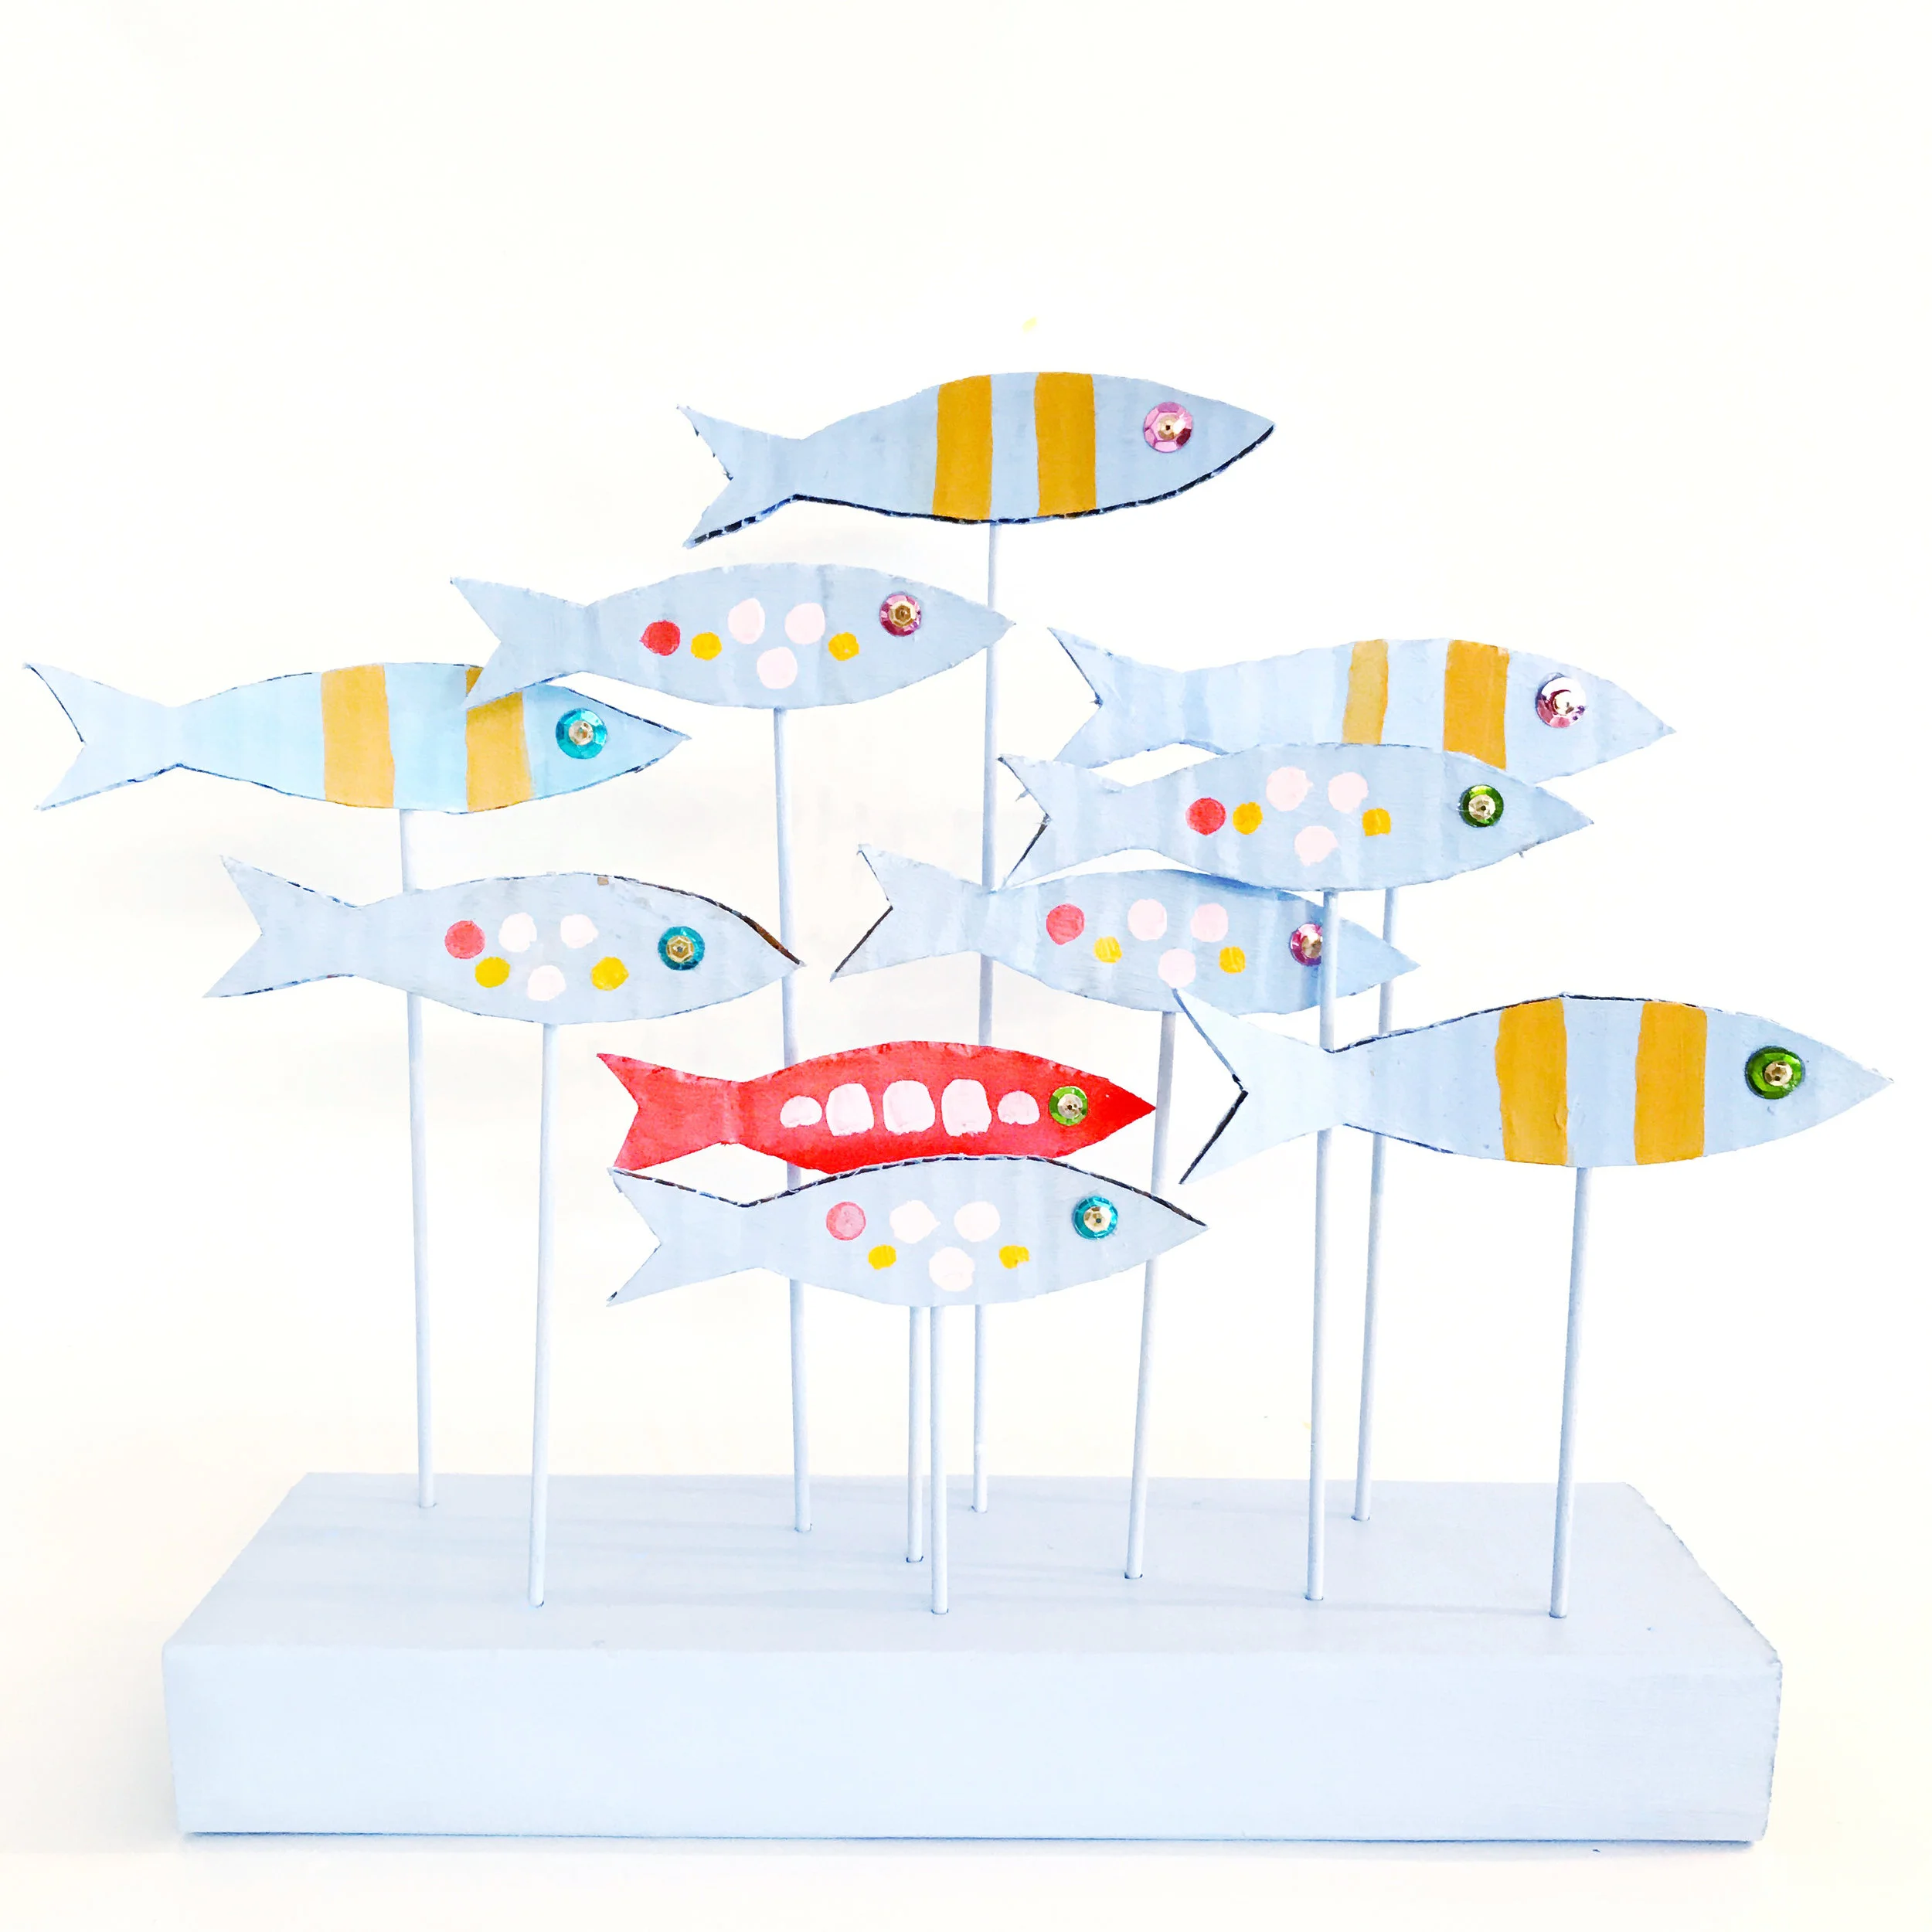
School of Fish Sculpture
There's times you'll be
a sinking boat
left adrift at sea
and times you'll be
the ocean tide
breaking wild and free
there's times you'll be
a jellyfish
and other times a seal
and times you'll be
the great white shark
and times you'll be the meal
there's times you'll feel like giving up
and sinking to the floor
and times you'll float
upon your back
and wash up on the shore
but know these times
will come and go
and just like tides
will ebb and flow
and though you won't
know which you'll be
you're still a part
of that mighty sea.
- Dallas Clayton

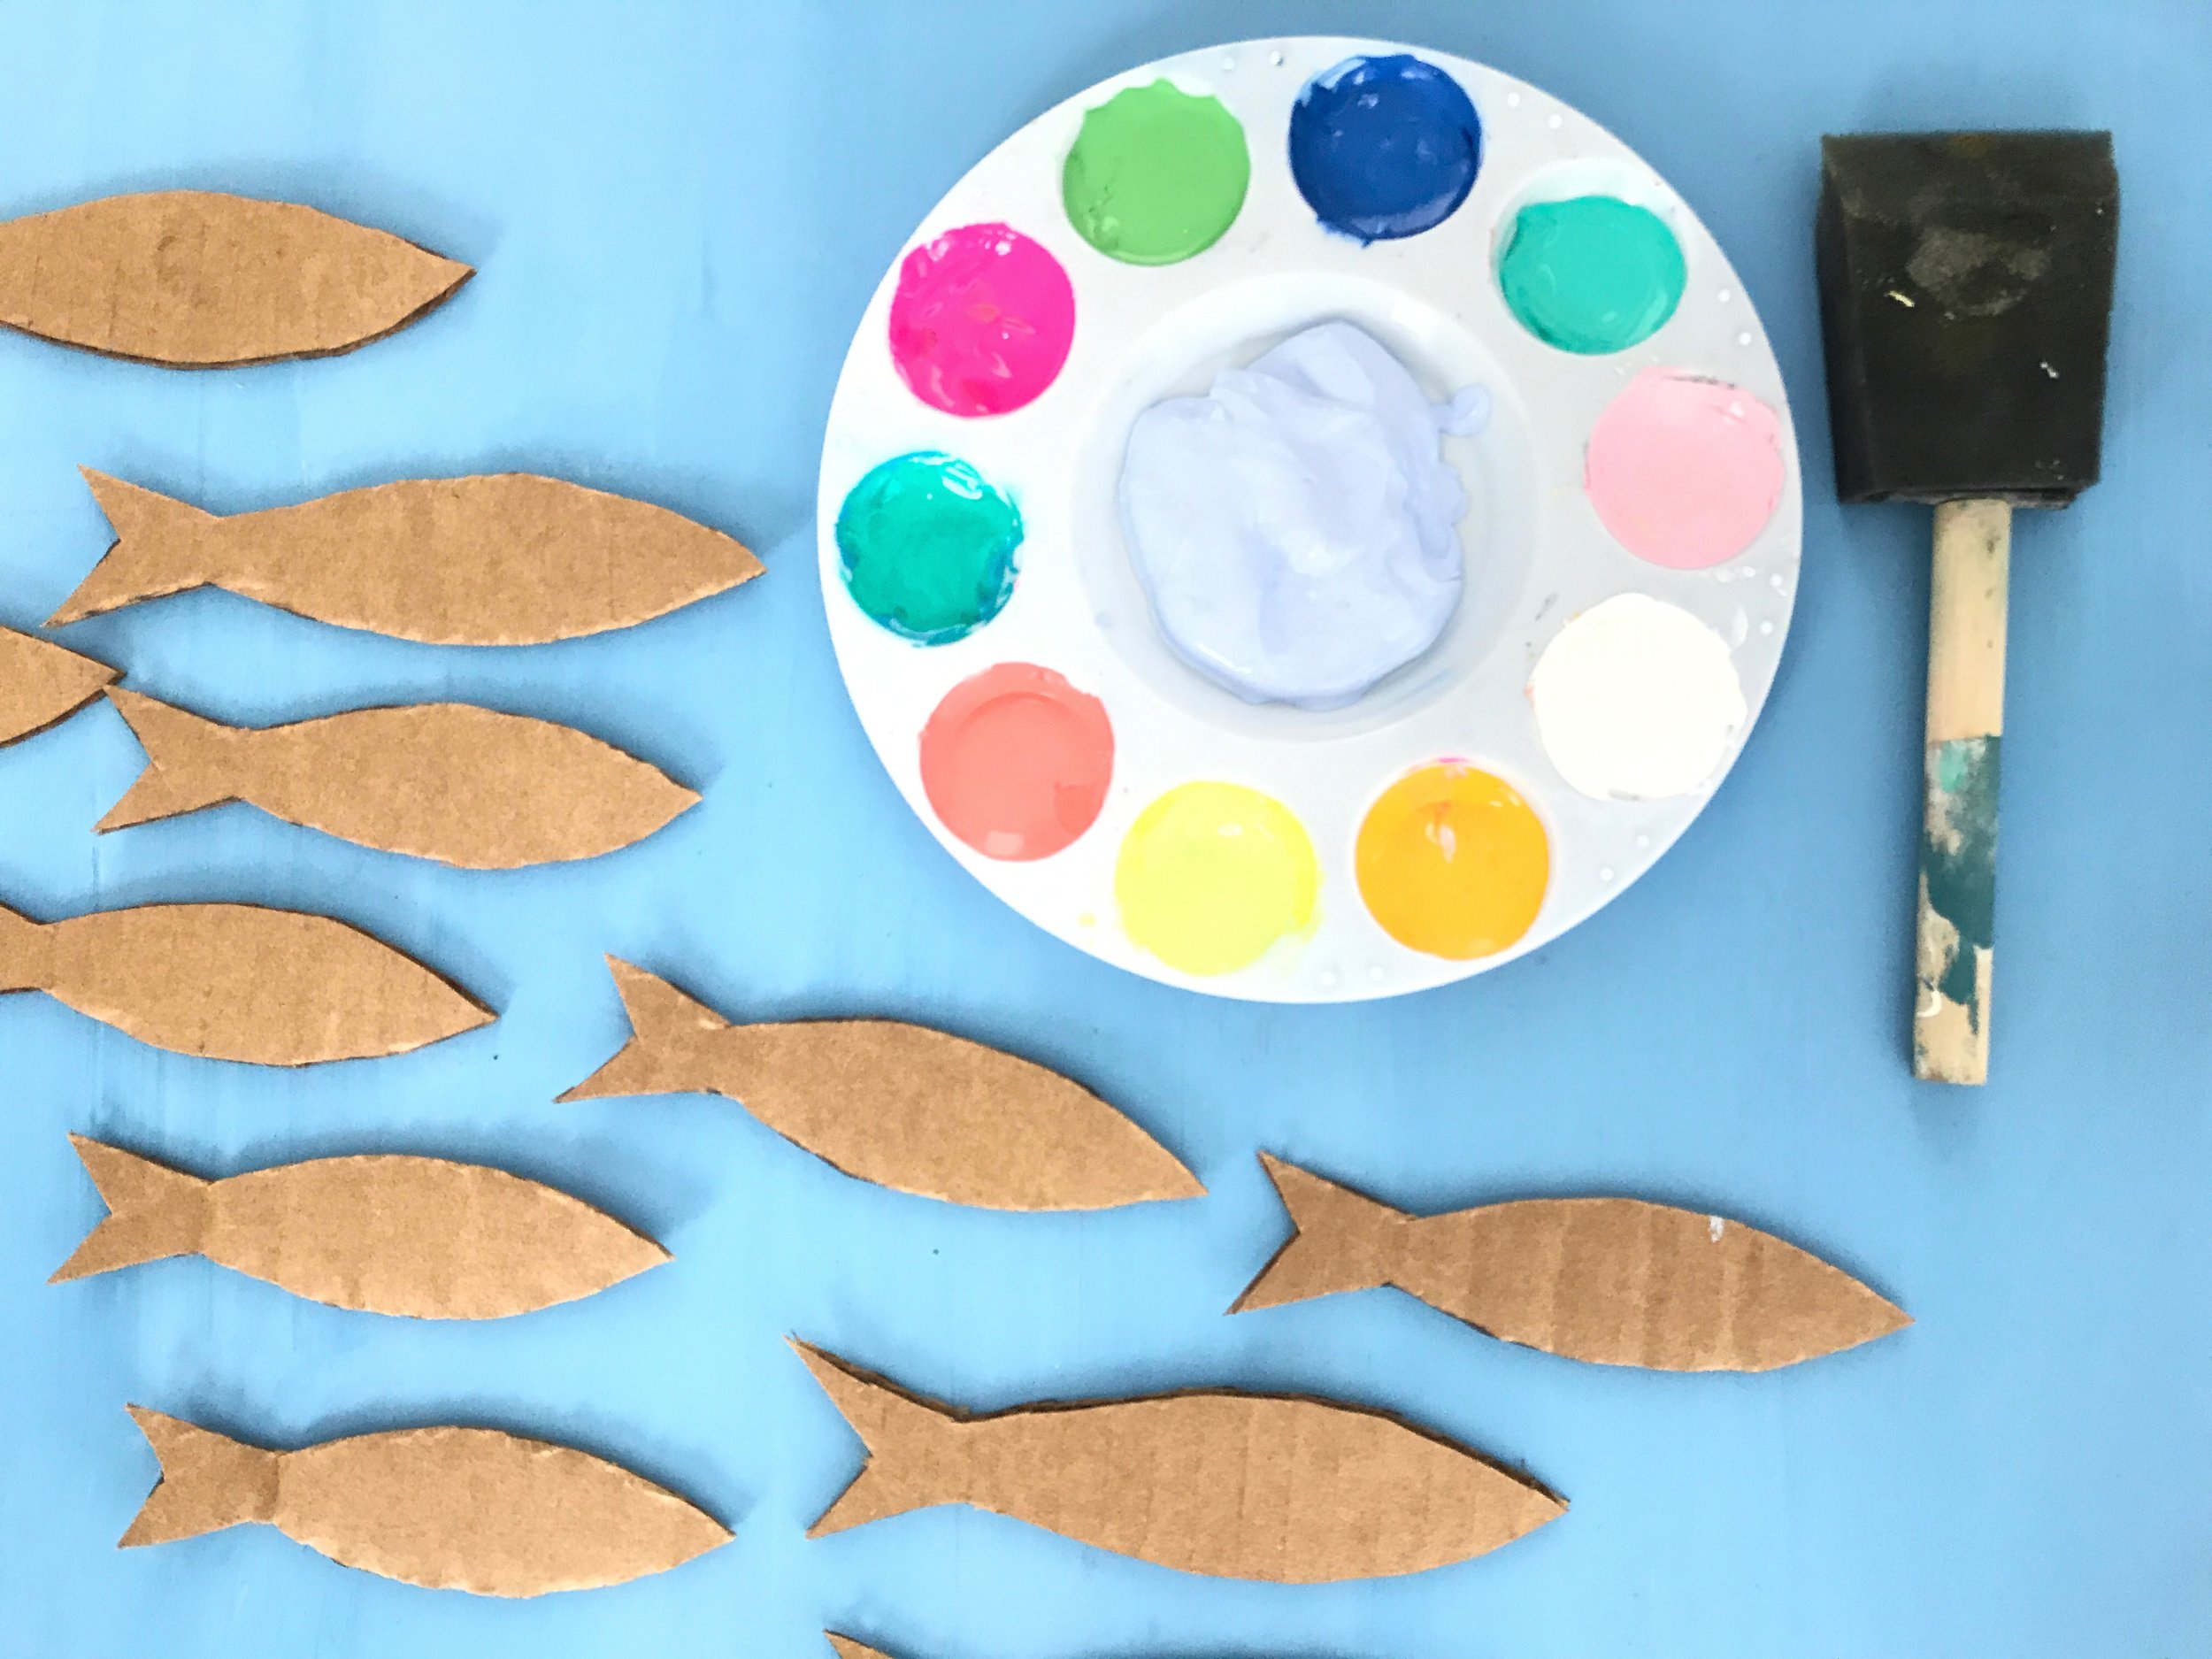
Materials:
fish template (see form below)
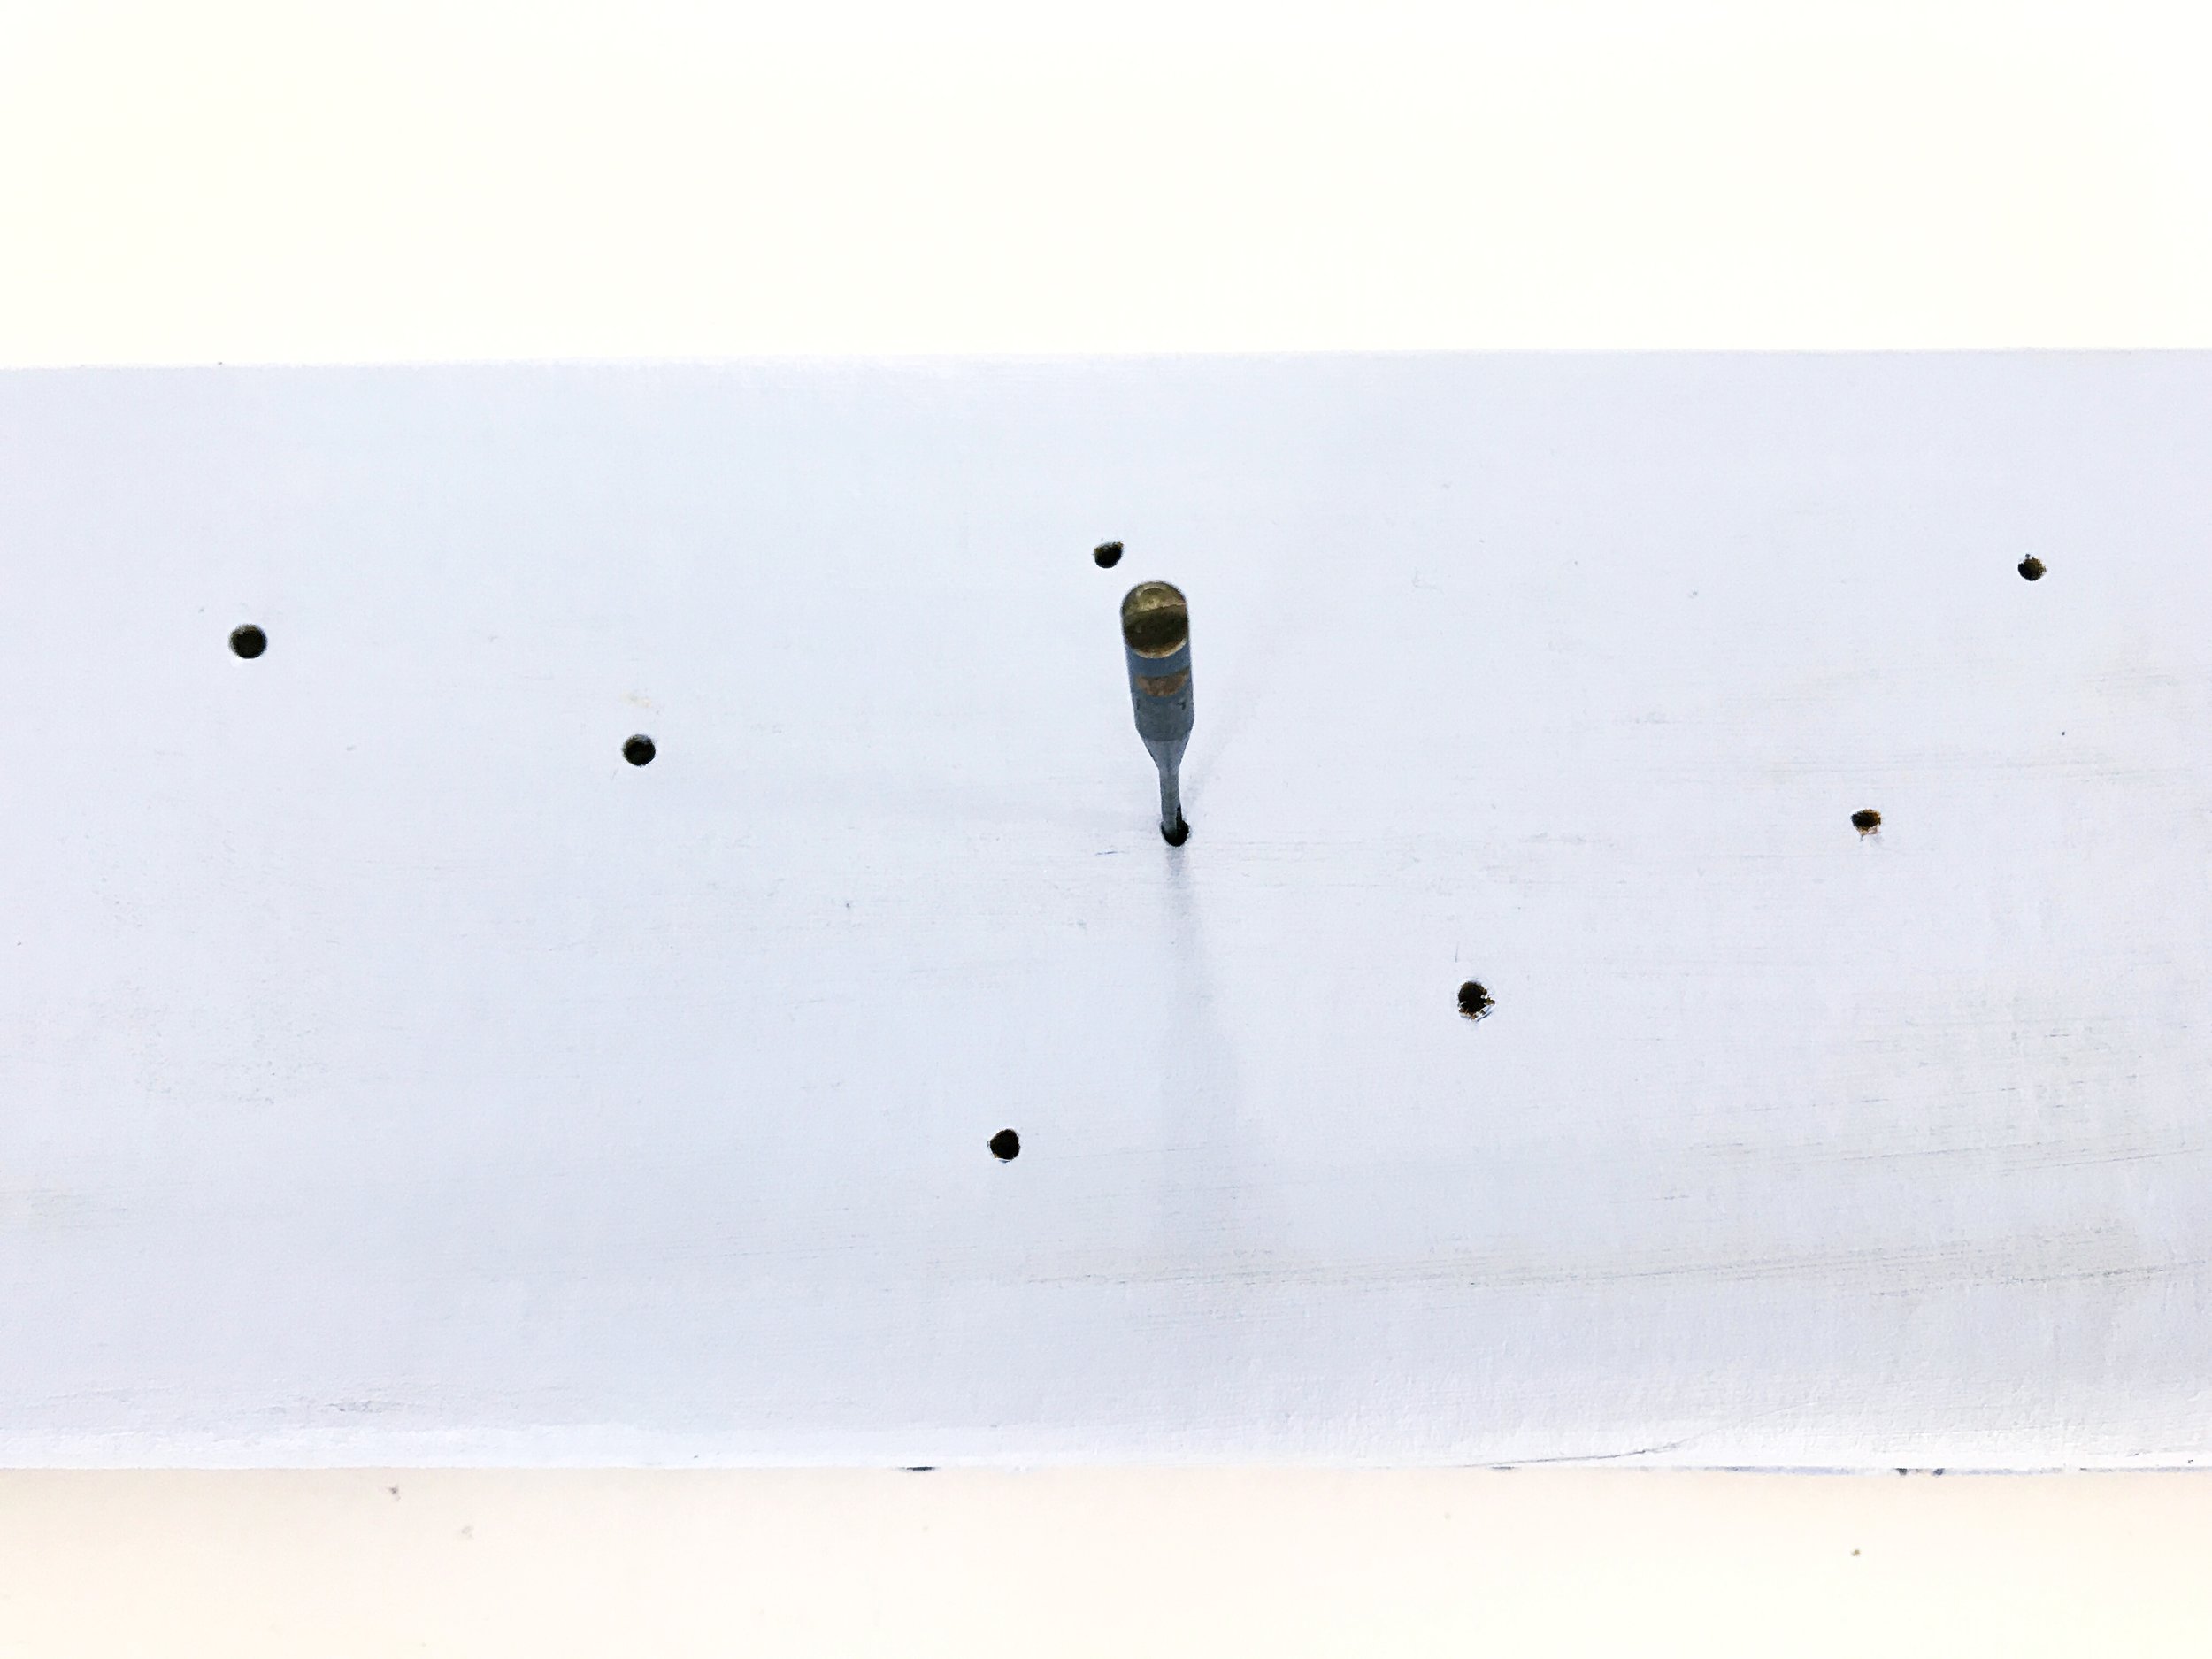
skinny wooden dowels
scissors
cardboard - two 12" x 12" sheets
glue gun
acrylic paint
paint brush
nail or skinny push drill bit
sequins