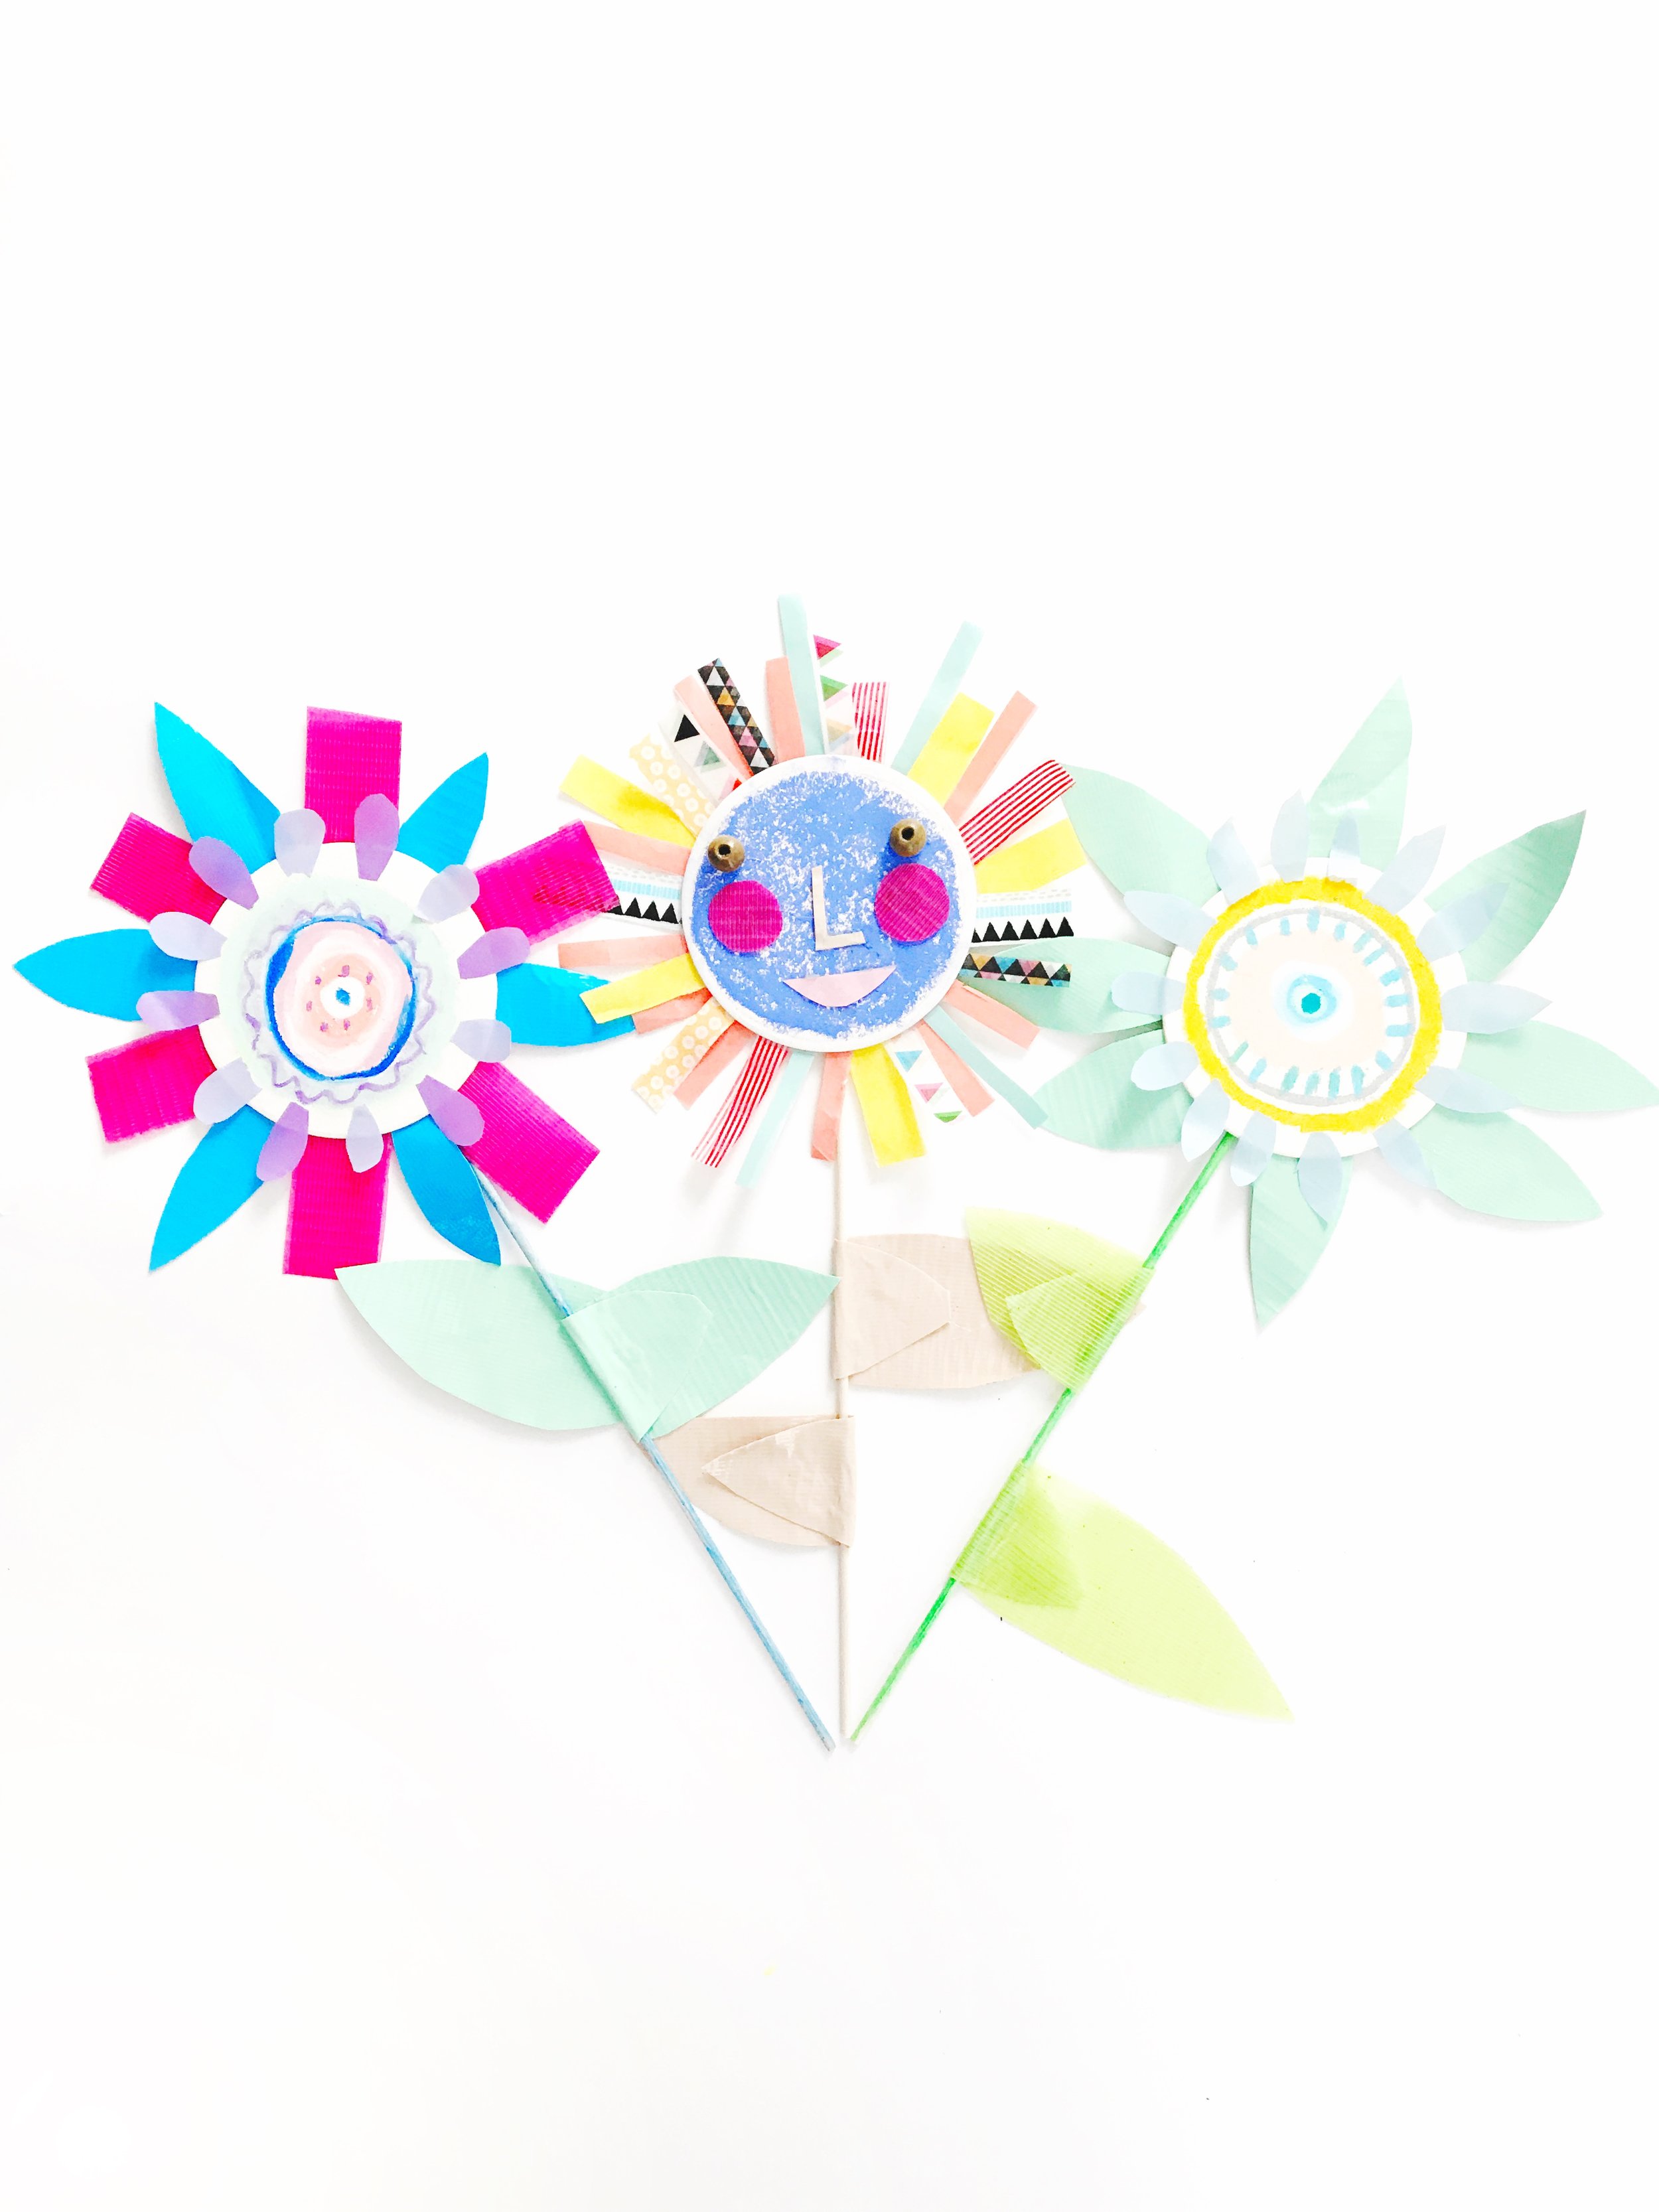
Sunflower Puppets
Give me the splendid silent sun with all his beams full-dazzling.
- Walt Whitman
Materials:
assorted duct tape
assorted washi tape
cardboard coasters or card stock cut in a circle
oil pastels
skinny wooden dowel
2 medium sized wooden beads
fast bond glue or hot glue
scissors
double-sided sticky tape
For the flowers:
1. Start making circles with oil pastel. You will start in the center and build out.
2. Layer different colors and shapes.
3. Start cutting petals out of your washi tape. If you are working with younger kids, you want to stick with the matte paper washi tape because it is easier to rip and cut than the coated plastic kind.
4. Think about adding different colors and shapes when you are creating your petals. Work your way around the circle until you are satisfied.
5. Now you will move on to the outer petals with duct tape. Cut a 10-12" piece and fold it in half. This will eliminate the stick from your tape before you start to cut out the larger petals. It will also ensure that you have color on both sides of the petals.
6. Once your duct tape is folded in half, you will cut the larger petal shapes out.
7. Attach the back row of duct tape blooms behind the coaster with double-sided sticky tape, a dab of hot glue, or a glue dot.
8. Time to add your stem! You can color them or leave them bare. We colored our stems with quick drying tempera sticks but you could also paint them. When they are dry, you can attach them to the back of your flower with hot glue or duct tape.
9. Fold and cut your duct tape to make leaves. Follow the same instructions as step 6, but make them even bigger!
For the sun:
1. Color your sun's face with an oil pastel. We only applied light pressure with our oil pastel to achieve the slightly worn and patchy look. 2. Cut a nose, mouth, and cheeks out of your duct tape. We did the fold over, cut, and glue method here. 3. Cut 4" strips of your washi tape and fold them in half. This is a great opportunity to show off your collection. Don't be scared to mix patterns and colors... the more the merrier!
5. Add double-sided sticky tape to the back of your sun.
6. Attach the sun rays to the sticky tape on the back of the sun. 7. Glue on the beads for eyes.
8. Attach leaves to the stem by adding a bit of glue and folding the leaf around the dowel.
We hope you have fun with this sunny summer craft! xx


