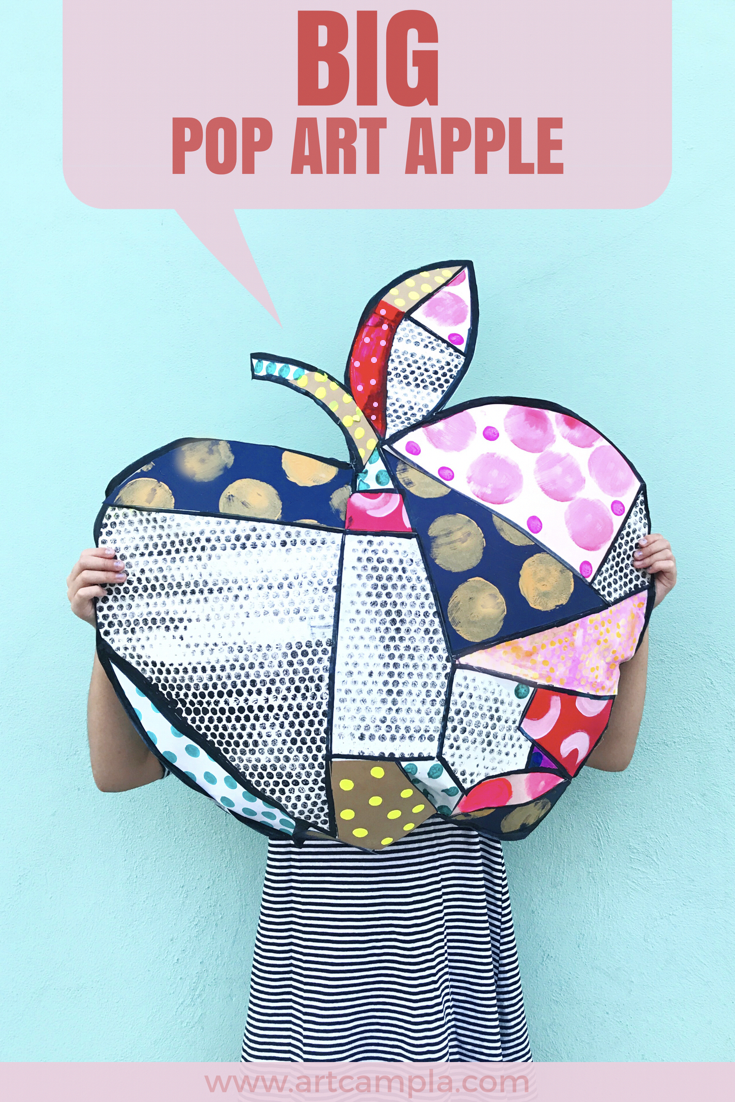
Big Pop Art Apple
The idea is not to live forever, it is to create something that will.
- Andy Warhol
It is 100+ degrees of blazing Labor Day Weekend sun in Los Angeles, but all over my social media I am seeing signs of fall. Leaves, trees, acorns, and APPLES. Have we talked apples yet? Cripps Pink Lady and lord of lords, the Honeycrisp? I was raised on Granny Smith, Galas, and Fujis, but 7 years ago my apple game went pro and I discovered a whole new apple world. There was no looking back. The sun beating down on my neck may disagree, but the apples in my cart say FALL. It is HONEYCRISP season, y'all. We want to shout it from the roof tops, but we thought we would make a little art instead! This pop art apple makes a perfect collaborative project. It's a multi-step process on a big scale (you can go as big as you wanna go), so there is enough fun, colorful process for everyone to get their hands printy, gluey, and painty.

Materials:
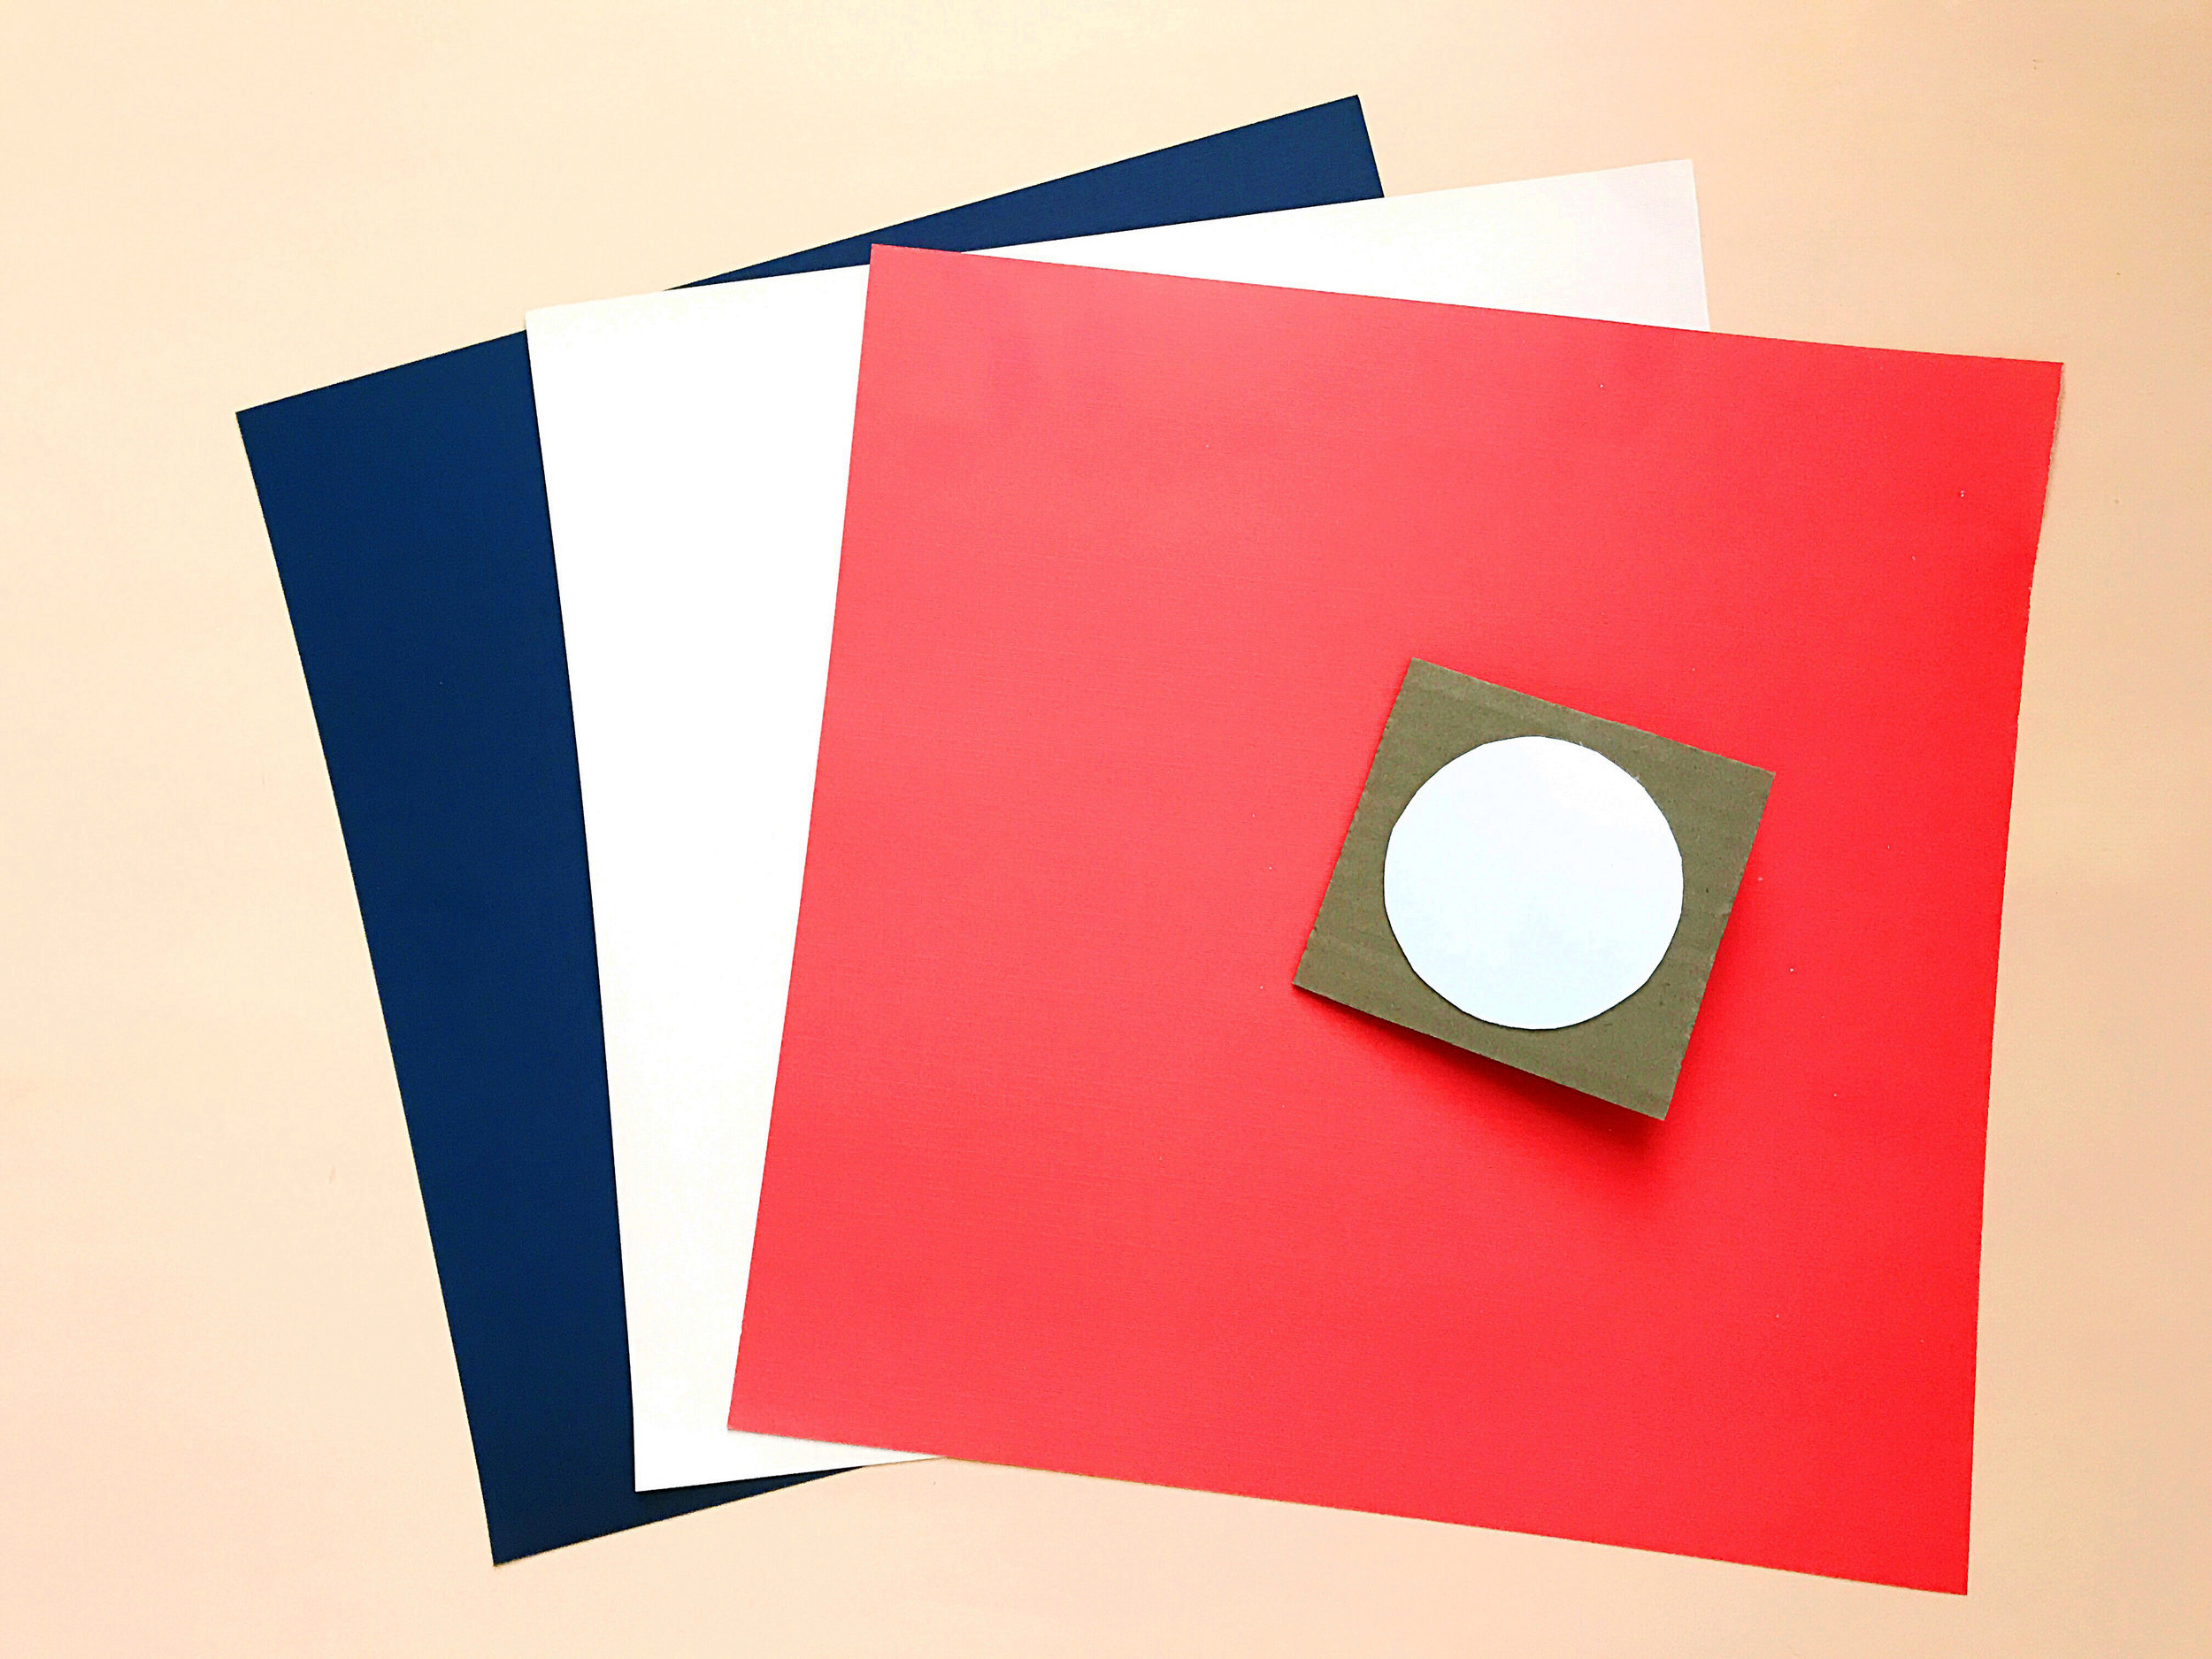
acrylic paint - we used black, white, & neon colors
recycled paper and/or batting for stuffing
** Please note that we participate in the Amazon Affiliate program. This means if you purchase any of the products linked here we will receive a tiny sales commission at no additional cost to you. We only link to products we use and love. Your support helps us keep this site running - thank you!
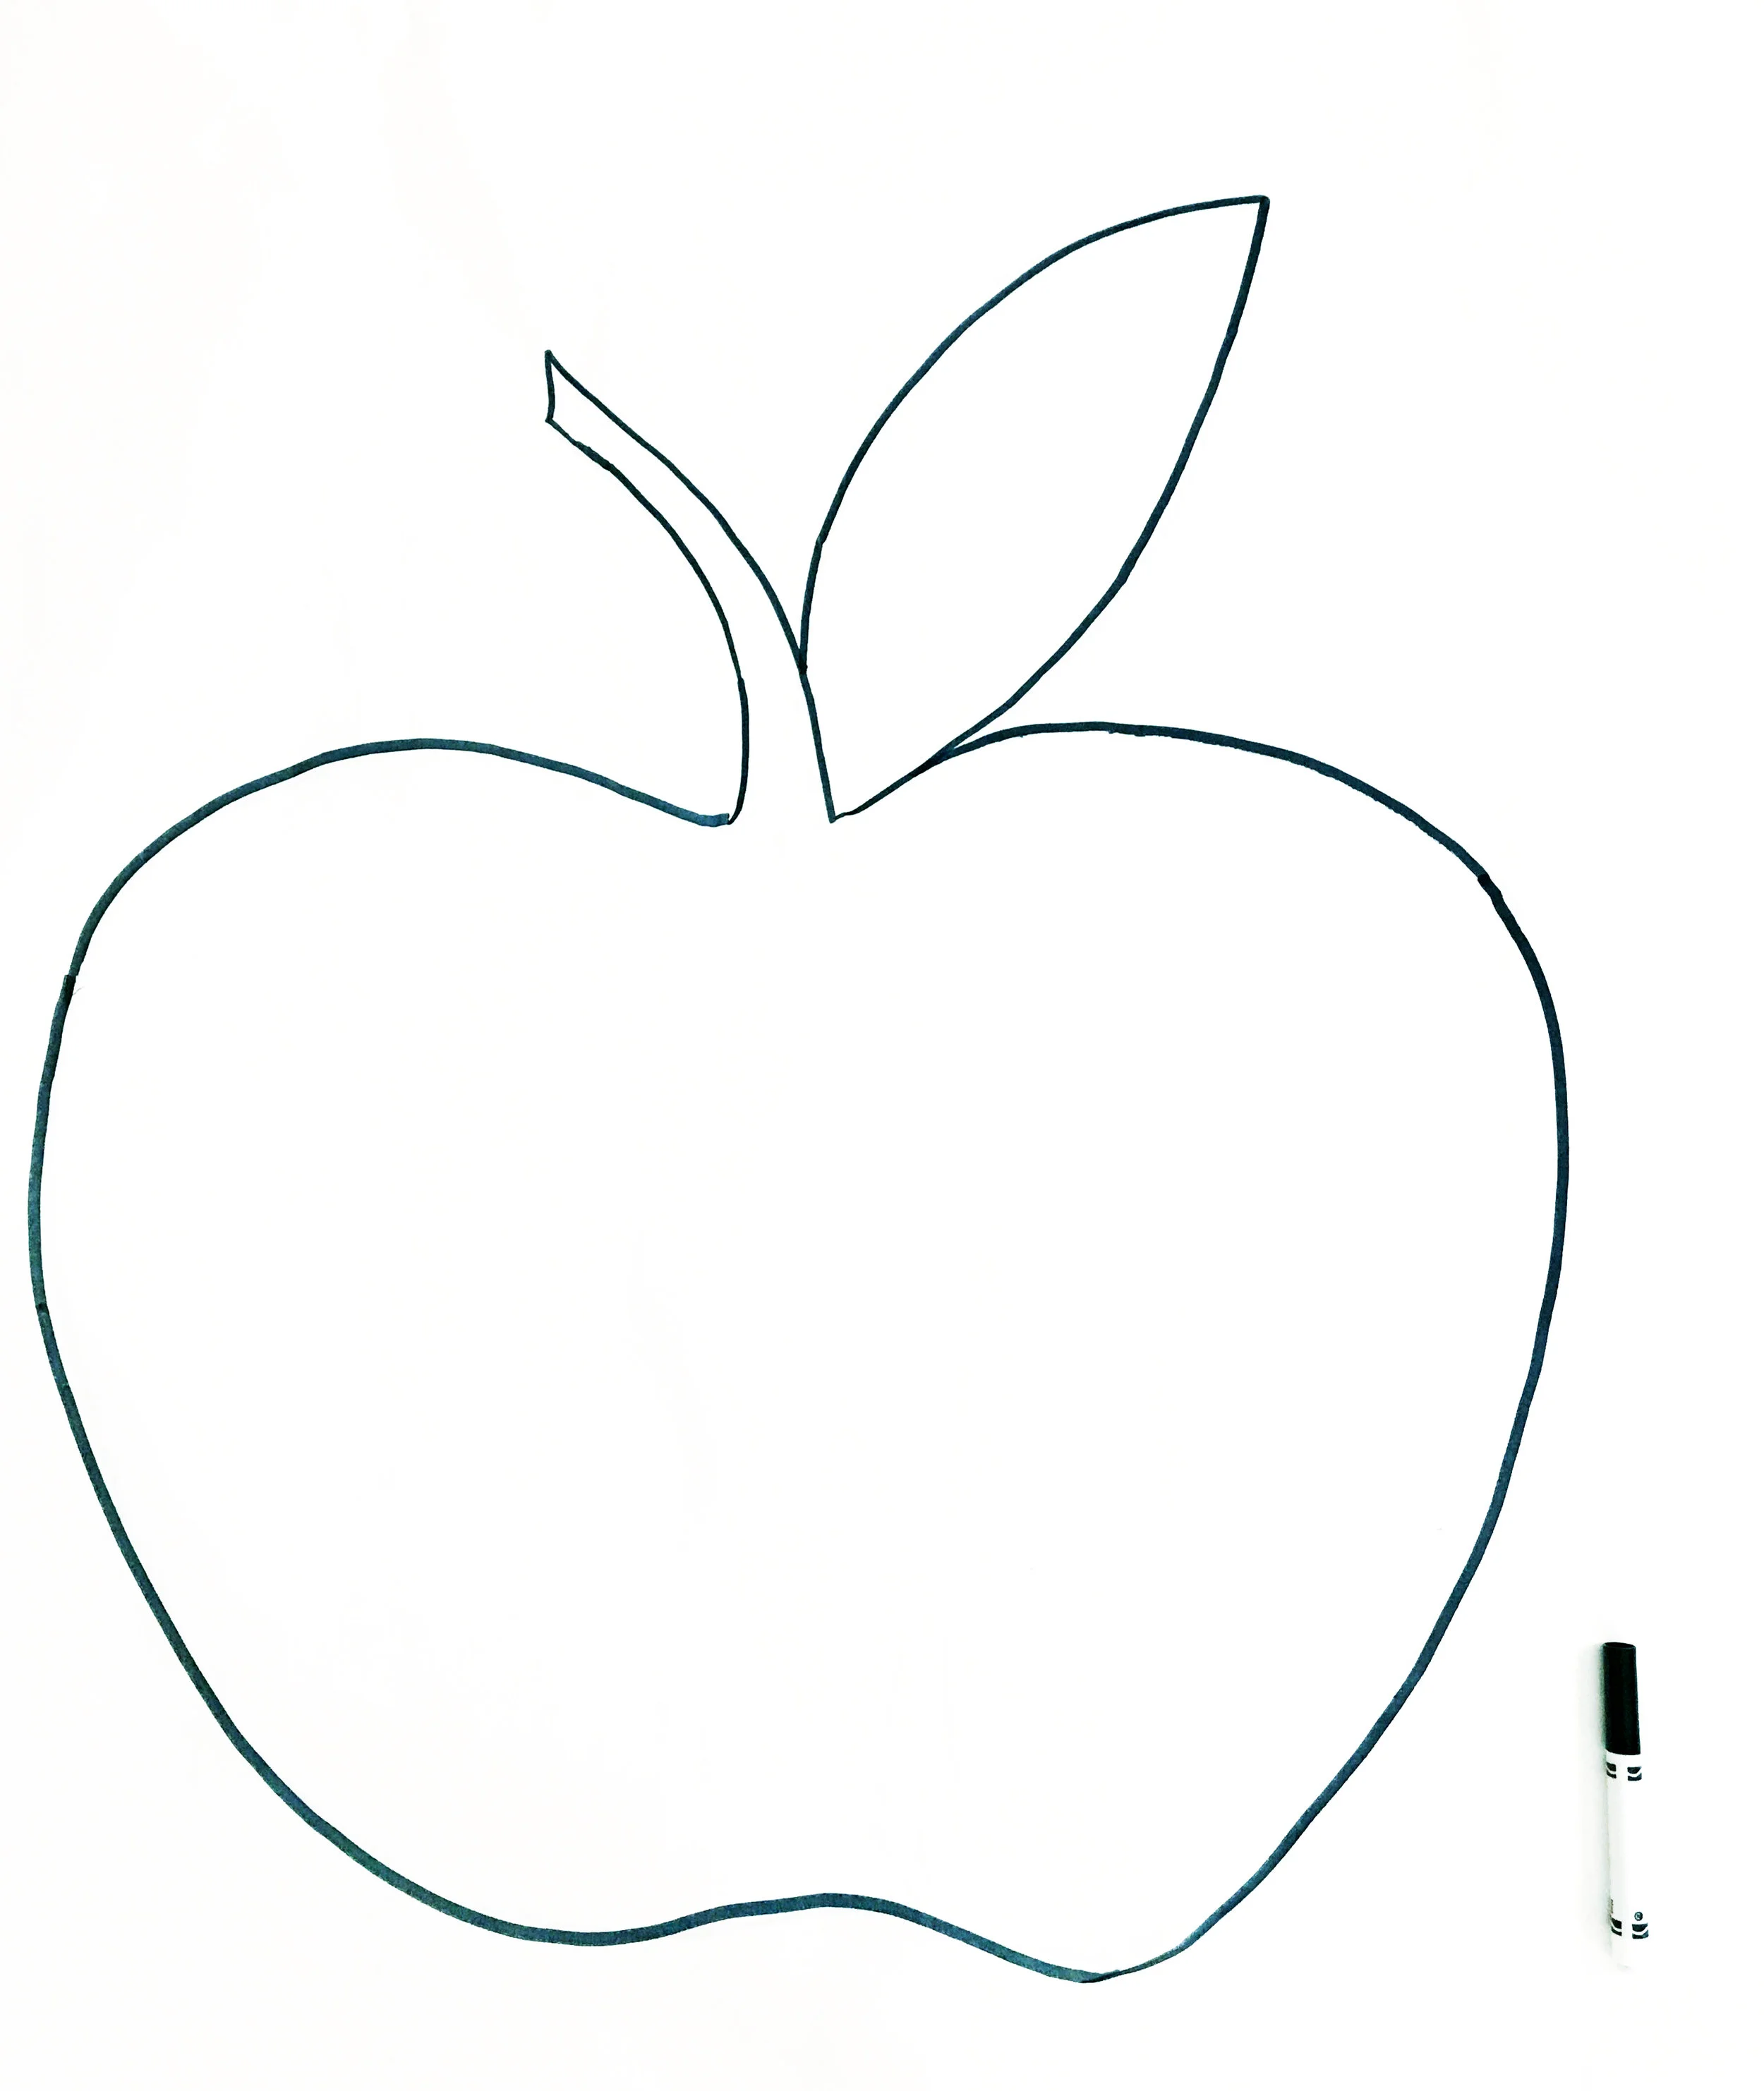
1. Cut two large sheets of butcher paper. Sketch out a simplified apple drawing and then trace over your sketch with a thick black marker. Take your second piece of butcher paper and lay it over your black line drawing of the apple. The butcher paper is light enough that you will be able to see the black lines of your apple so that you can trace your shape onto the second piece of paper. You want two copies of the apple shape.
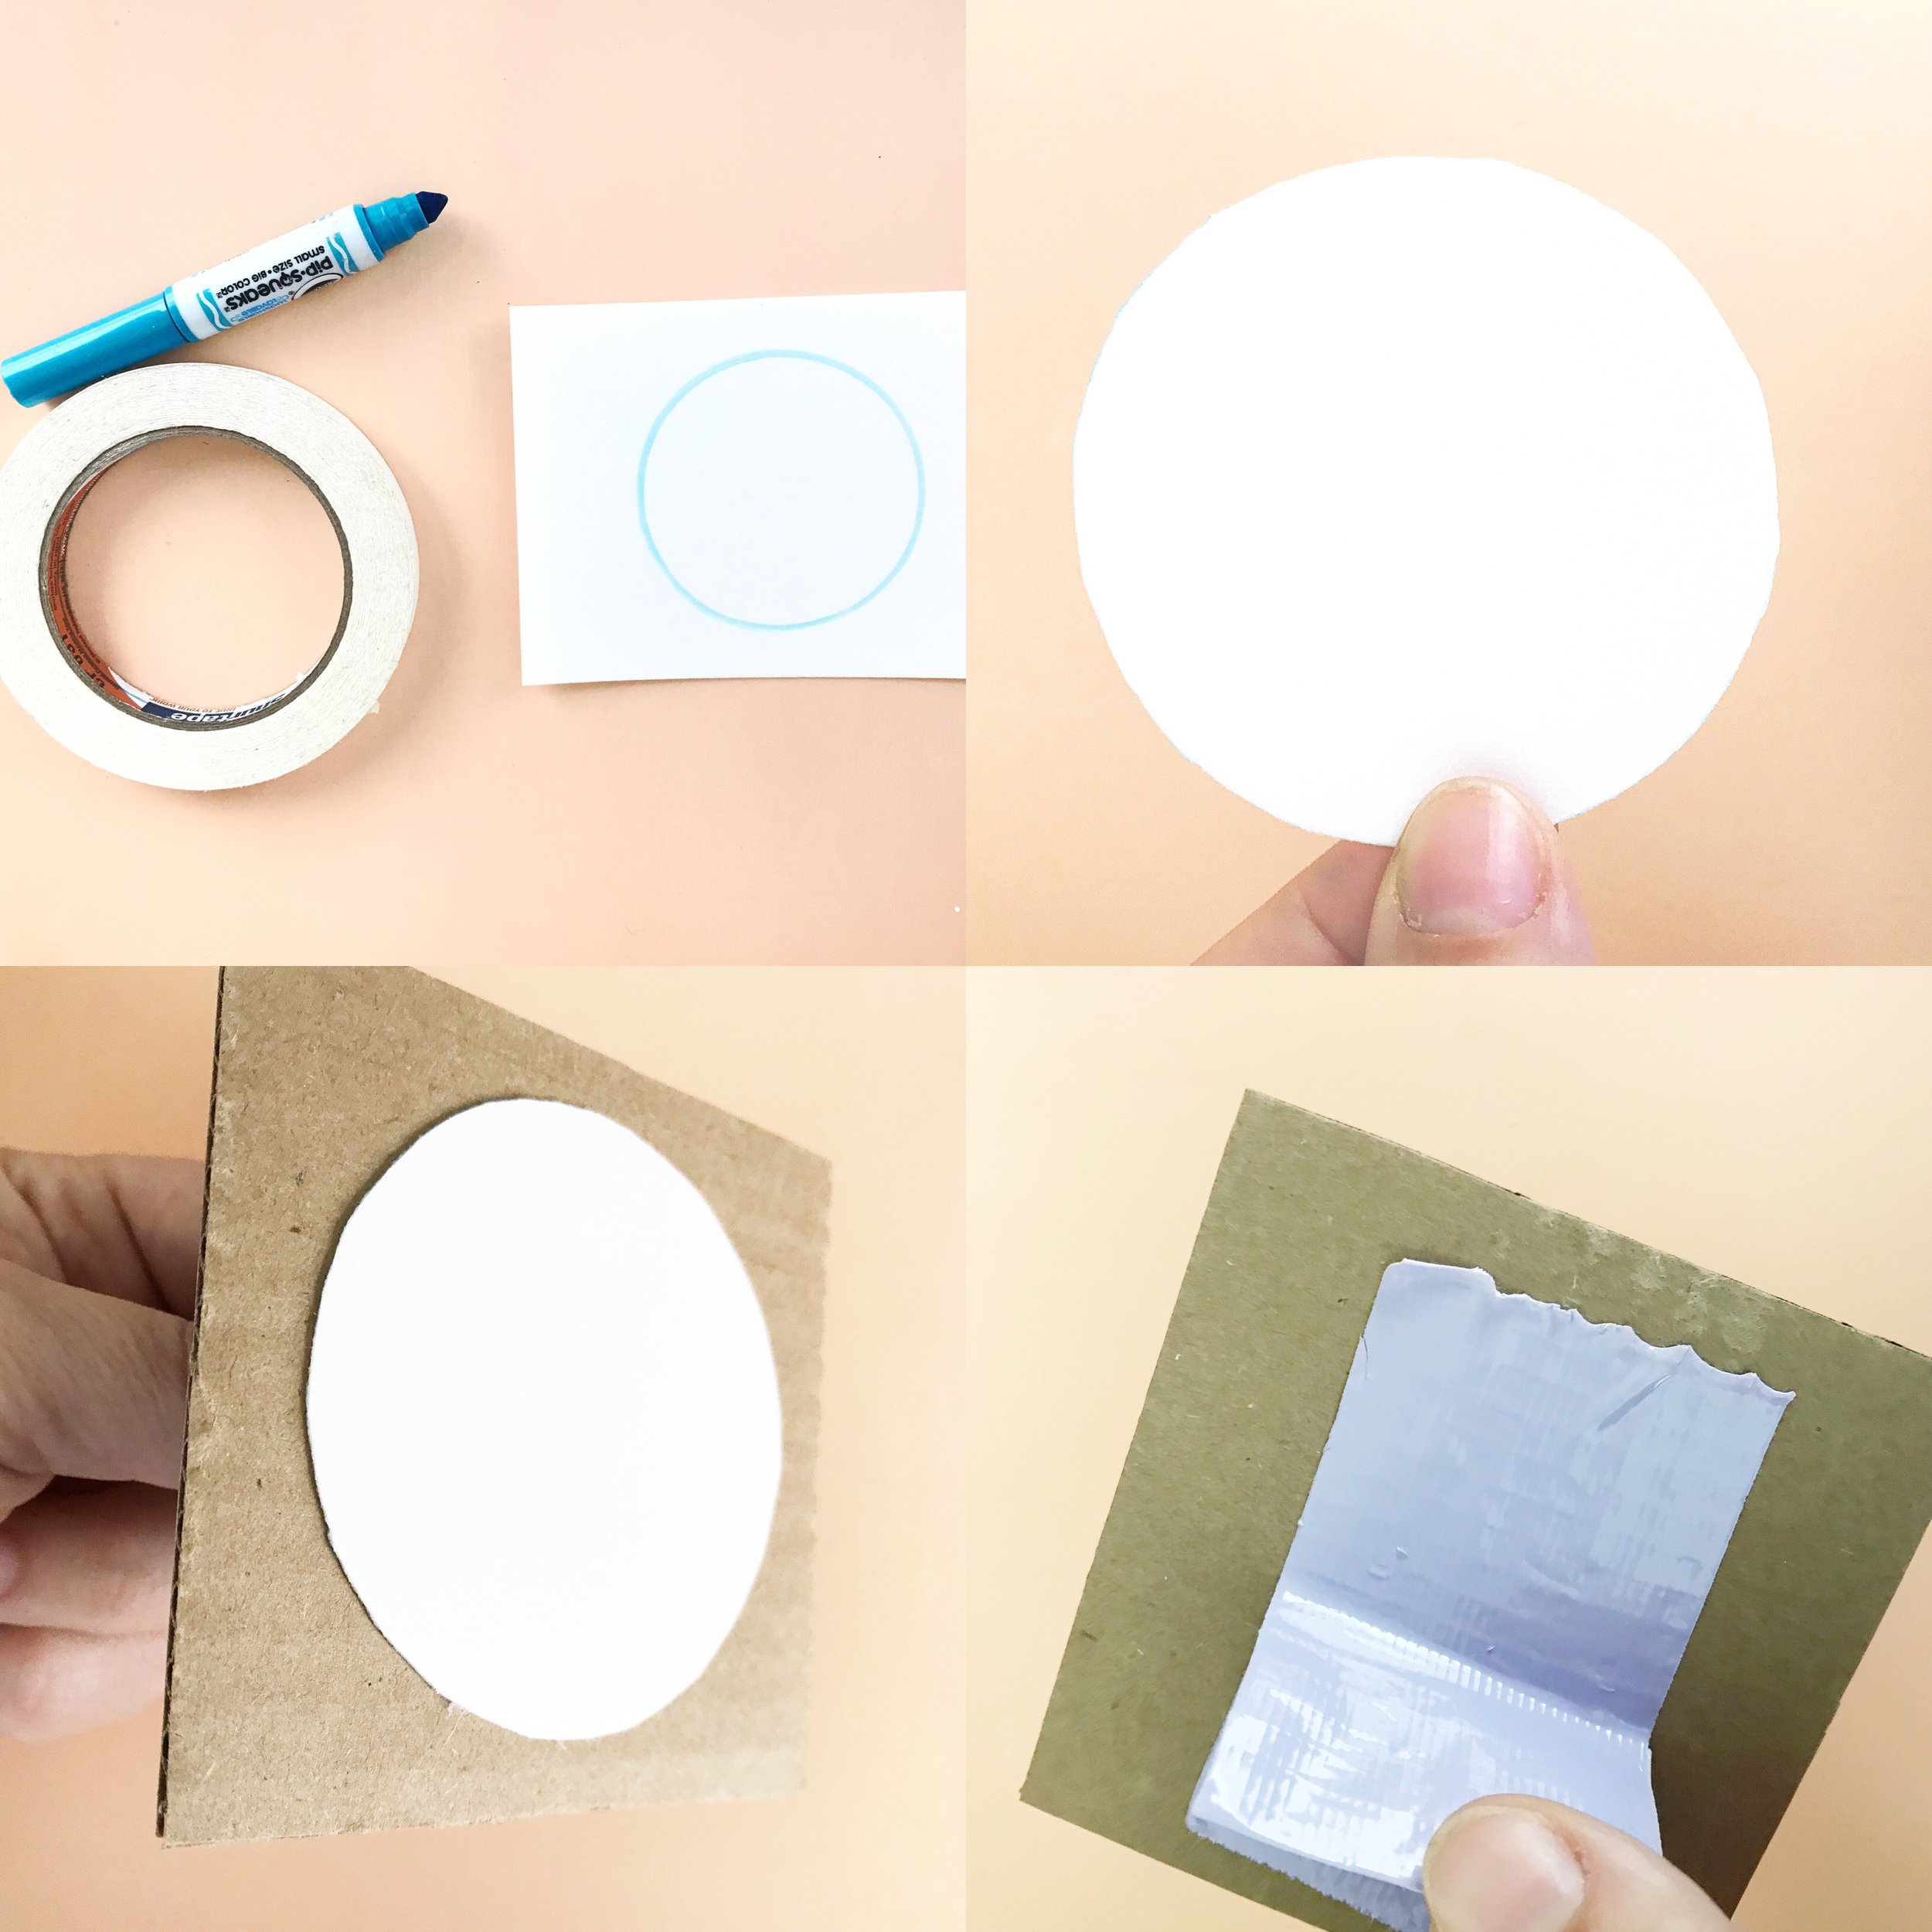
2. Trace the inside of a tape roll or another medium sized circle shape onto your foam sheet. Cut out your foam circle. Glue your circle shape onto a cardboard square. Create a handle for your stamp with a piece of duck tape.
3. Once you have created your big dot stamp, you will gather your colored paper and prepare to print!
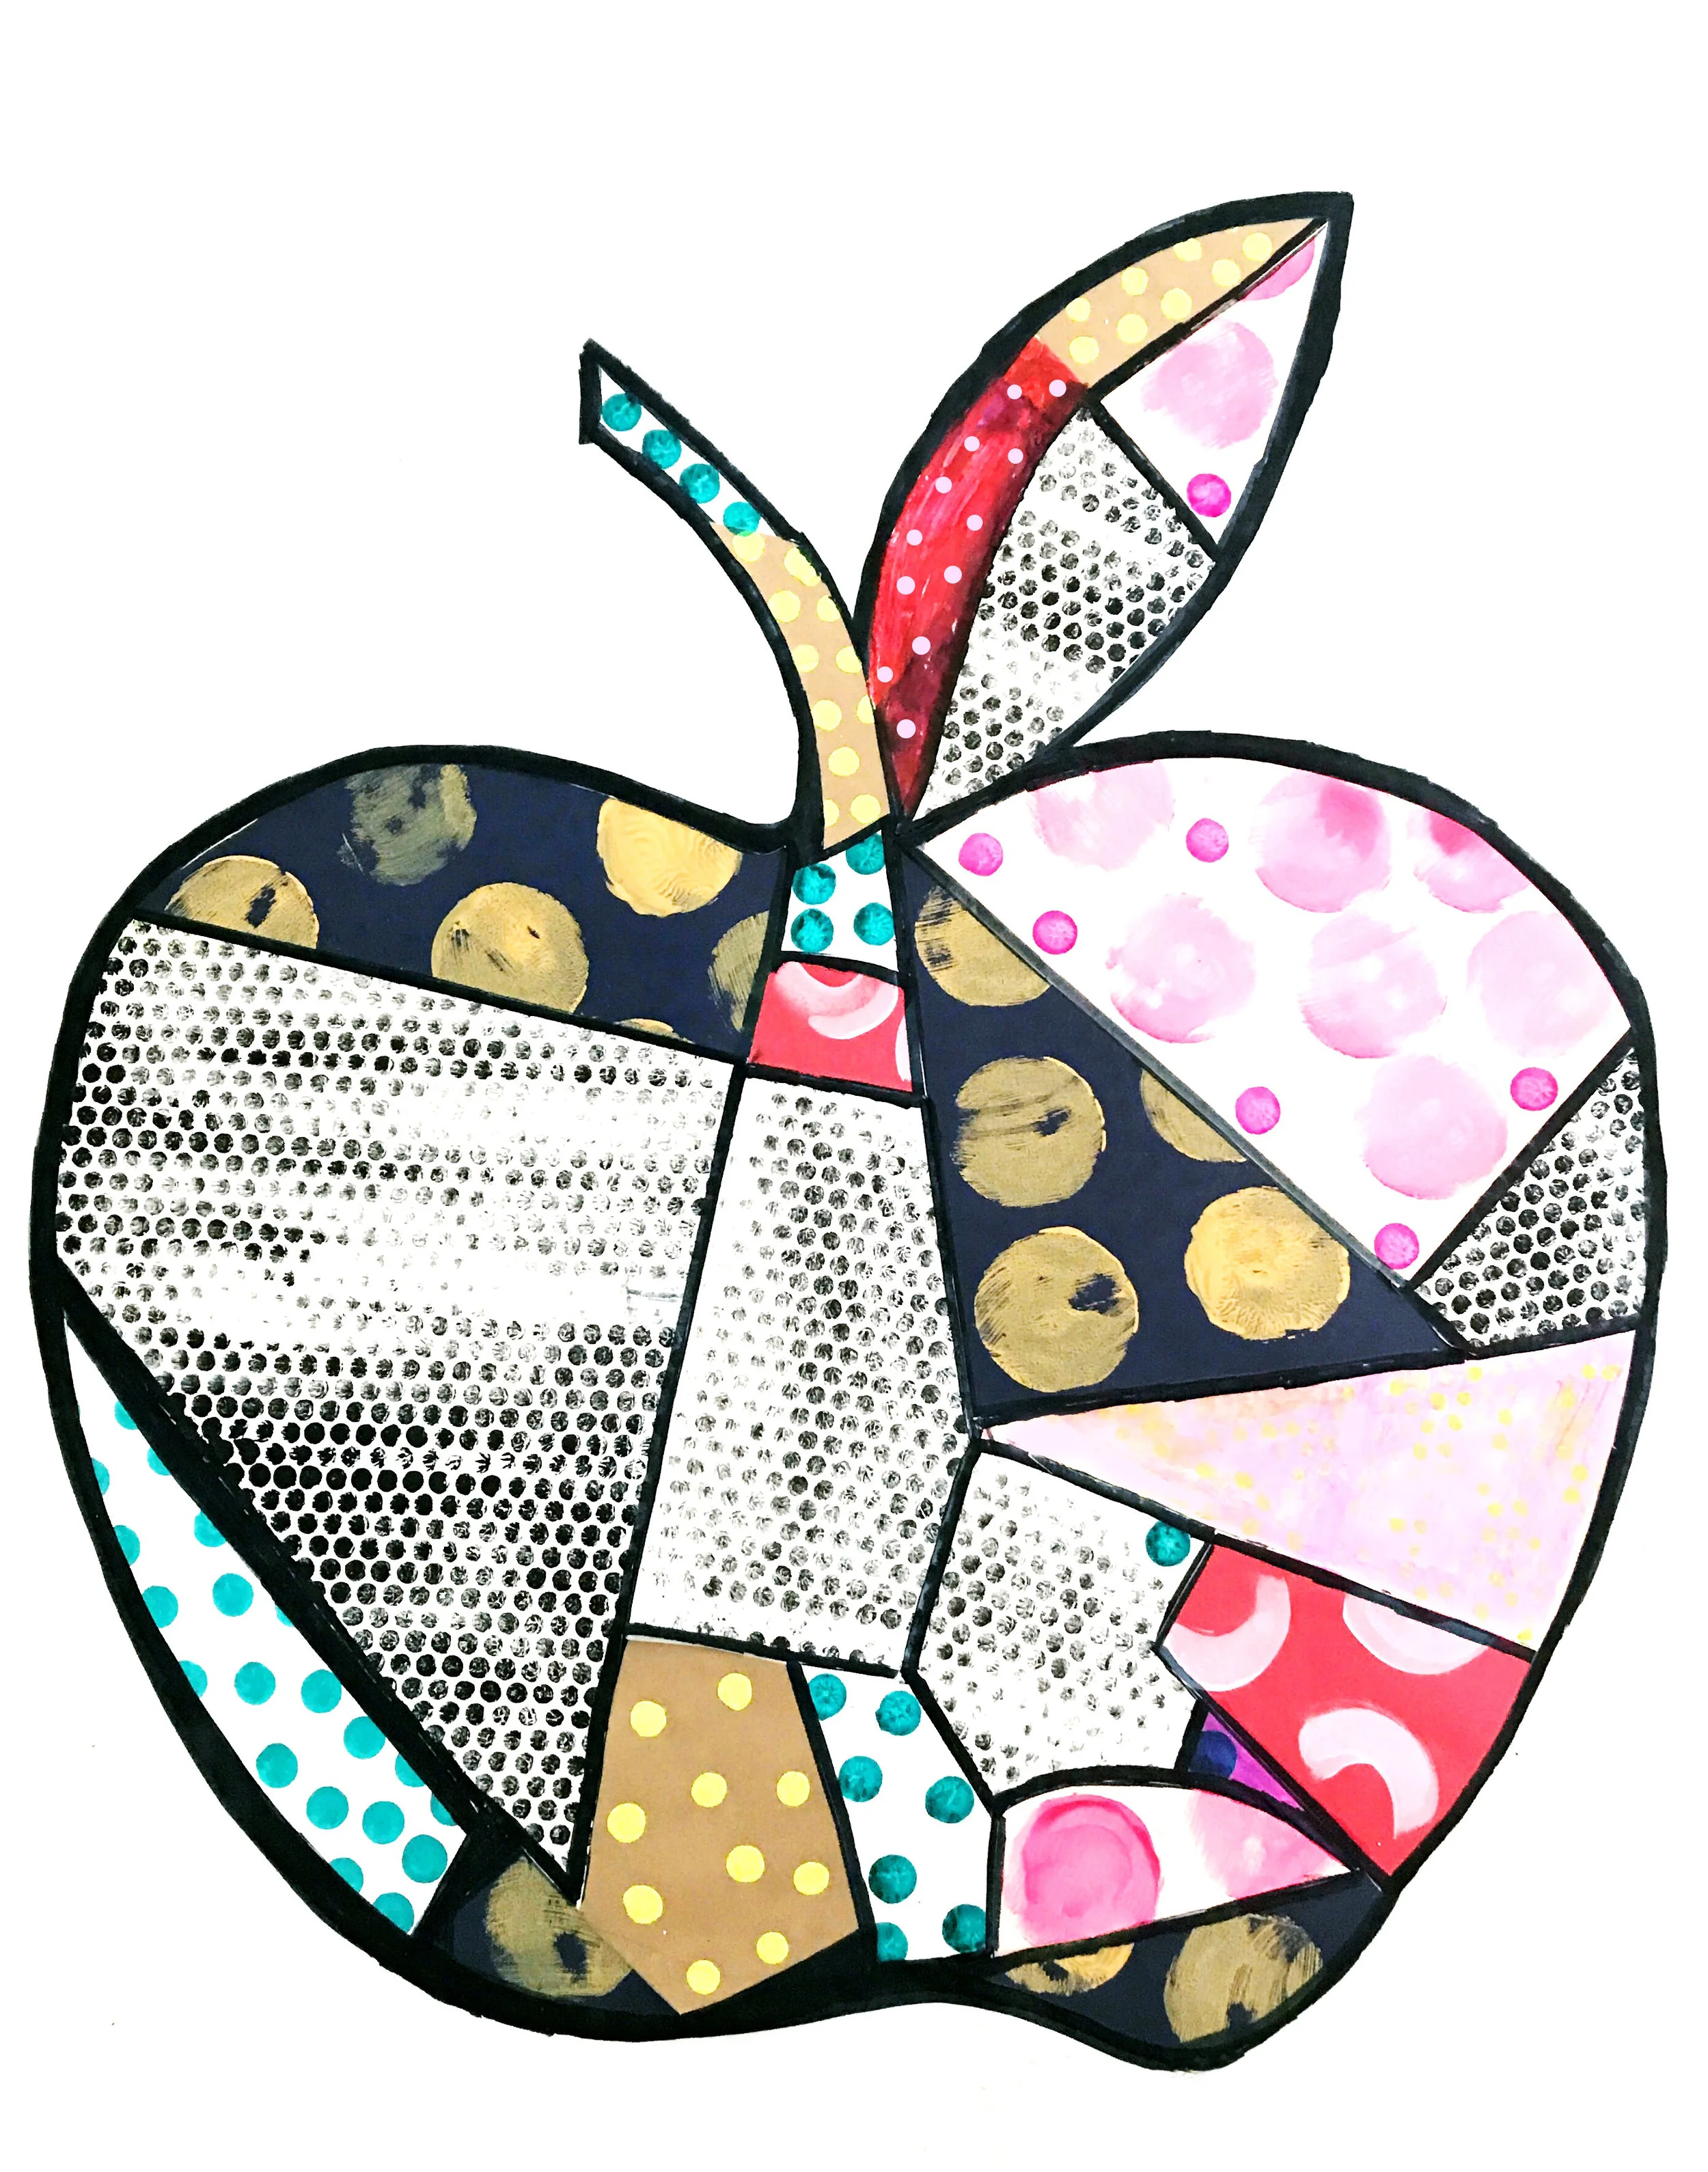
4. Time to print your big dots! Have fun with paint colors. We did some neon pink dots on our pale pink paper and some bright yellow on our dark blue.

5. After you have created your big dot prints you can start experimenting with other shapes. We made some small yellow neon dots on craft paper by dripping paint from our squeeze bottle. We dragged our putty knife across little droplets of pale pink paint to create stripes on turquoise. We used a small brush to paint pink curved lines on bright red paper. We painted our bubble wrap with black paint and printed it onto white paper for a graphic punch and we used our bright blue and pink dot markers to fill in the blank spots with a sprinkling of colorful dots!

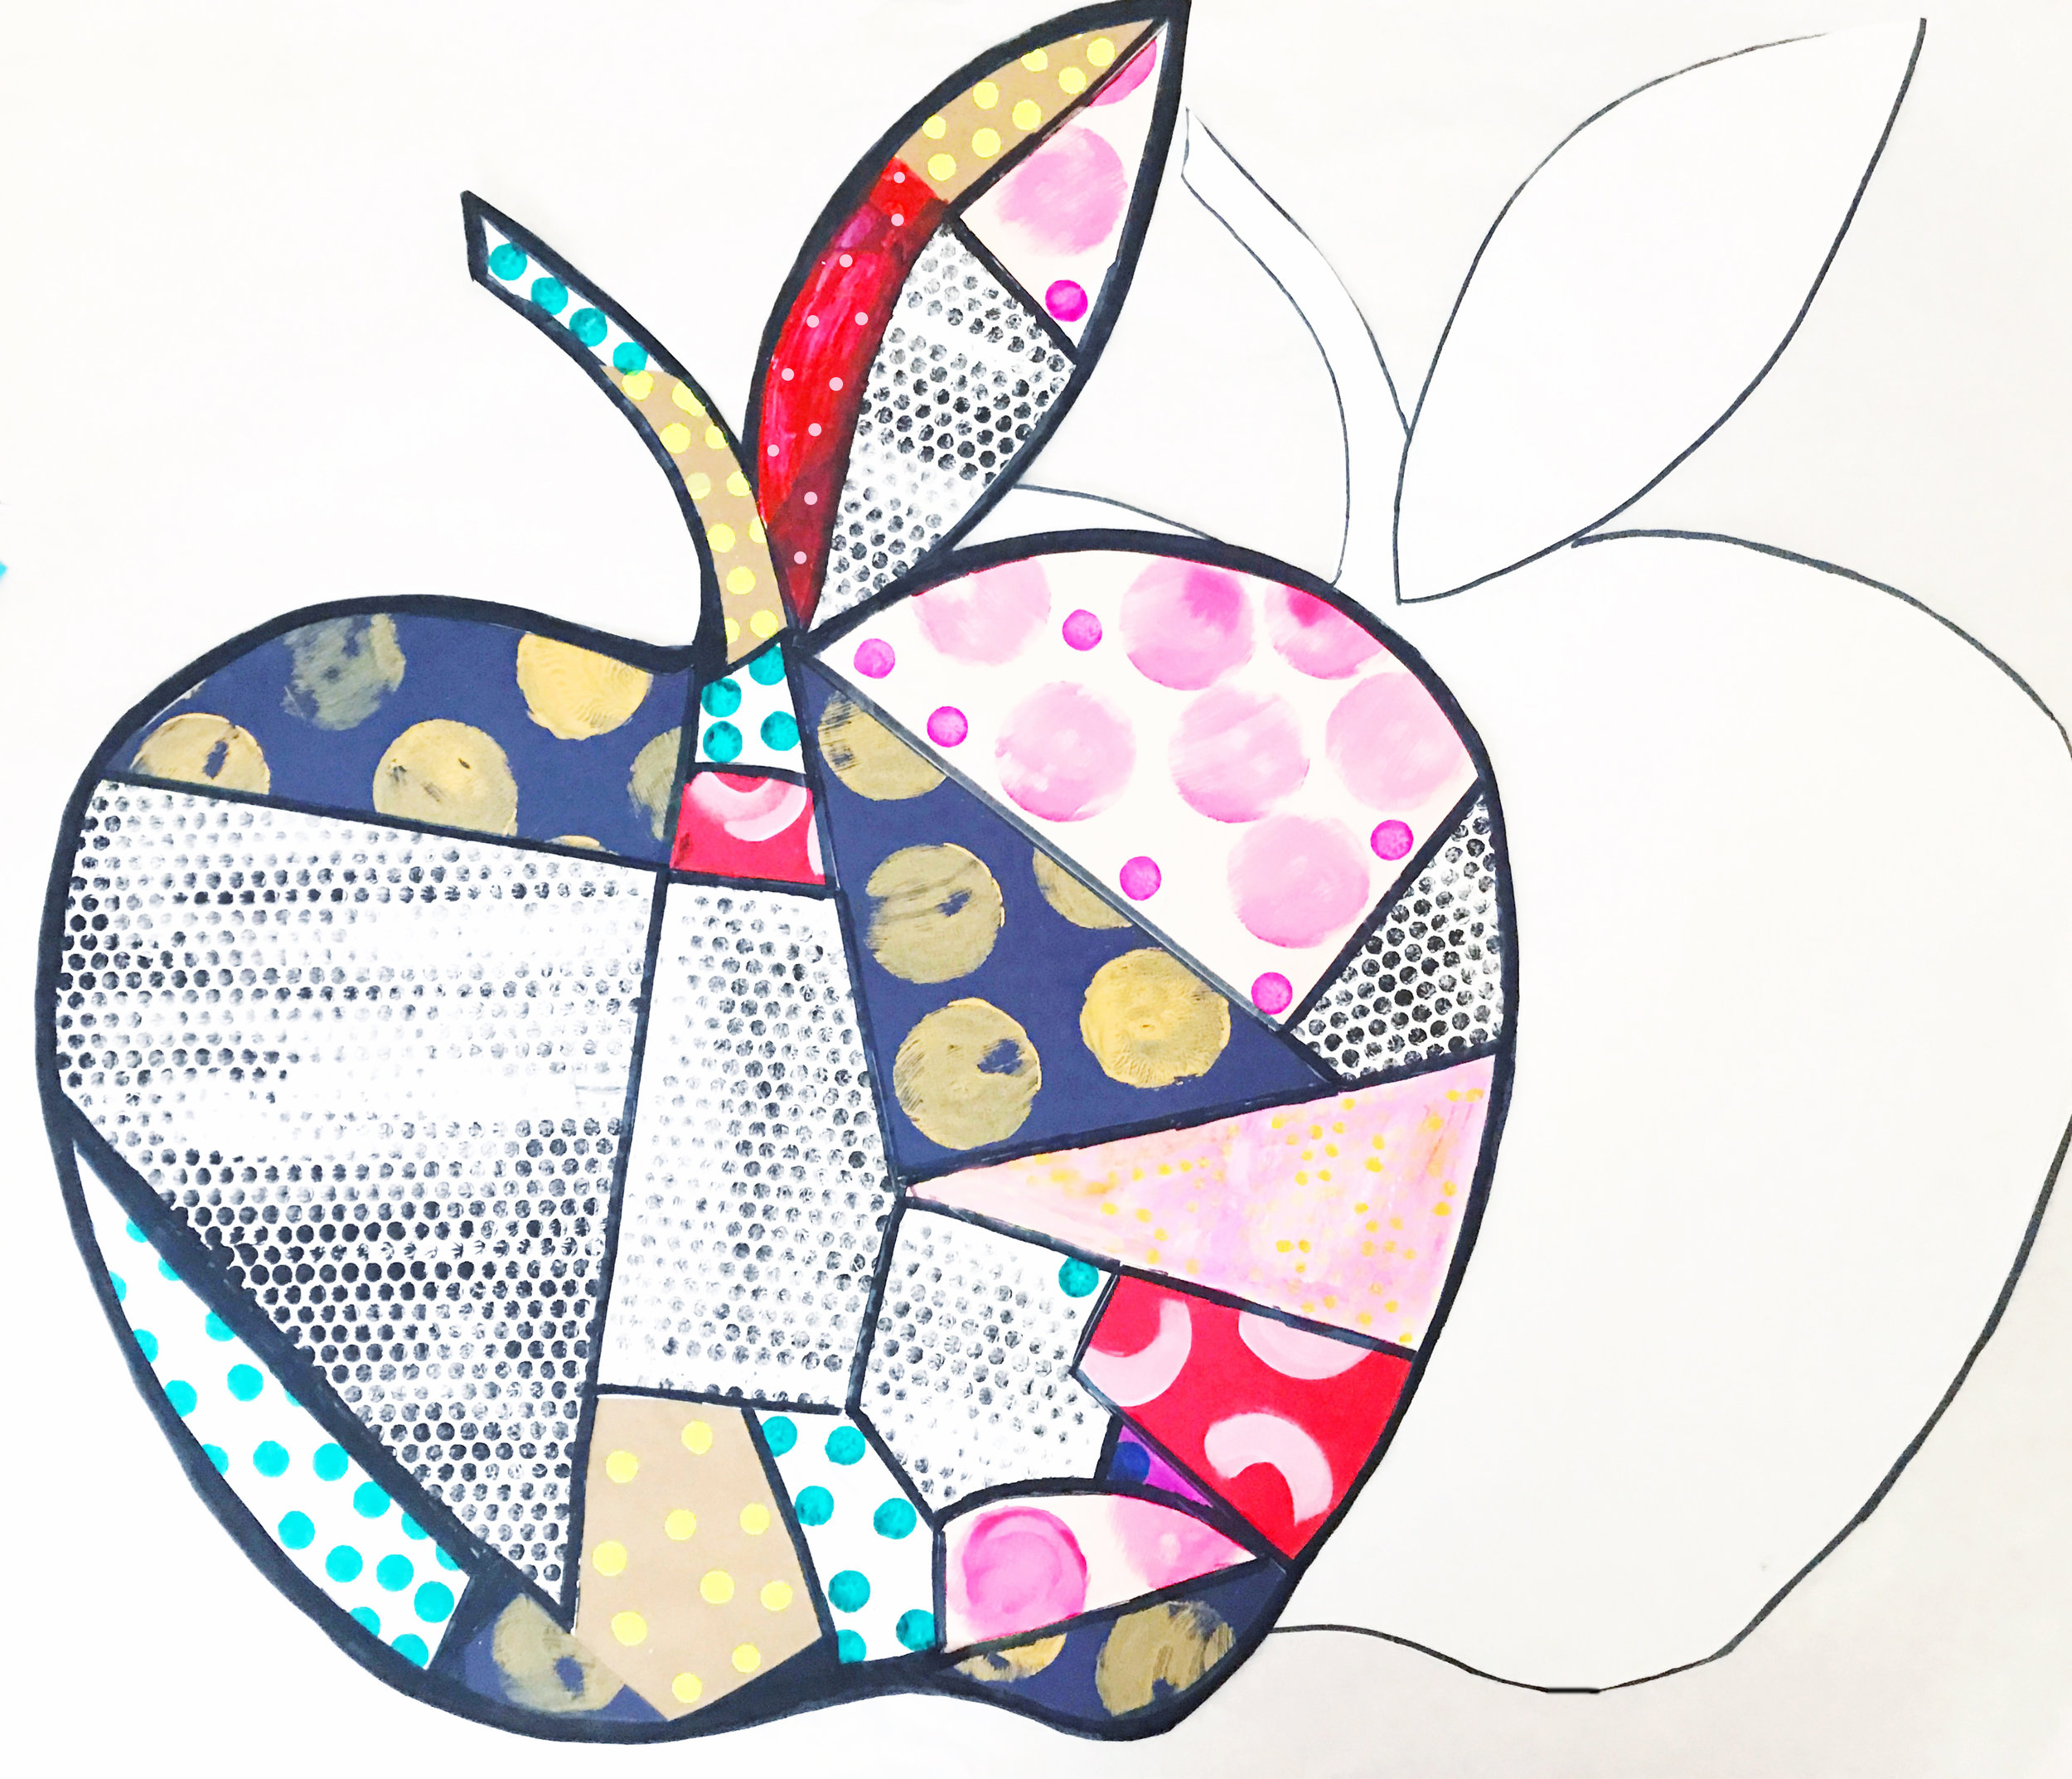
6. Time to start laying out your prints! Each piece should kind of fit together like an imperfect puzzle. You will need to use your scissors to get the shapes to fit inside your apple.

7. When you are satisfied with the placement of your prints, glue them down with a glue stick. Use a thick black marker to outline your printed shapes and the outside line of your apple.
8. Cut out your apple shapes. We left our back apple blank. If I was doing this with a large group of art students I would divide the class in two and have each group create one side of the apple.
9. Time to glue your two apples together and get to stuffing! We tried to glue our outer edges with a glue stick but the bond just wasn't strong enough to withstand the stuffing. Hot glue did the trick. You could also punch holes and stitch the outside of your apple if you want. My girls are crazy about batting (my youngest calls it "fluffy cloud"), so I let them use a little bit of fluffy cloud in the apple but then we crumpled up all the bits and scraps of paper and stuffed the remaining apples with paper scraps and it worked just as well.

** We glued in a small skinny dowel in the center of our leaf so that it would stand upright. You may find that you need to do this too, depending on your design.
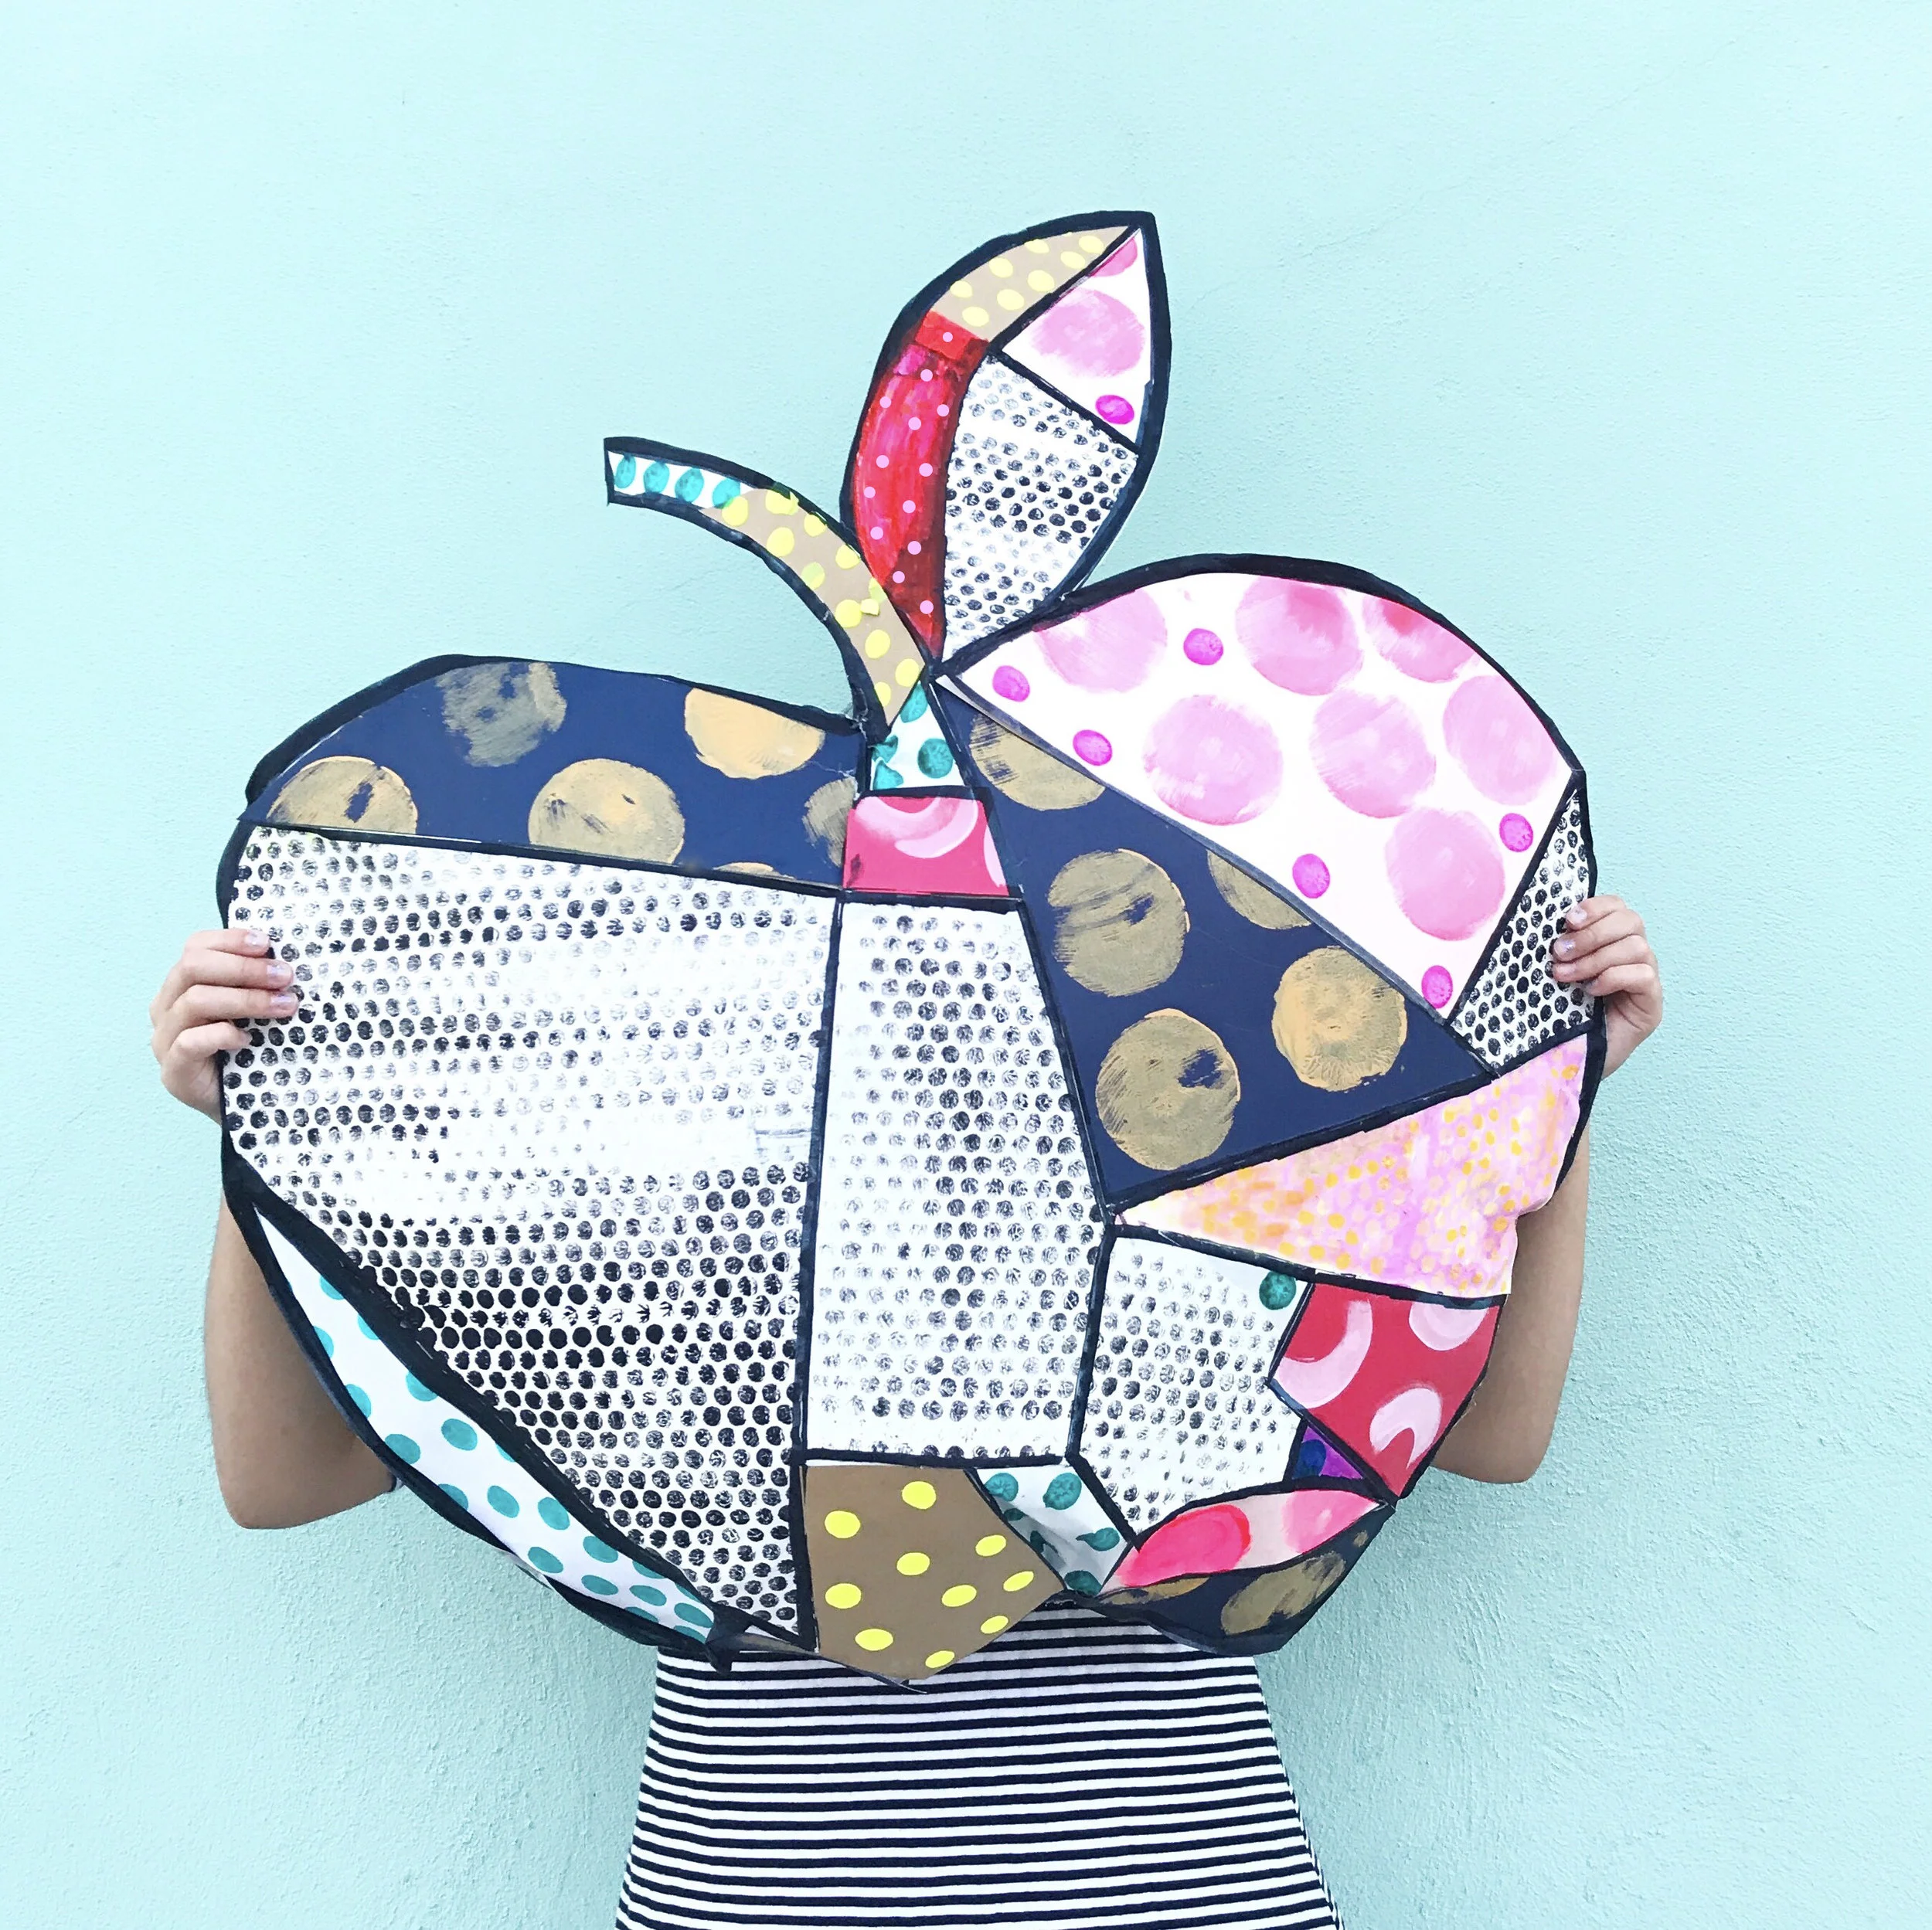
I love the way our apple turned out! H wants to surprise her classmates with it after the long weekend. I can imagine this hanging from the ceiling, piñata style, or placed on a shelf in a kid's bedroom or playroom. It's just so much fun!!