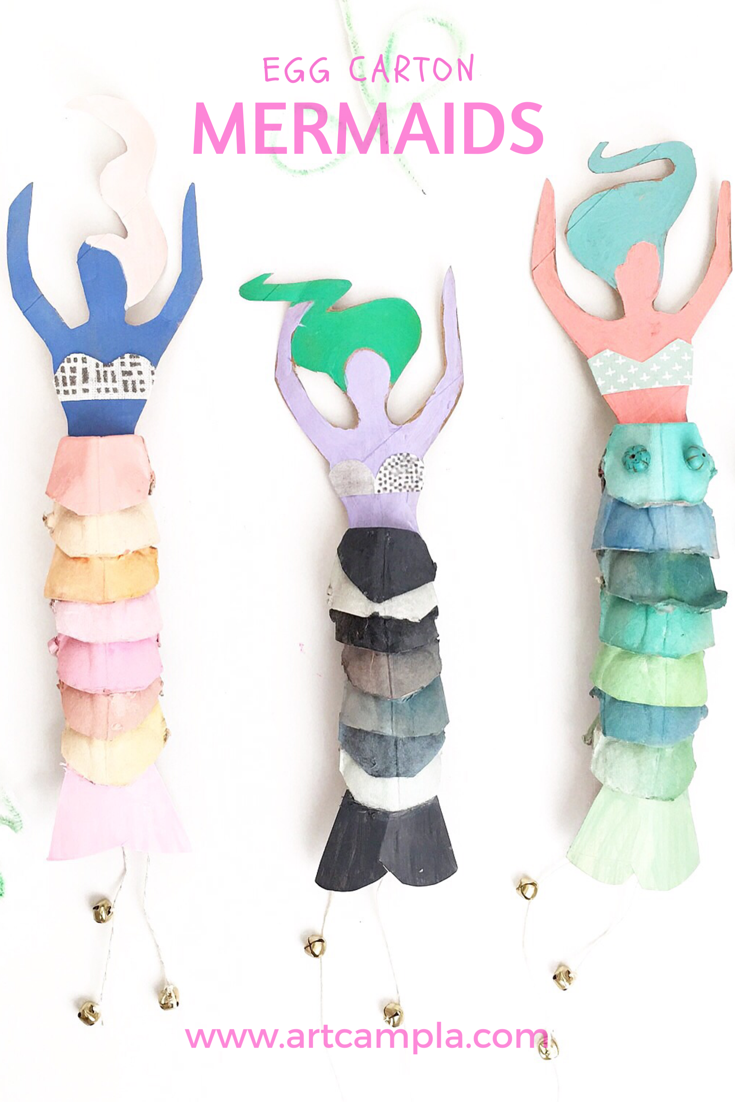
Egg Carton Mermaid Dolls

"you are not a drop in the ocean, you are the entire ocean in a drop."
- Rumi
grab the complete EGG CARTON MERMAID DOLL project PDF + Printable pack here:

Project bundle for our popular Egg Carton Mermaid Doll project. The 9 page PDF includes the complete guided how-to + shape templates, mermaid facts, supply list, and project tips. This project is a perfect project lesson plan year round for grades K-6.
Upon receipt of the email providing the download link, please make sure to save the PDF to your computer as the link expires in 24 hours.
We recommend printing templates on 65lb or thicker cardstock. Please check your printer specs before selecting your paperweight.
** Please note that this project + template pack is for personal/individual/non-commercial use
If you are interested in incorporating ART CAMP curriculum into your fee-based classes, art program or business please visit the Pro Page and join the ART CAMP Pro Community.
Take me to ART CAMP Pro sign up

Materials:
recycled egg carton (you will use the cup section and the lid for your tail)
1 small paper tube (TP roll size)
brushes
hot glue gun
twine
sharp scissors
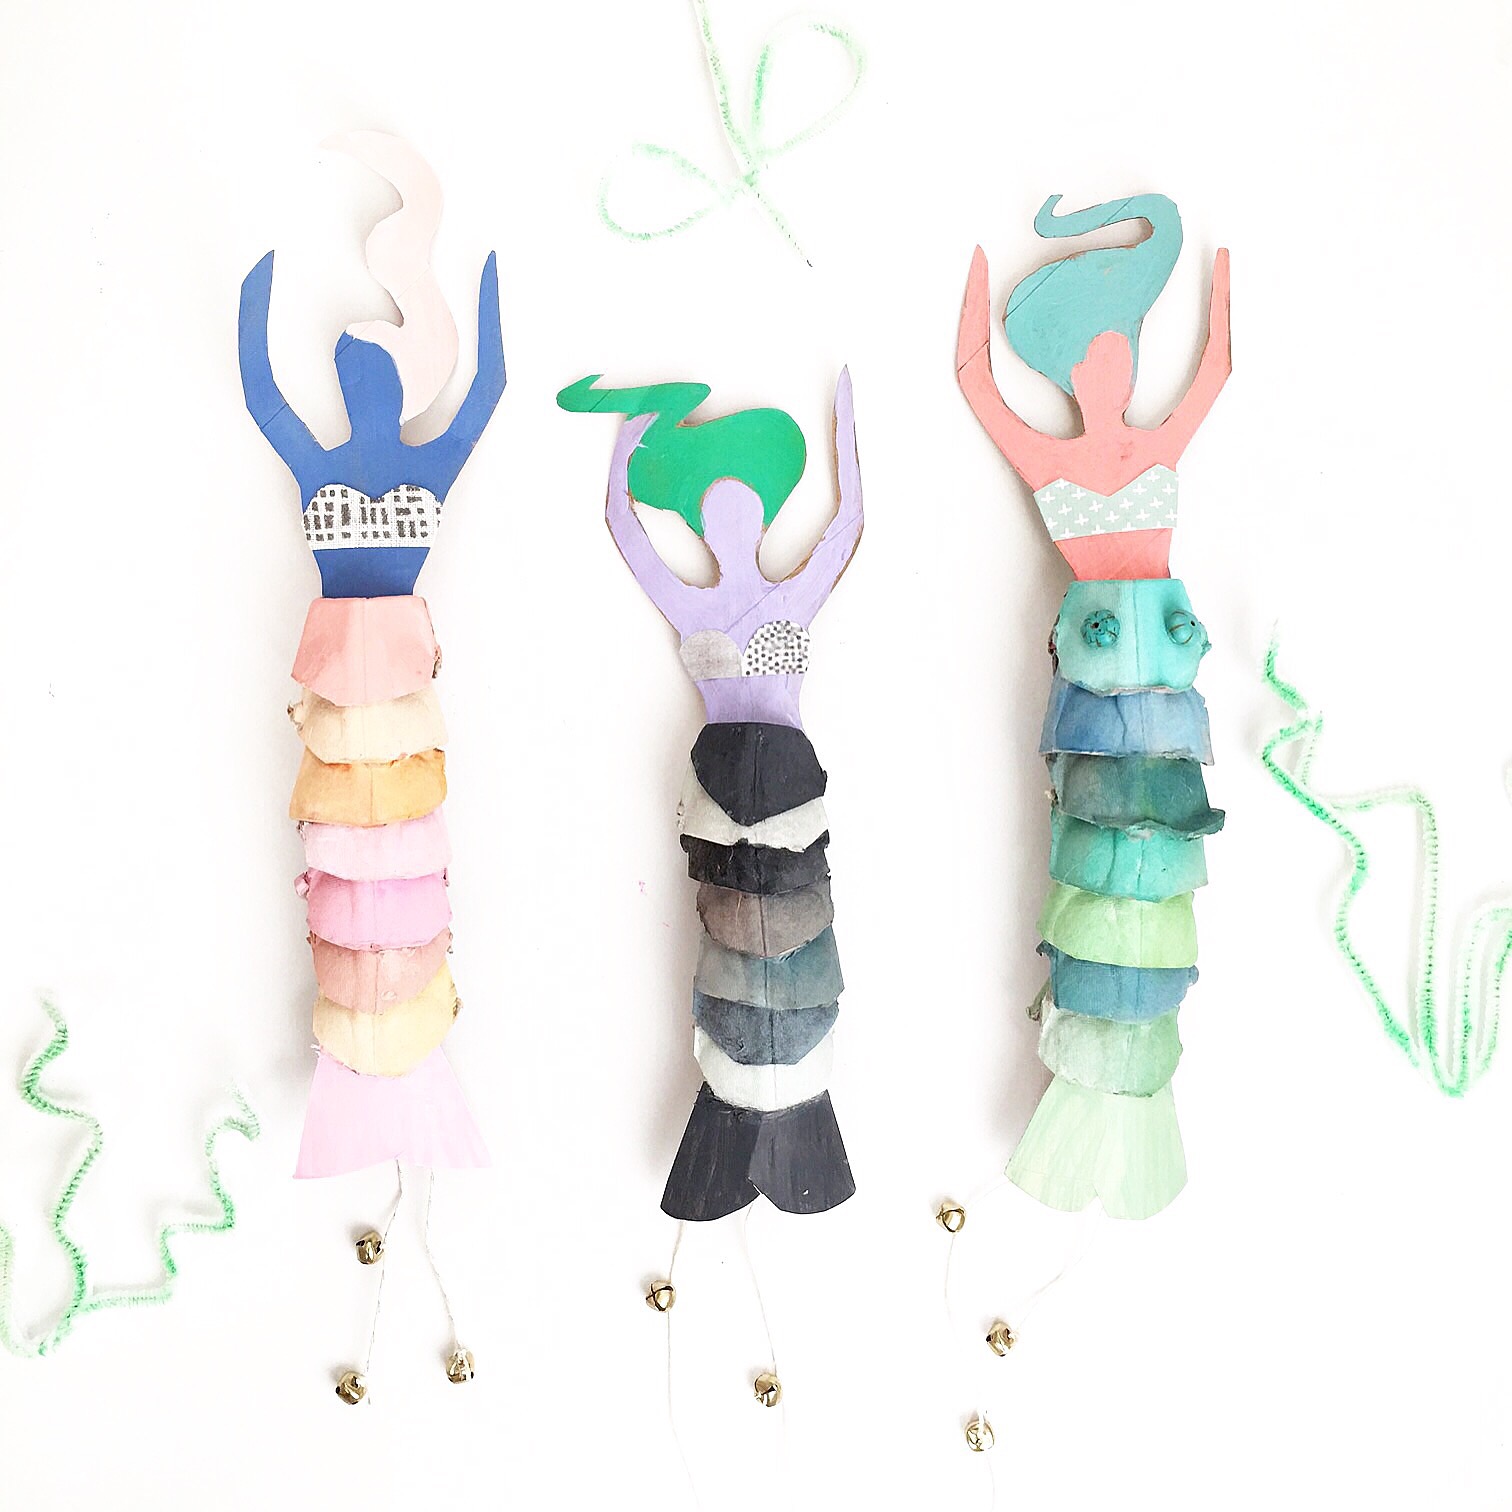
1. Dissect your egg carton making individual cups. You want to trim the egg sections into a soft curved "fish scale" shape. The center line of the egg cup should be running down the center of the cup.

When you attach your egg cups you want the center seam to line up (see below).

2. Choose your color palette. We liked the idea of choosing different shades of the same color (pinks, greens, greys, purples). 3. Start painting your cups. Alternate between light, middle, and darker tones. Once your cartons have dried you will stack them and glue them together with hot glue. 4. Slice a horizontal line in the center of your top egg carton with a utility knife blade or a pair of sharp scissors. Your mermaid's torso will fit inside this opening. You might need to trim the waist slightly to get a perfect fit.

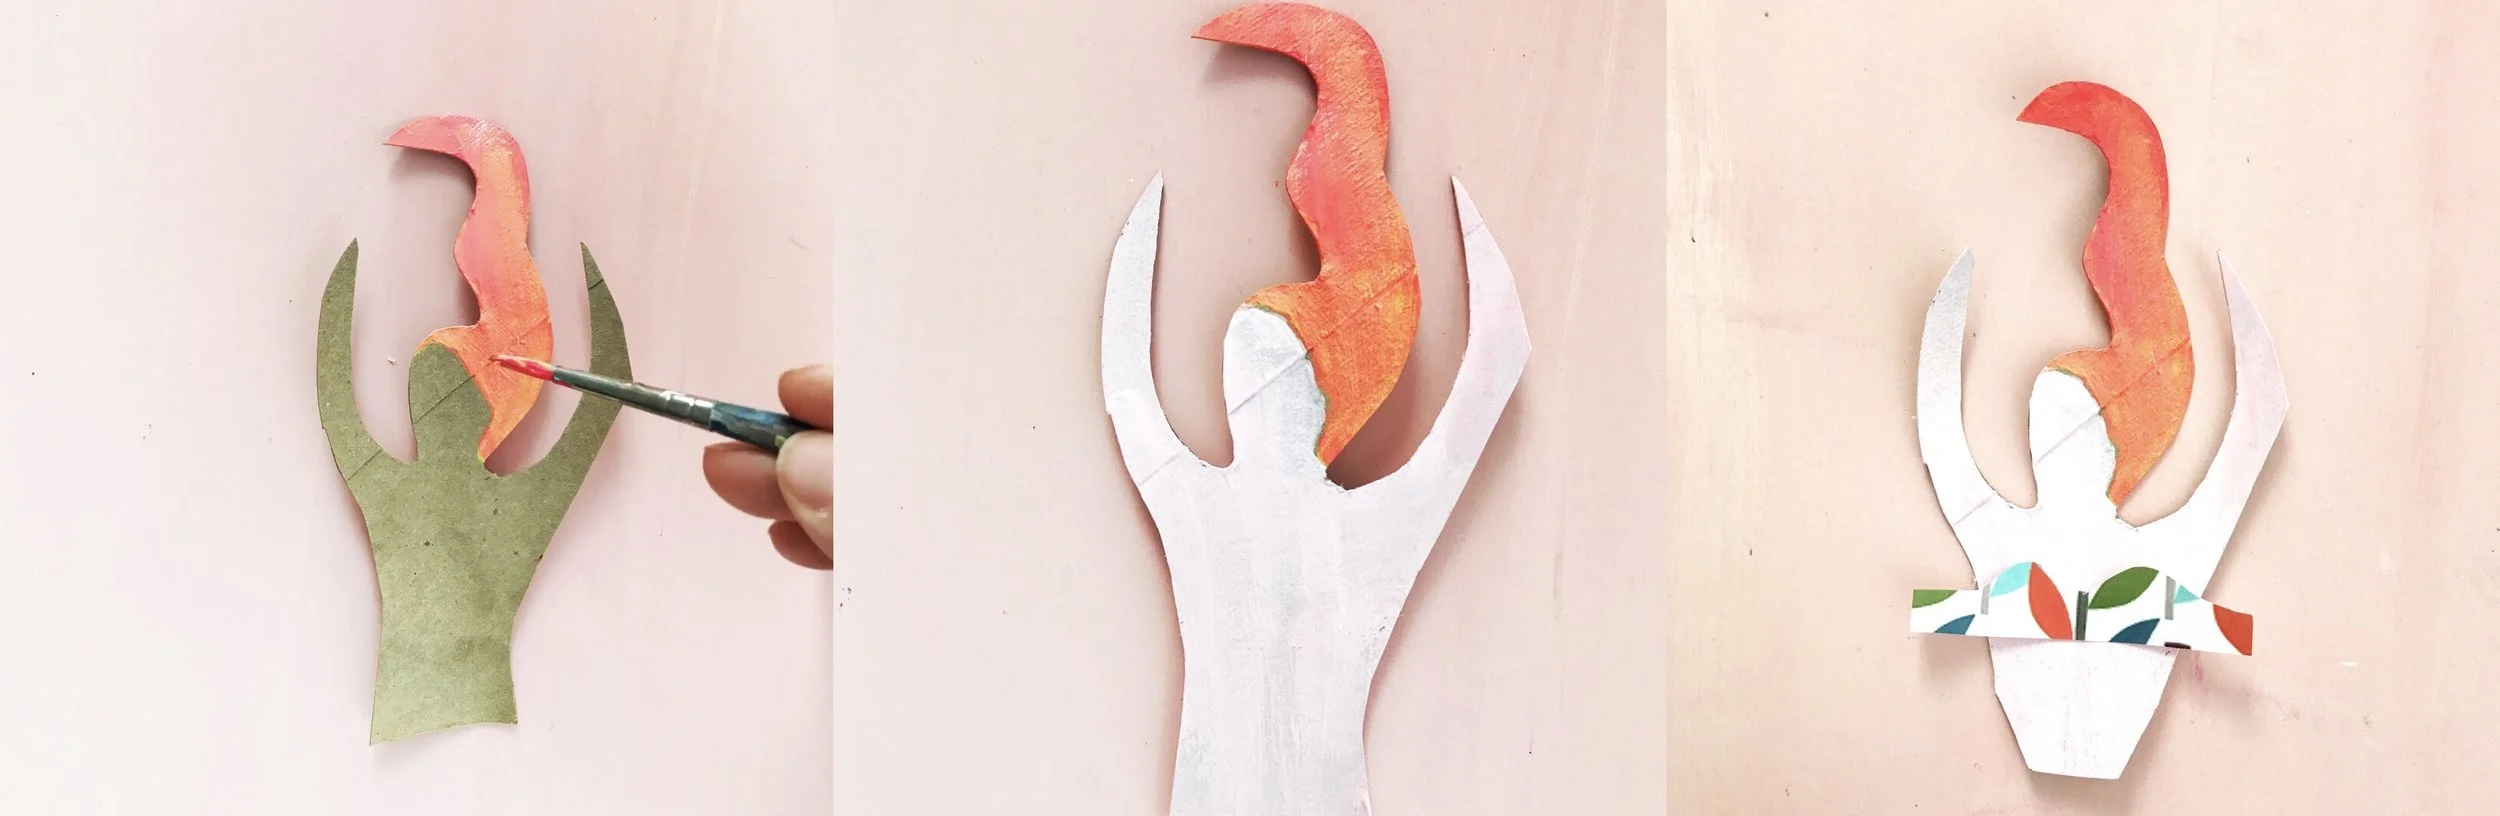
5. Print out your mermaid templates on thick card stock. Cut out one of the mermaid shapes. If you do not have card stock simply trim your mermaid shape and trace it onto an empty paper tube. You want the mermaid body to be sturdy so that it can handle rough and tumble play time.

6. Cut out and paint your torso shape and don't forget to cut out and paint a tail fin! You can cut a tail fin out of your egg carton lid (you can see an example of this if you scroll up to the unpainted tail picture) or recycle an old painting (like we did with this red haired siren). 7. Cut a simple bikini top out of printed paper or gift wrap and attach it with glue.
8. Once your mermaid is fully painted, dressed, and dried you will slide her into the opening that you cut earlier. Fully secure her in place with a dab of hot glue on the front and back, closing your egg carton around the waist like a clam shell. 9. Glue your tail inside of the base of your bottom egg carton.

10. String your little jingle bells to thread and fasten the jingle string into the inside of your tail with duct tape or hot glue.