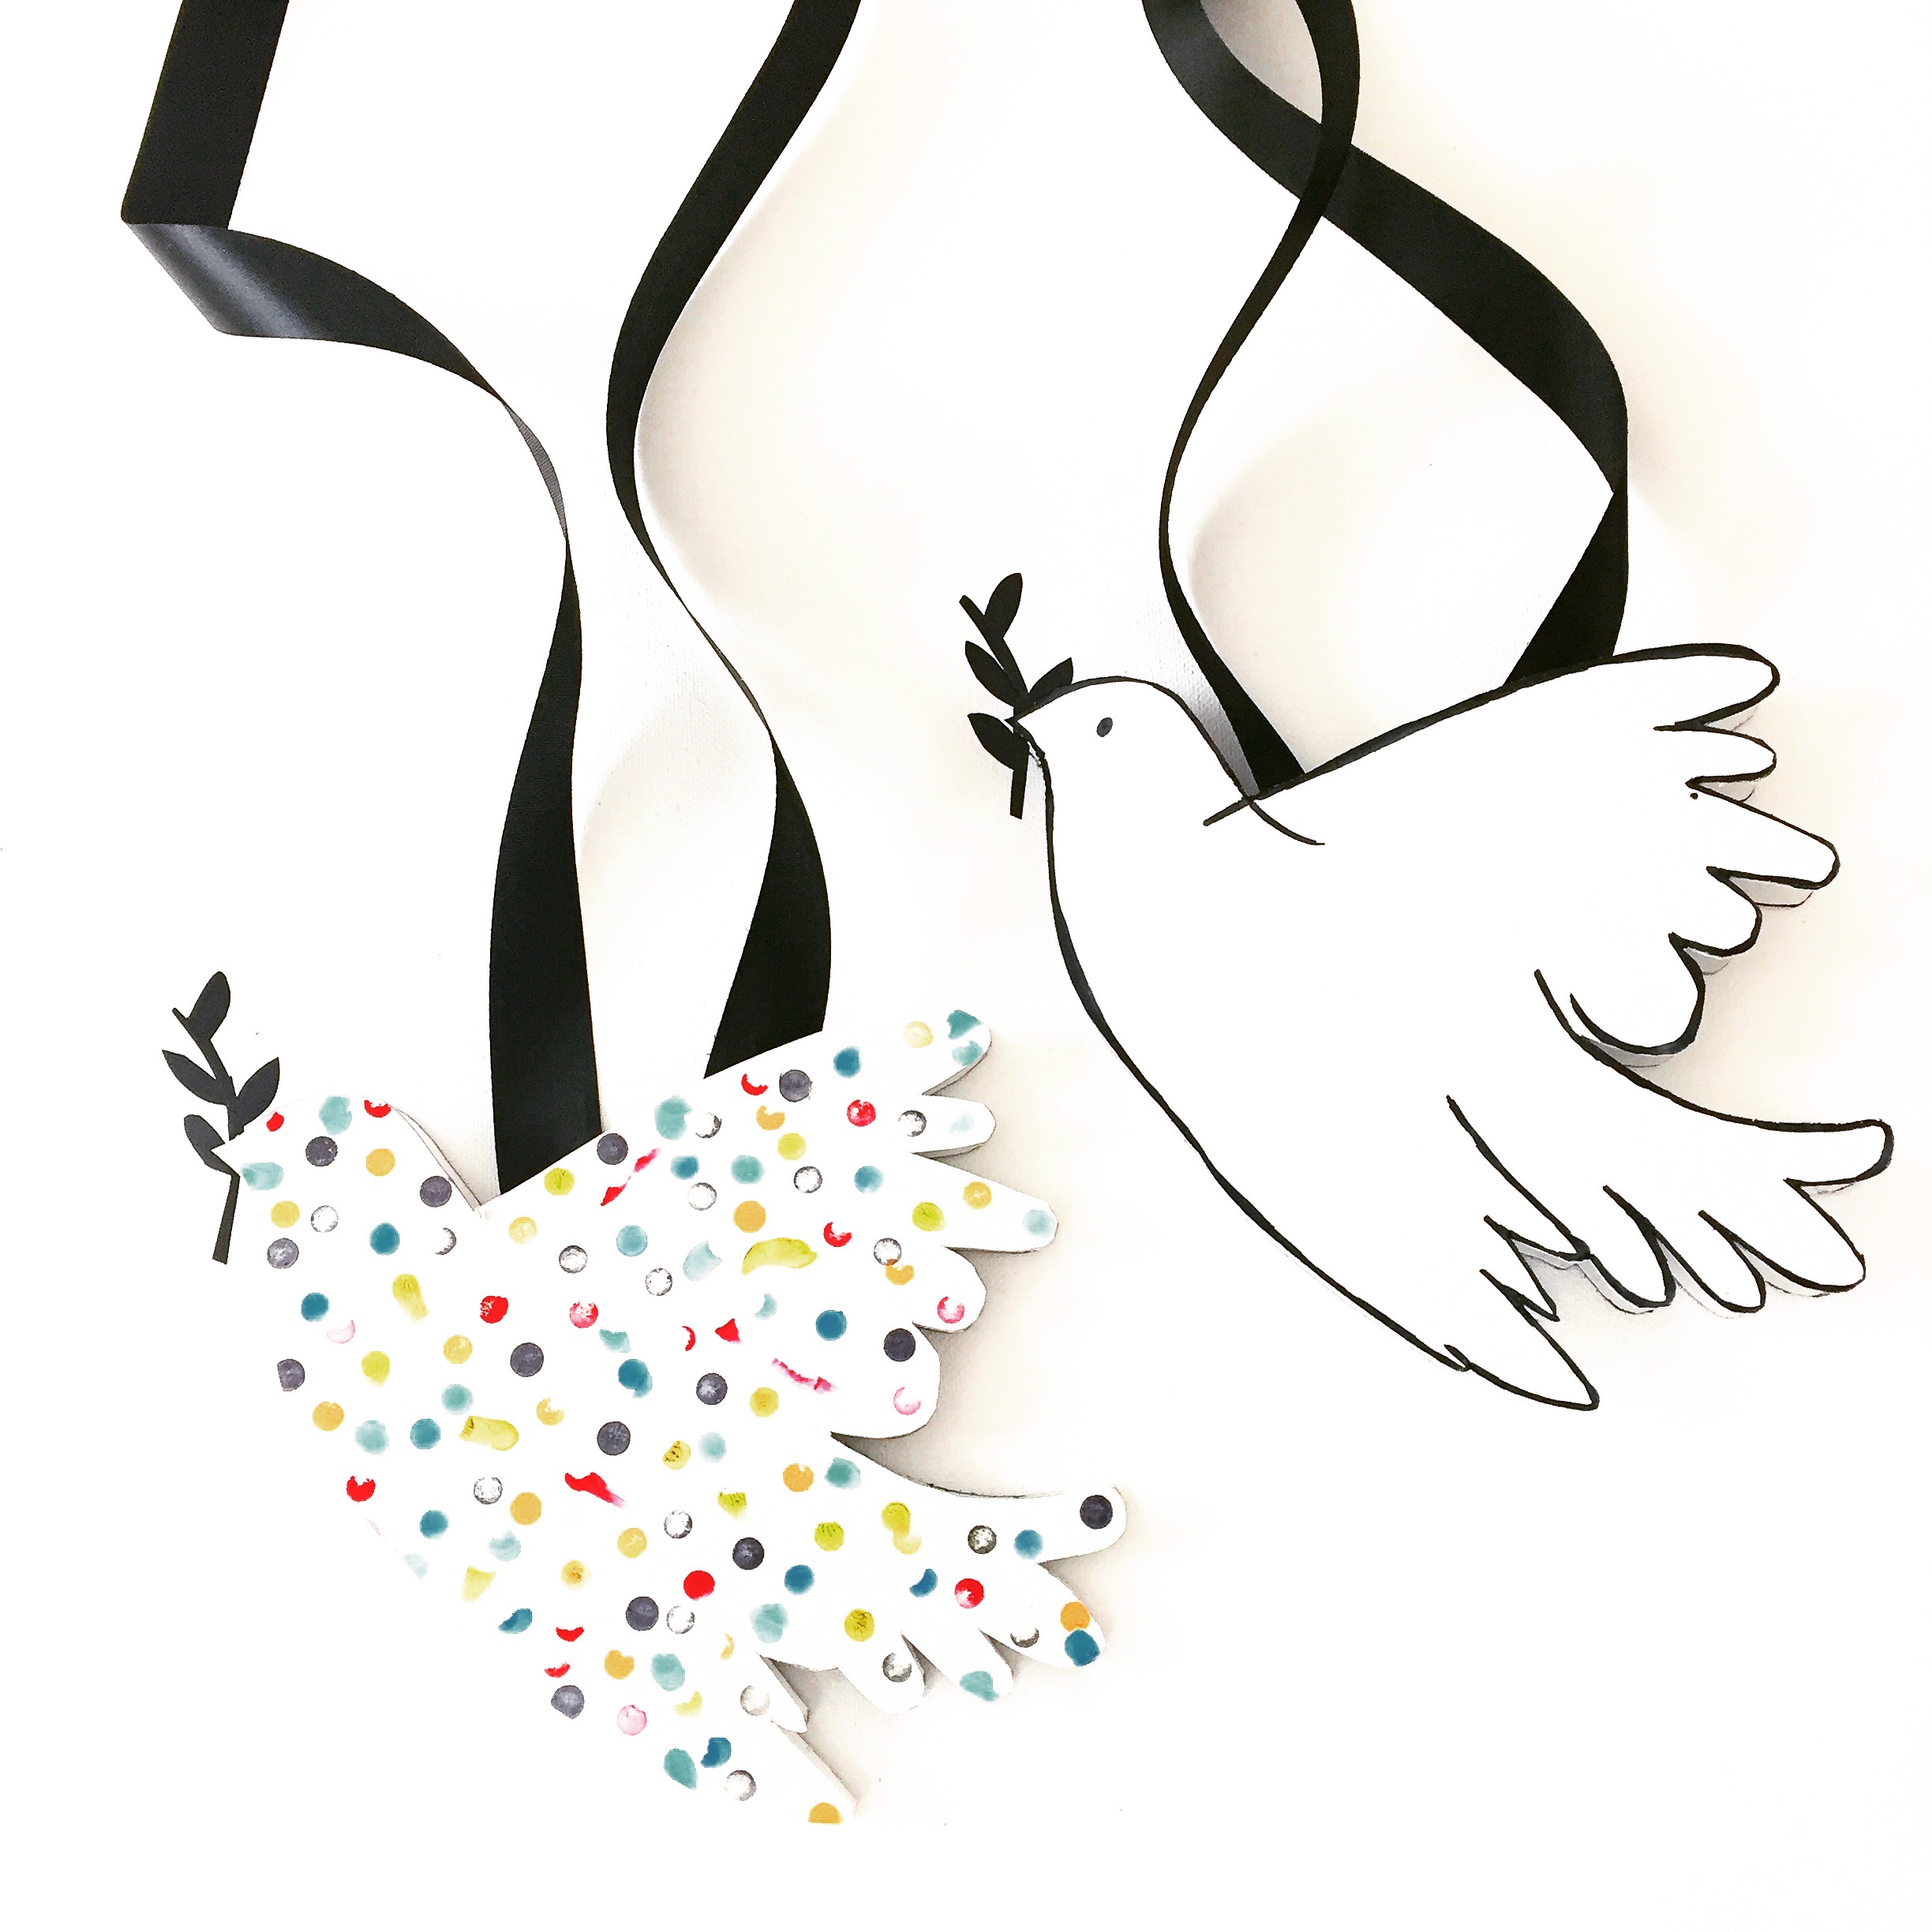
Peace Dove Mobile
“Peace is not something you wish for; it's something you make, something you do, something you are, and something you give away.”
- John Lennon
I have always loved Picasso's dove drawings. I love the simplicity of the lines and the quiet strength that they exude. We have a black and white print of one hanging in our living room and I was looking at it the other night while thinking about how cool it would be to create a hanging mobile version. So that's just what I did:

Materials:
pencil with new eraser (for stamping)
black ribbon for hanging
** Please note that we participate in the Amazon Affiliate program. This means if you purchase any of the products linked here we will receive a tiny sales commission at no additional cost to you. We only link to products we use and love. Your support helps us keep this site running - thank you!

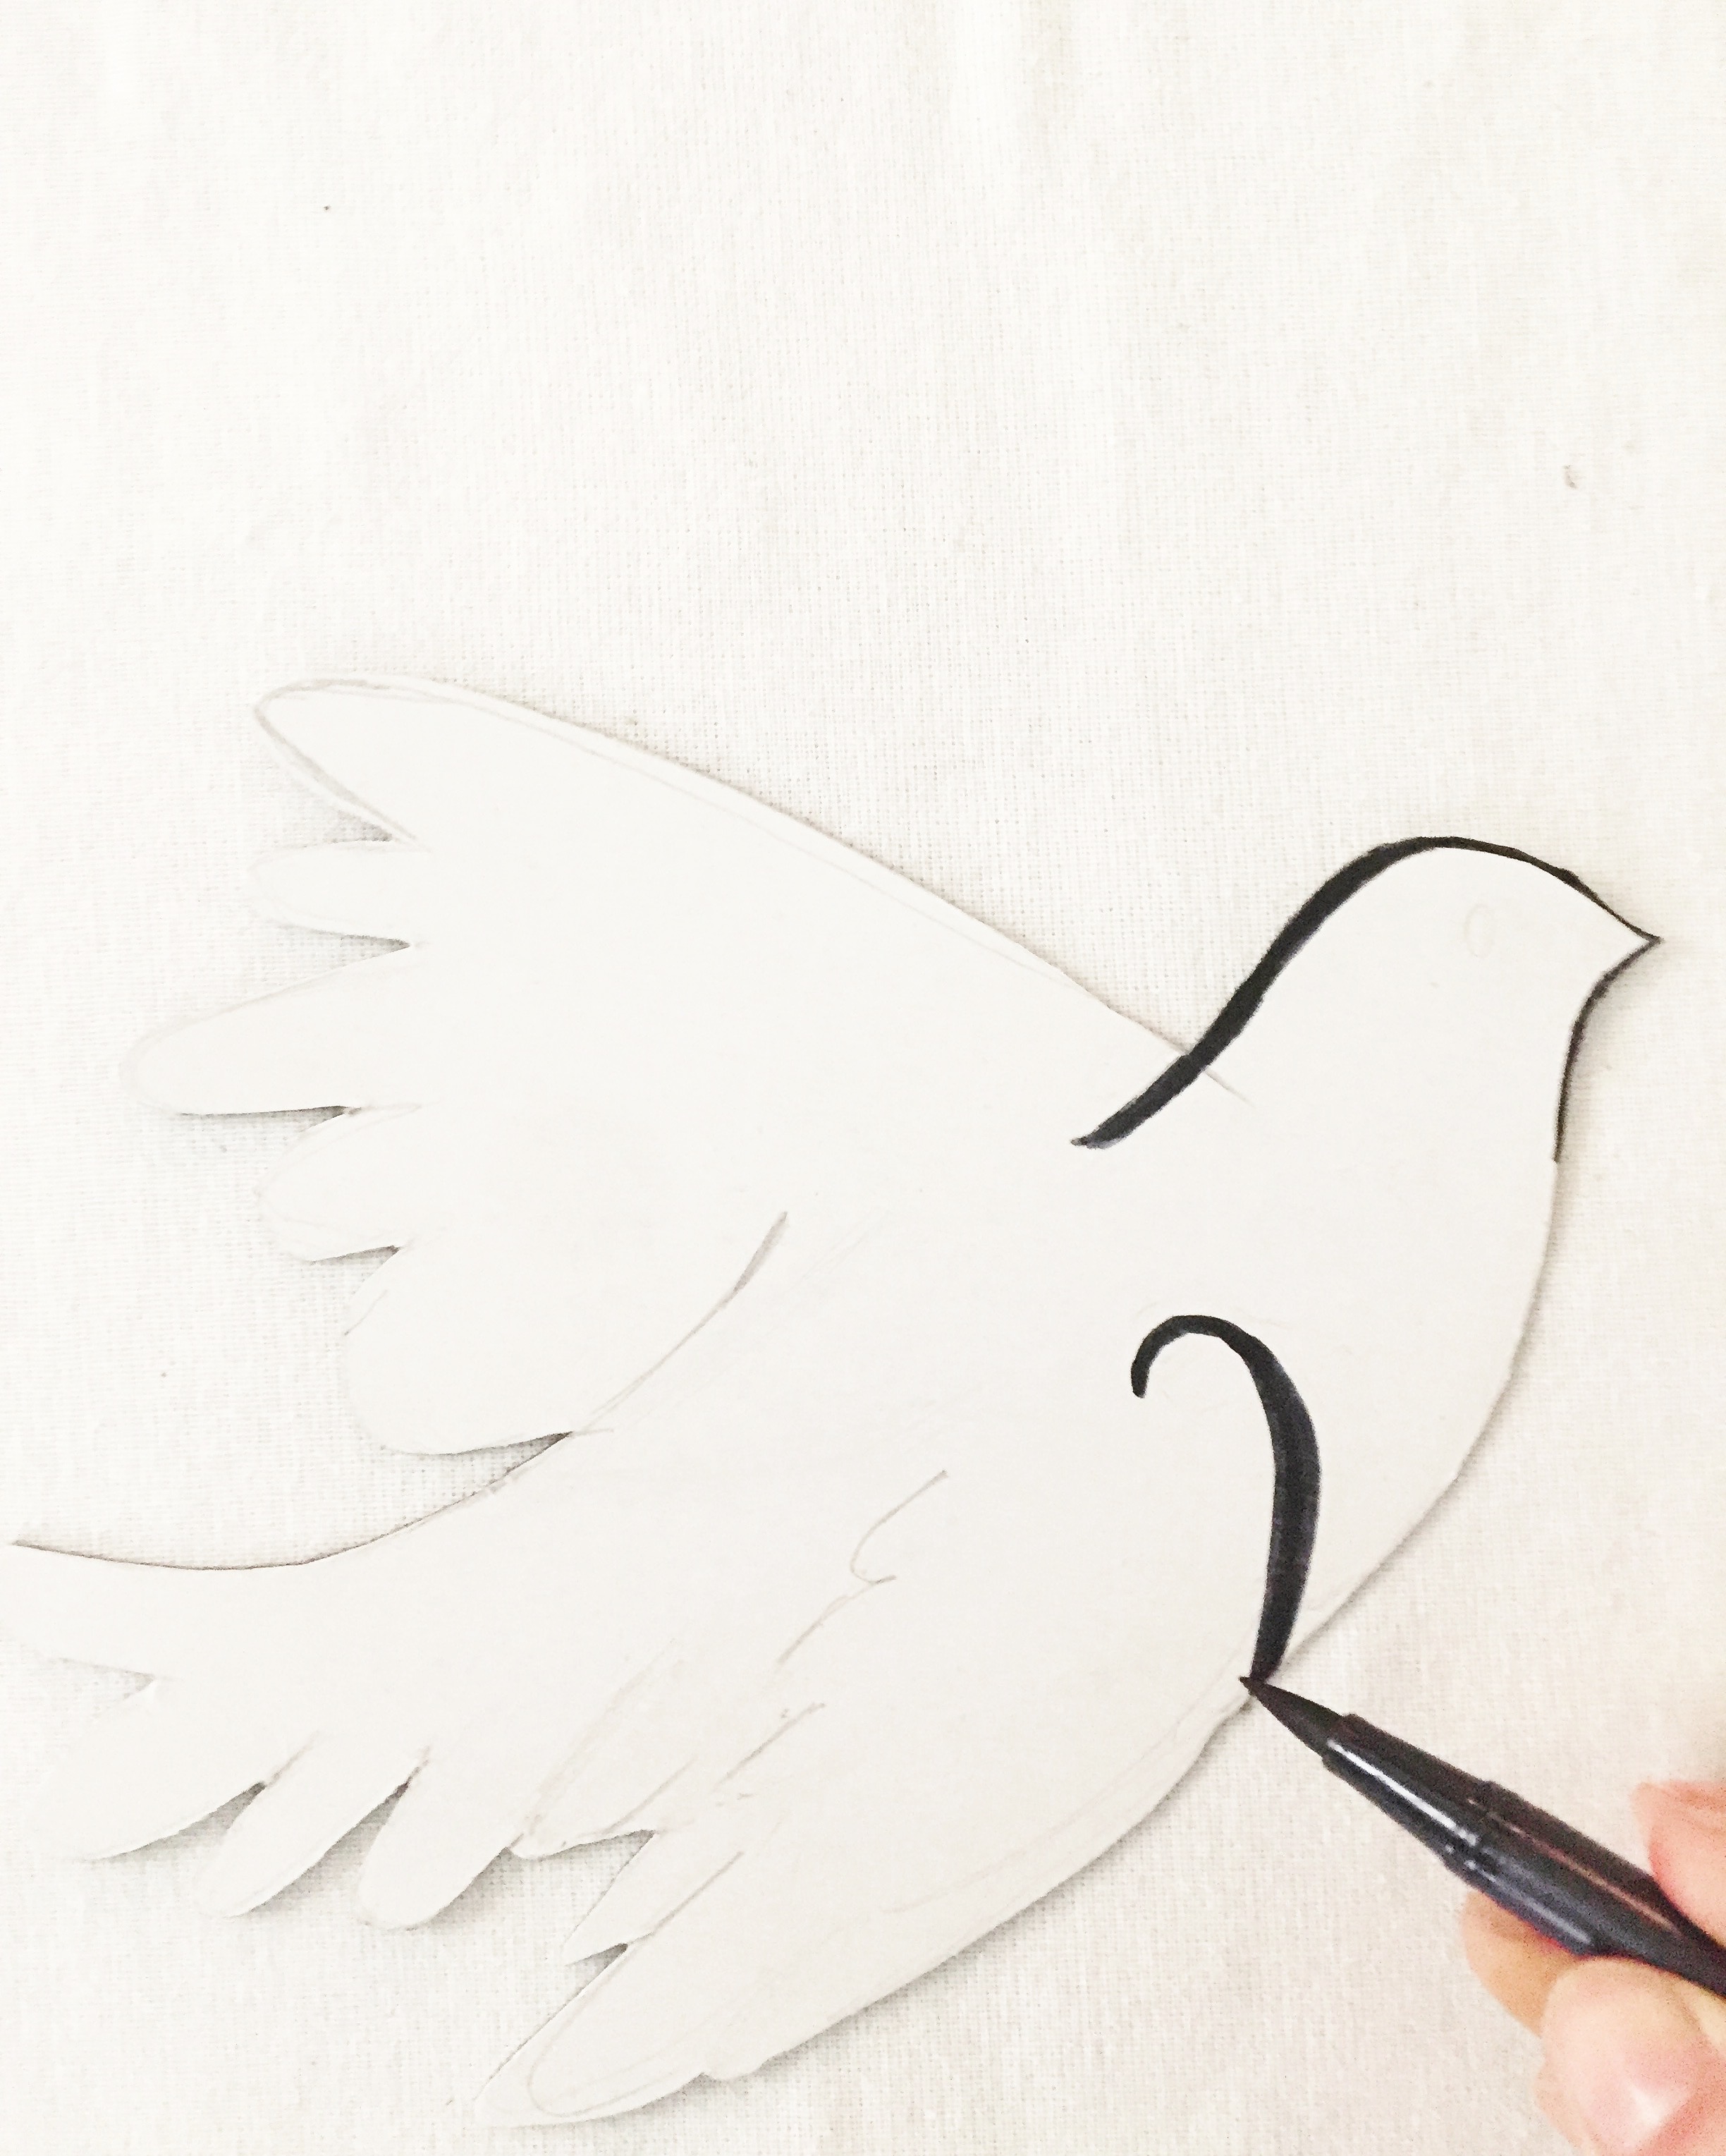
1. Sketch or trace your dove on the white poster board.
2. Cut your dove out.
3. Trace and cut out a second dove shape using the first as a template so that you have two identical dove shapes.
4. Trace and cut 2 small olive branches from your black card stock.
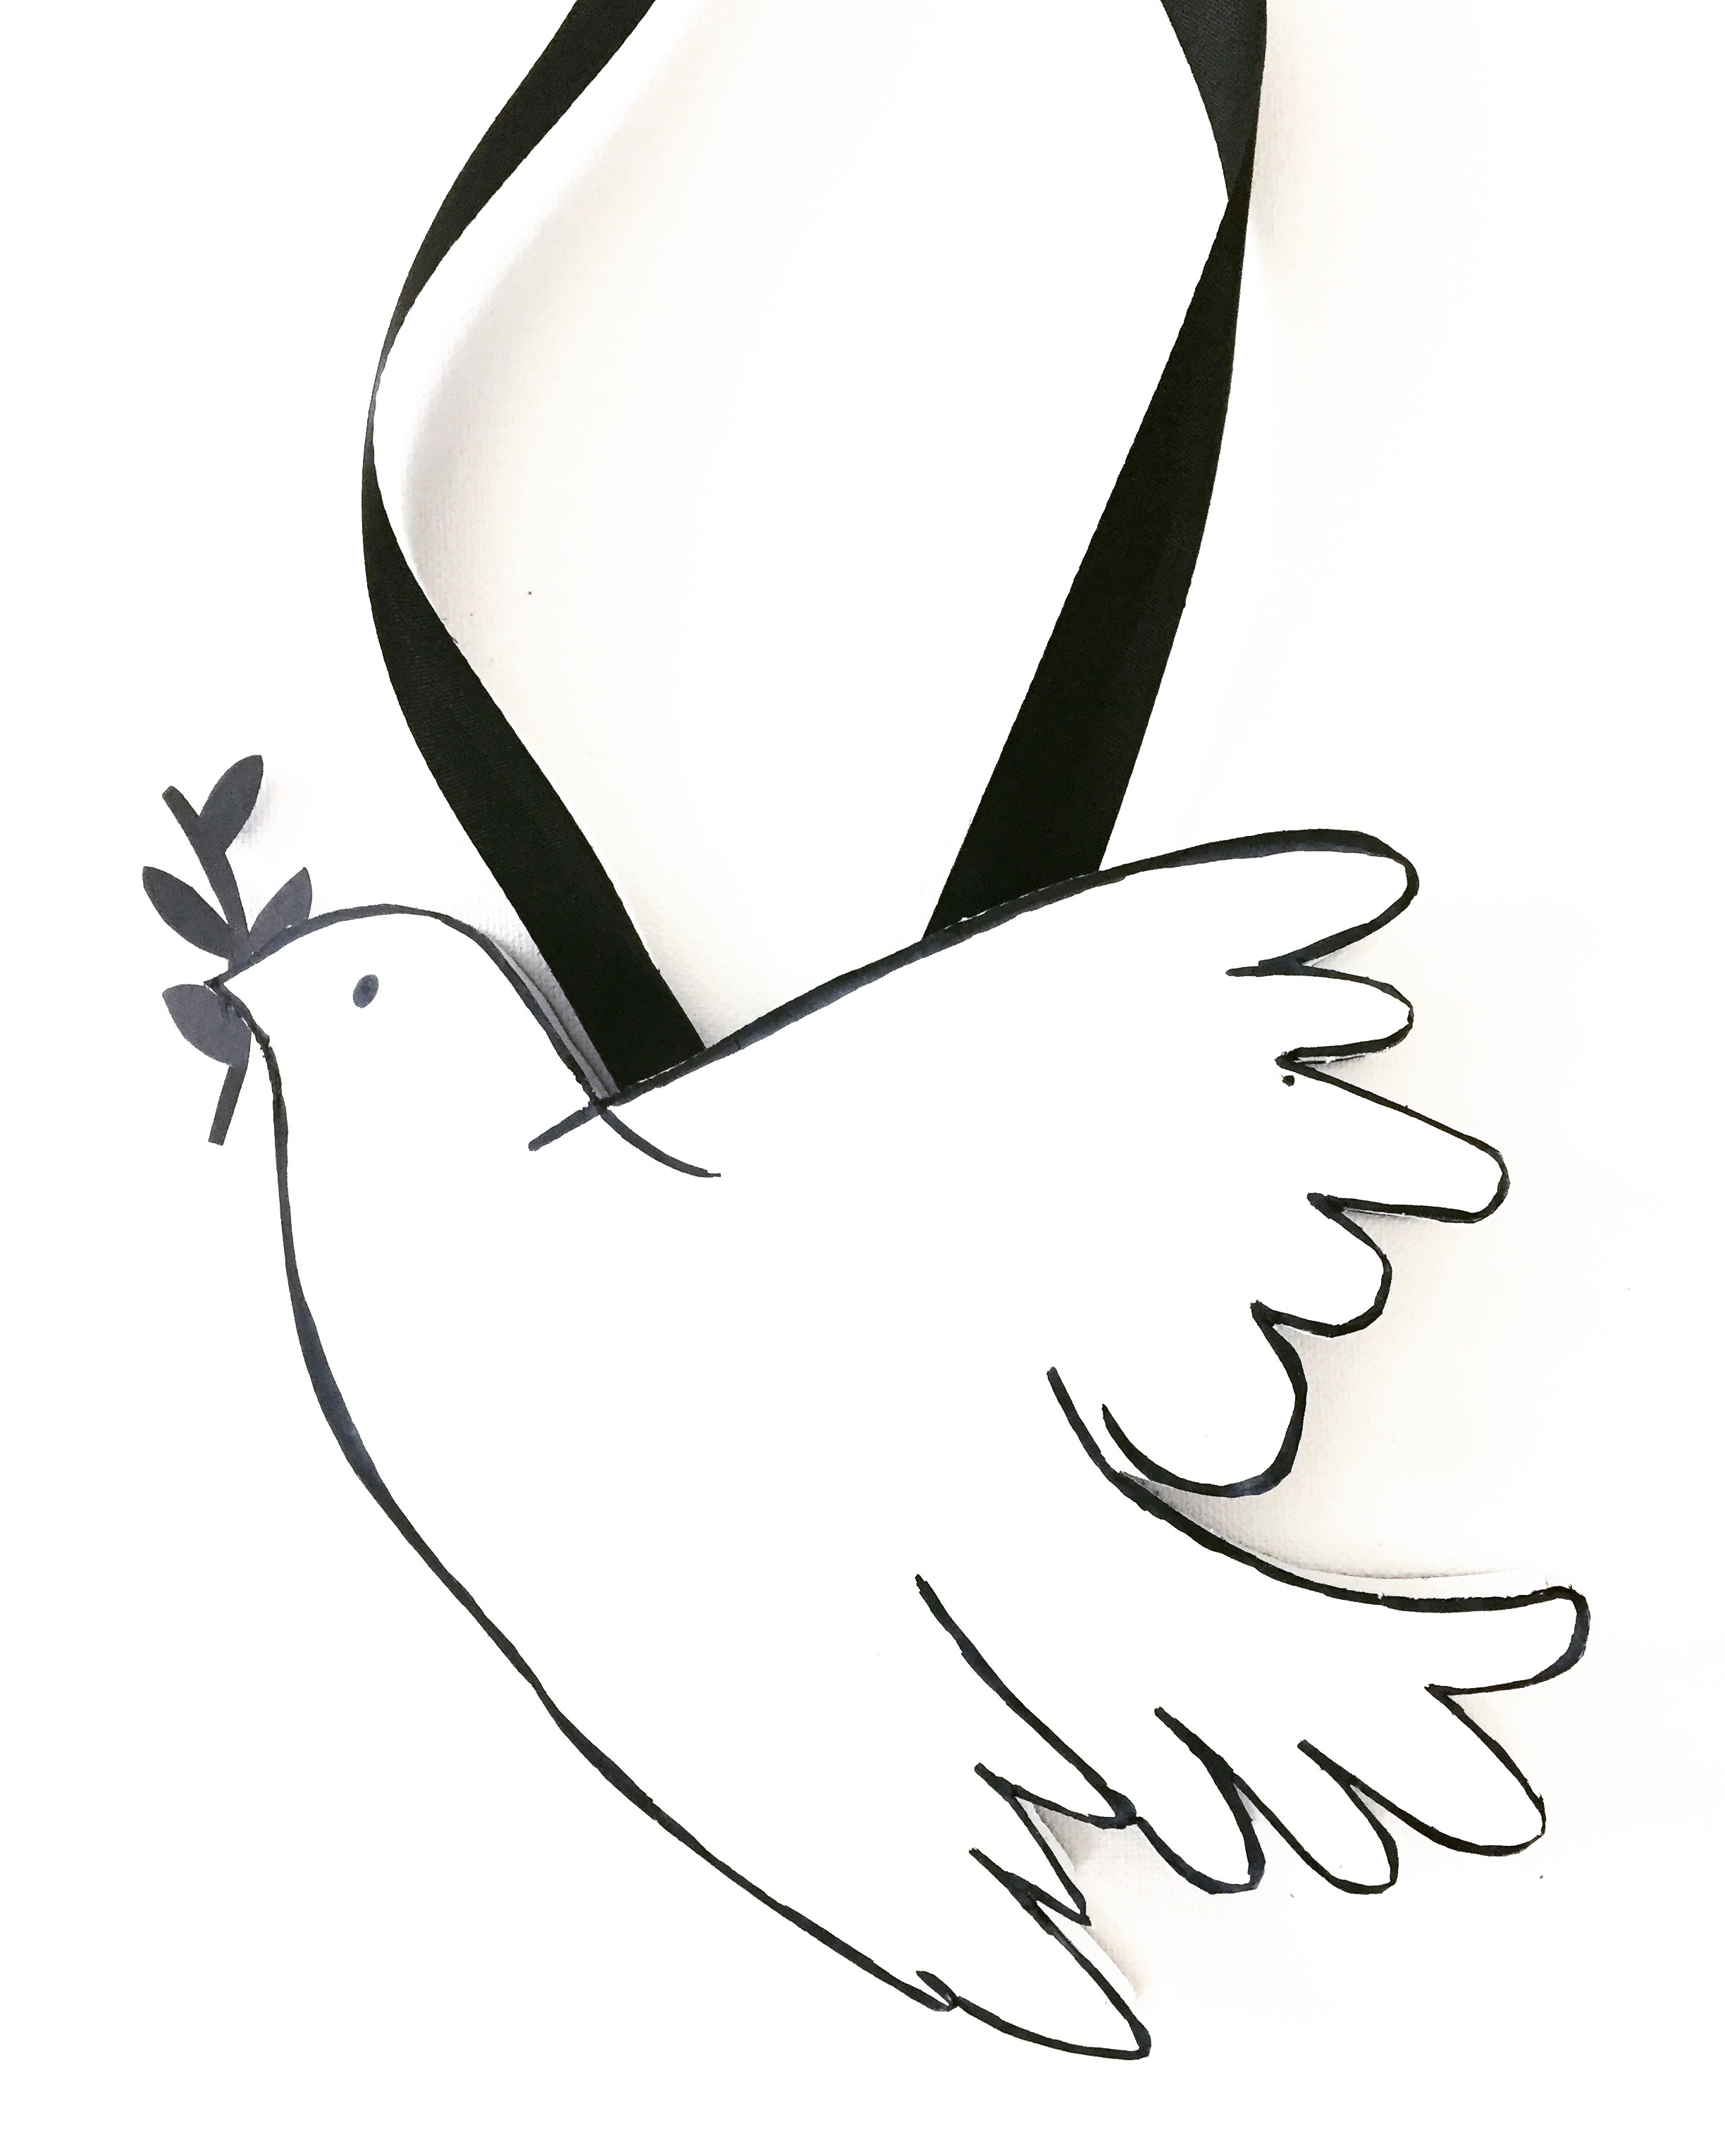
4. Outline your dove with a black brush pen if you are doing it Picasso style.
5. Another fun variation is to stamp dots and dashes like confetti with a pencil eraser + ink pads.

At this point my youngest daughter wanted in on the action. She made dots on her doves with her pencil eraser and used a 0 stamp for ovals.

Then H decided that she wanted to outline one of her doves with a blue brush marker. She also experimented with dabbing her eraser with red ink and dragging it along her dove's belly.

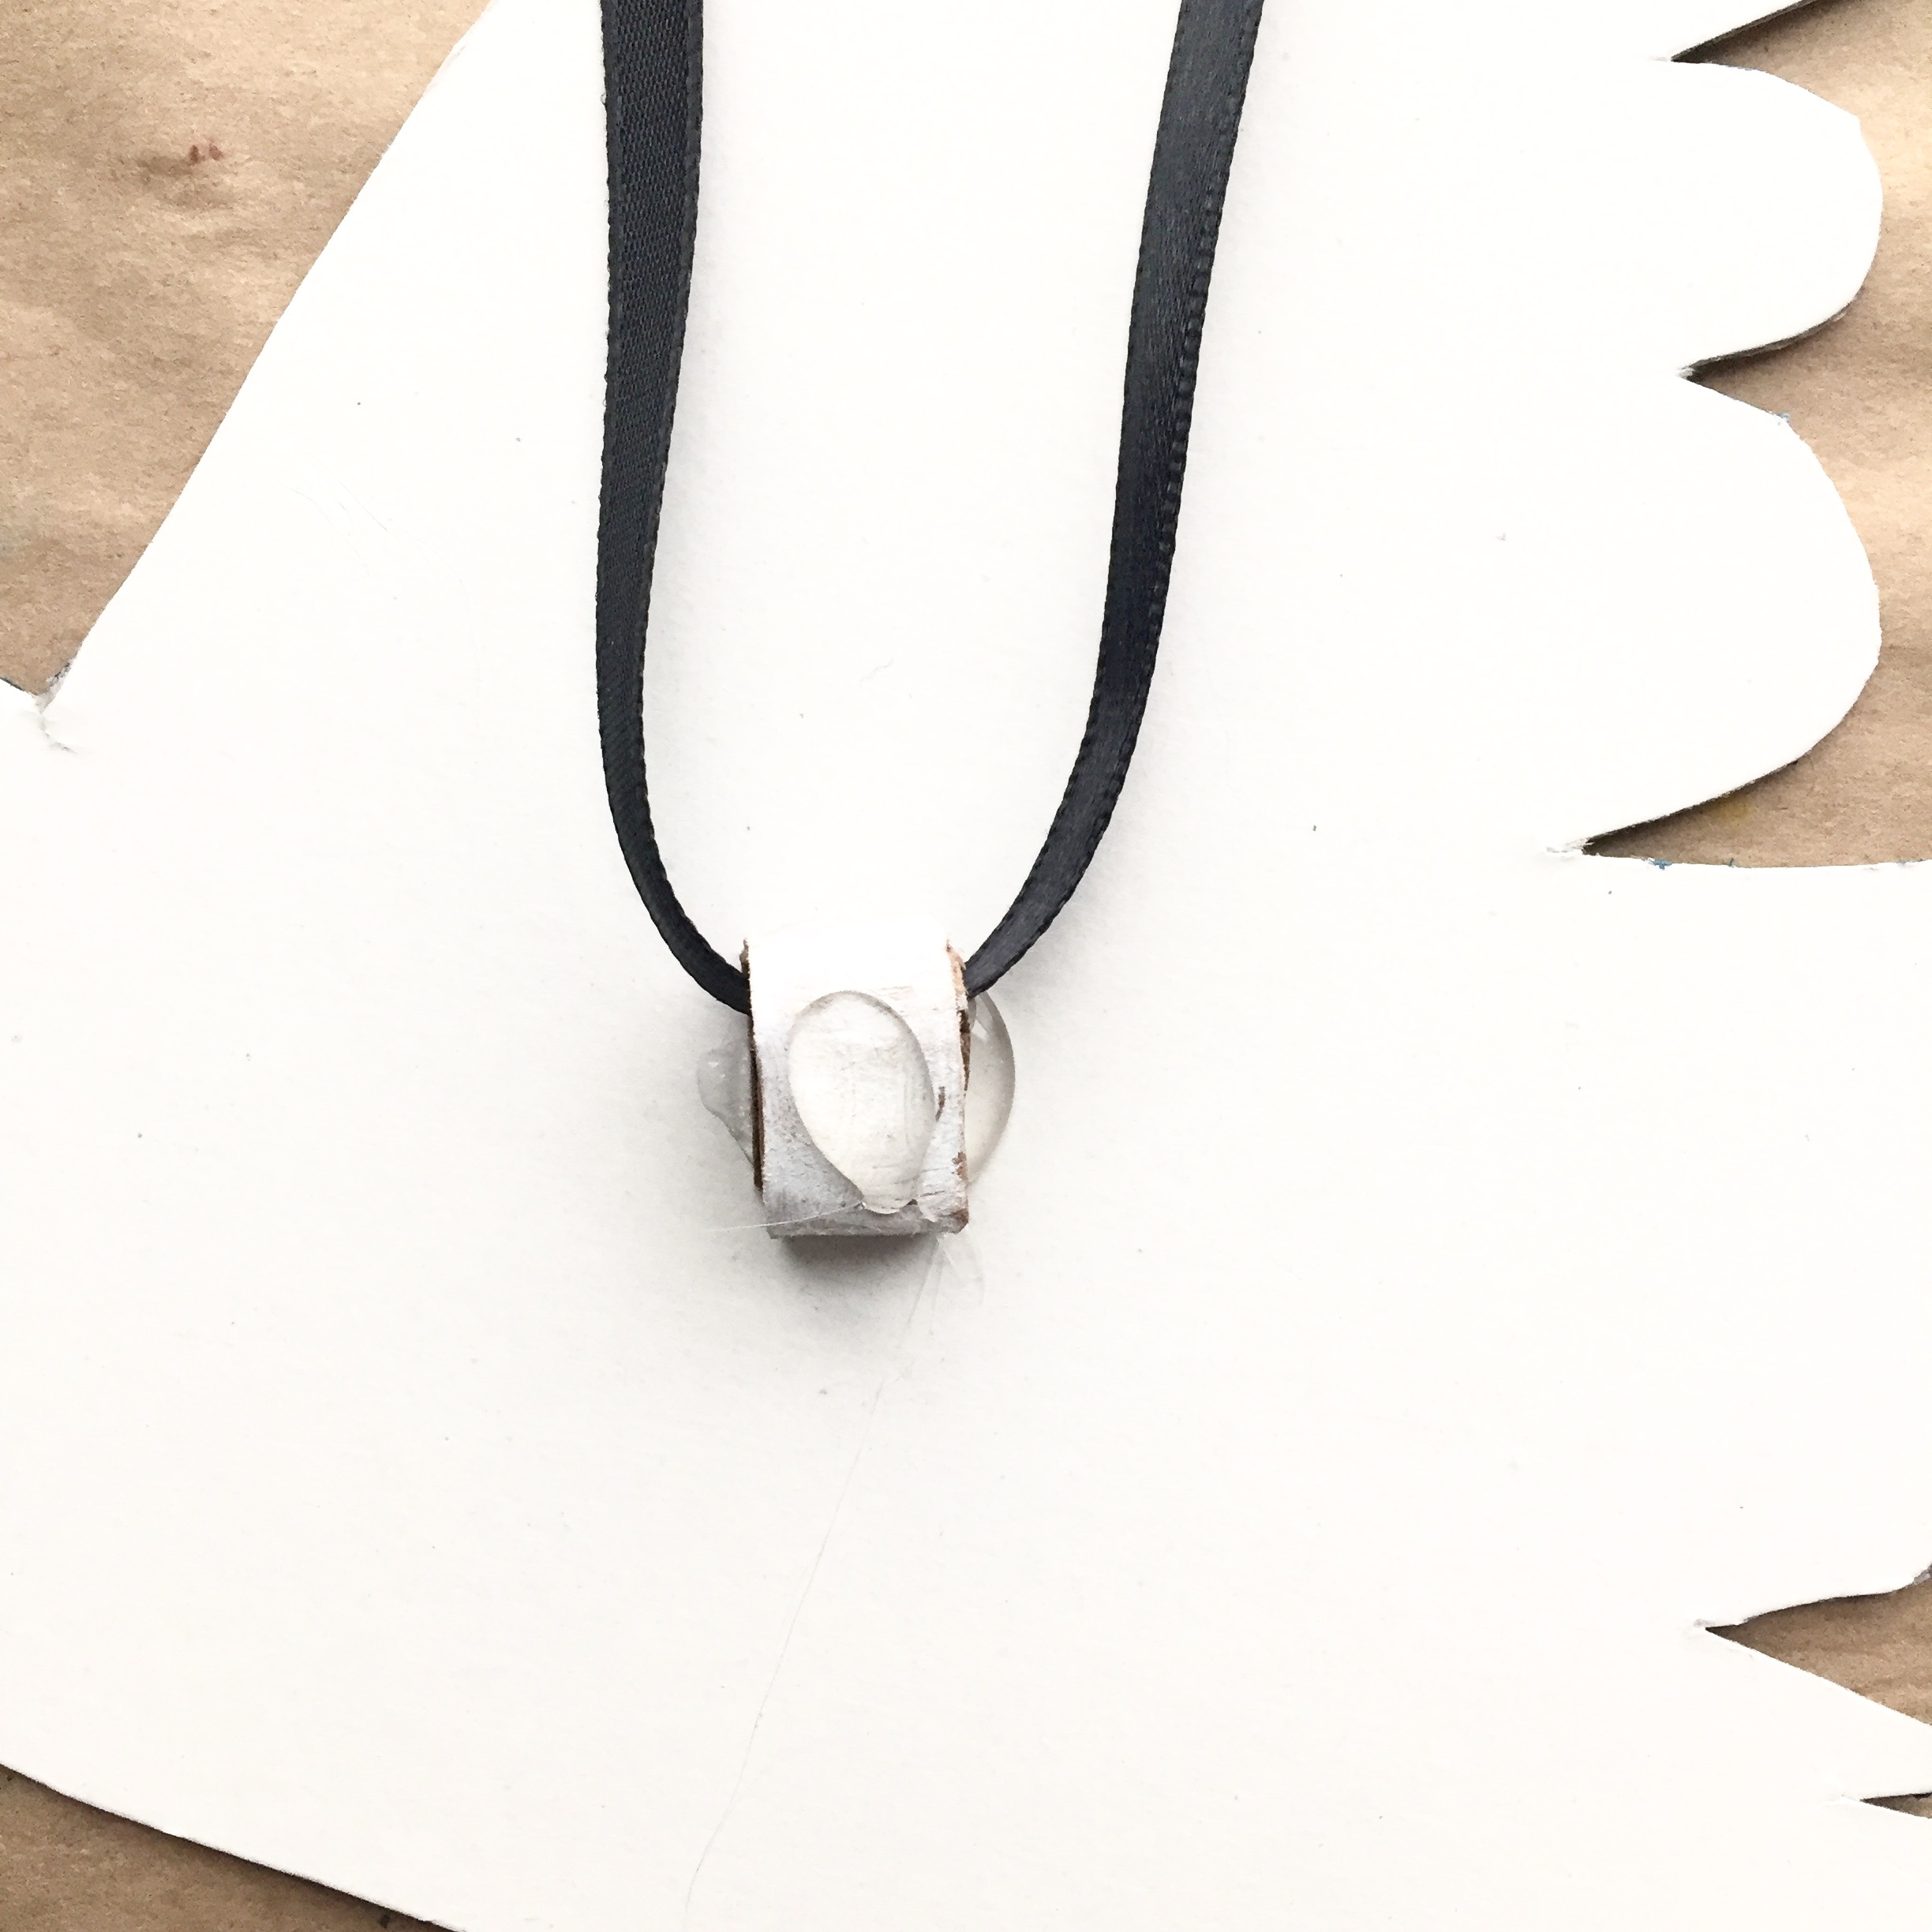
5. When you are done decorating you will make a cardboard bracket to connect your two doves. I used a ruler to crease my bracket square

6. I decided that my bracket should probably be white so I colored it in with a white chalk marker and attached it to the back of my dove with a dab of hot glue.
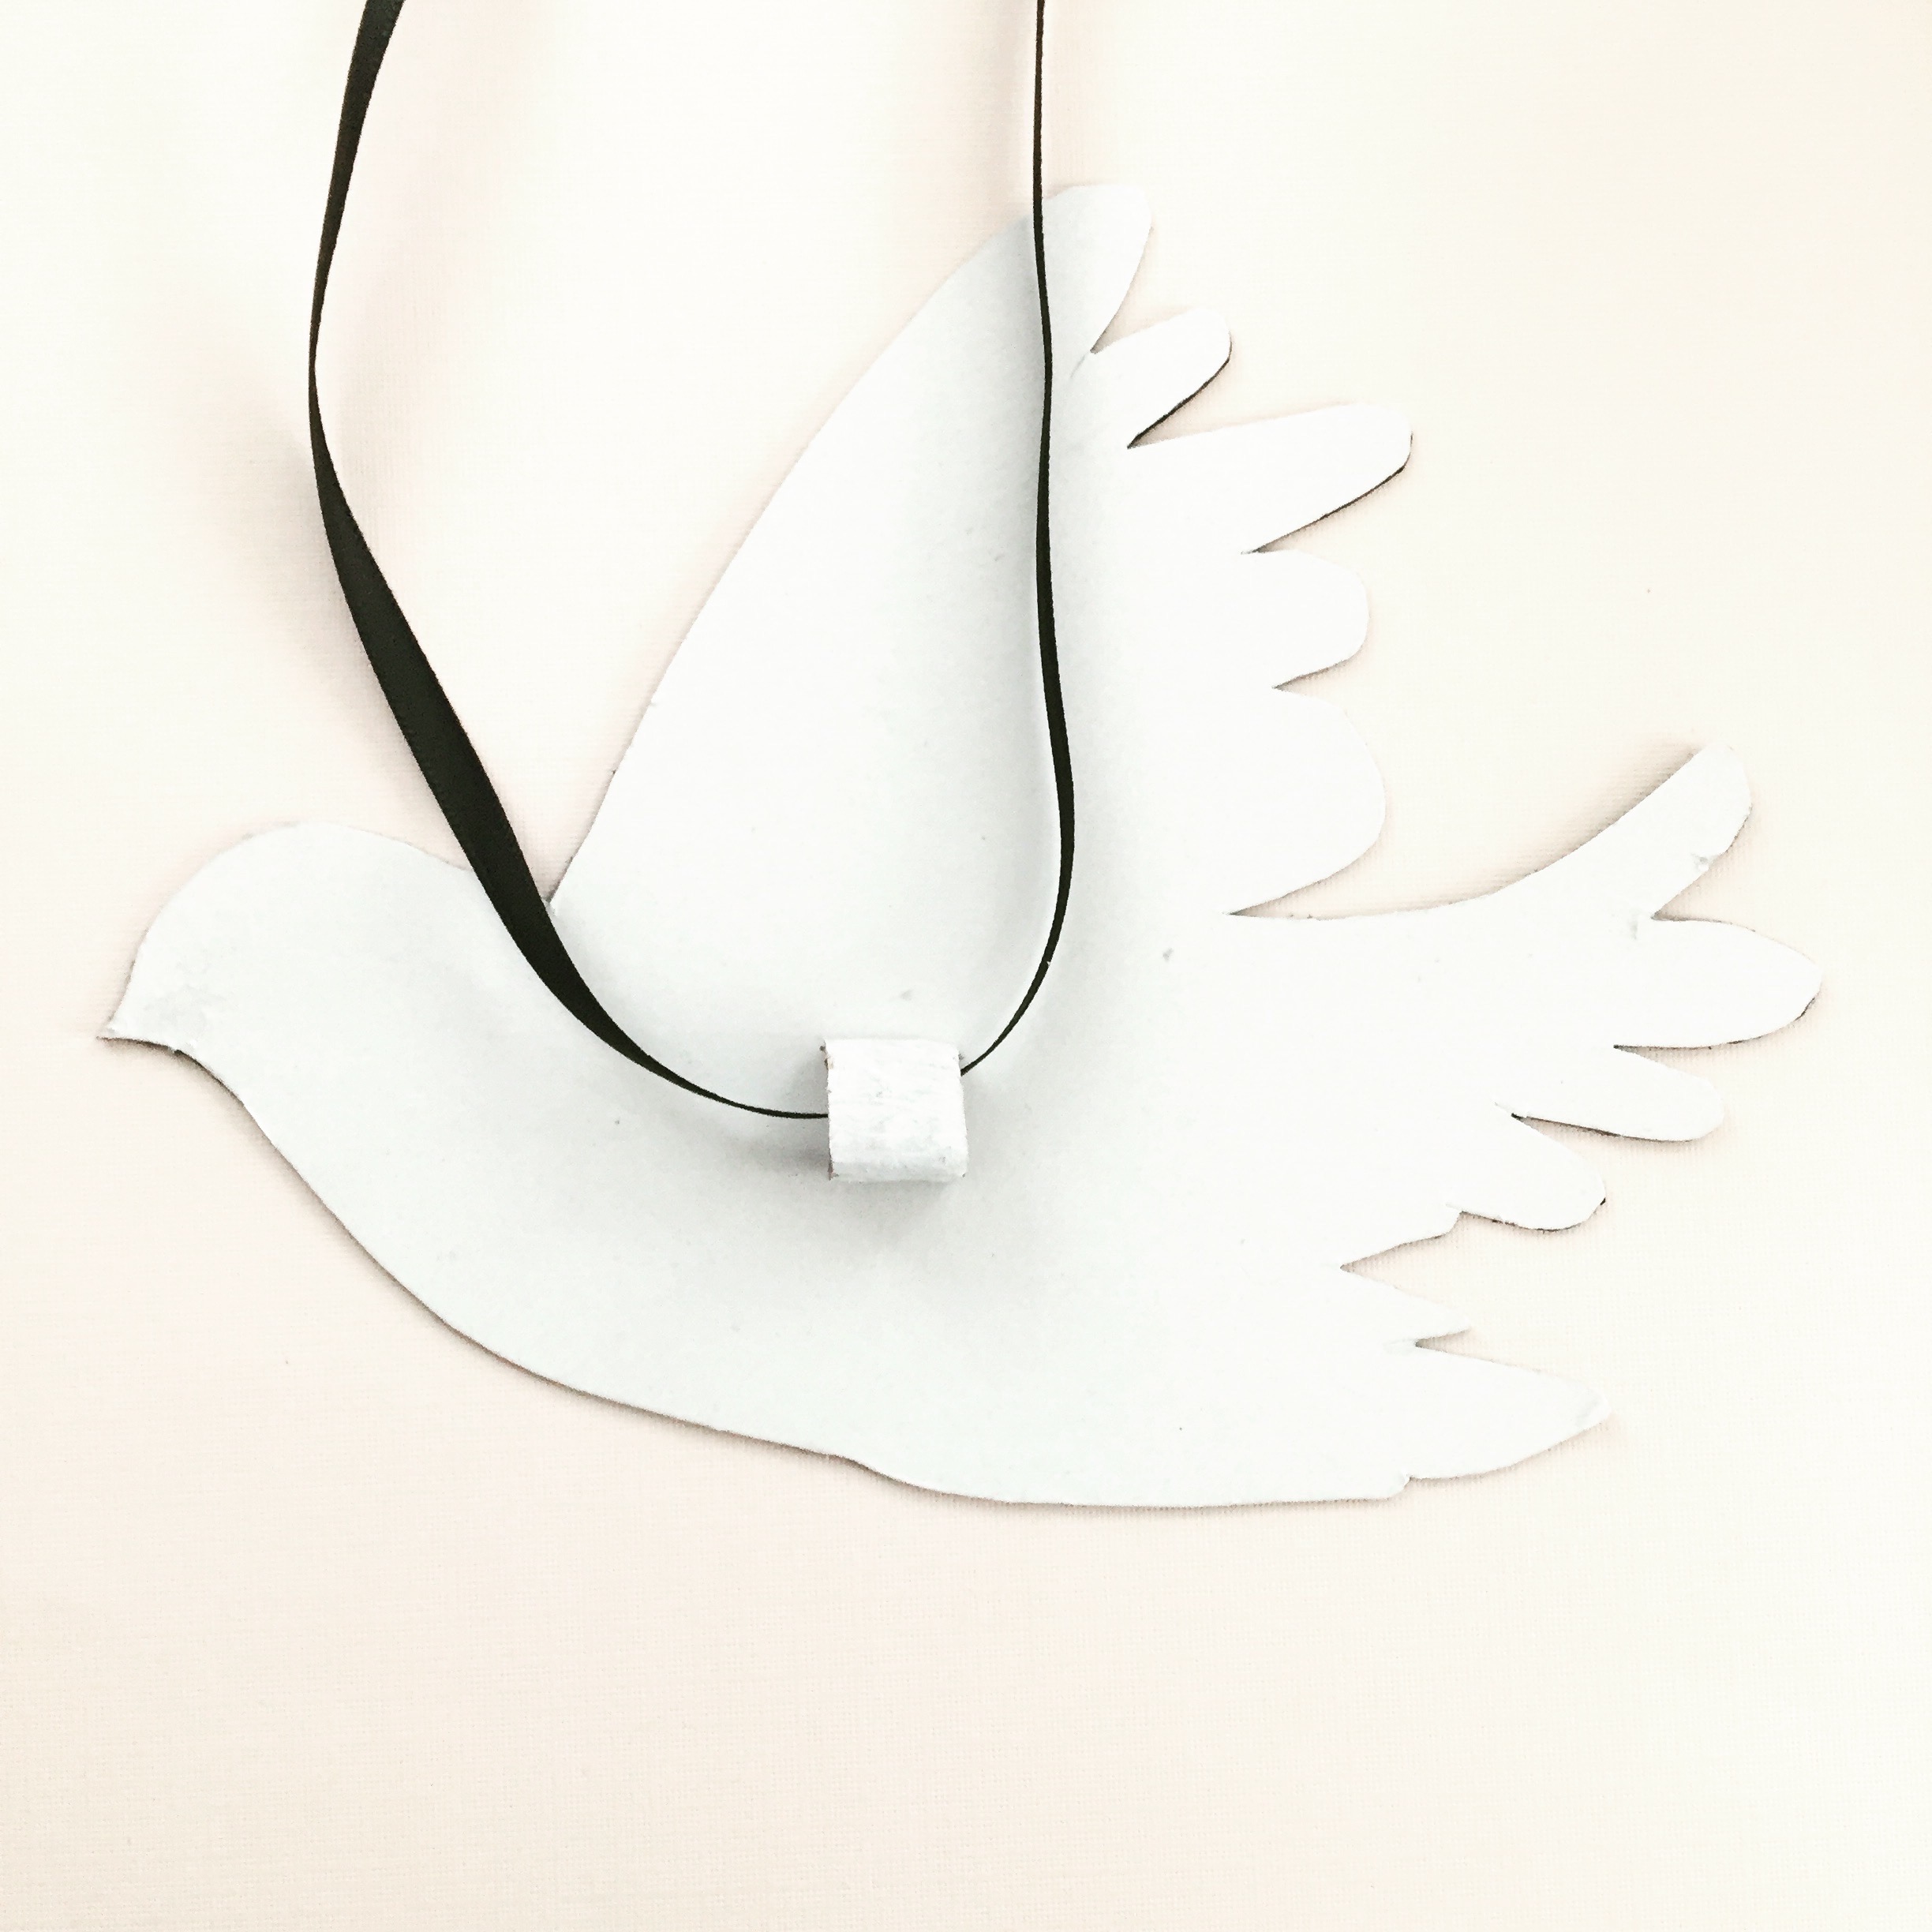
7. Add a dab of glue to the top of your paper bracket and attach your top dove.
How sweet are these? We hung ours with black ribbon mobile style but you could use your dove as a tree topper or on top of a gift. I love how they turned out!