
Clothespin Rudolph Ornament

"From a tiny spark may burst a mighty flame."
-Dante
For as long as I can remember I have been obsessed with miniatures. There is something so magical about tiny replicas of things. It might be leftover from my early childhood when my imaginary friends were fairies who lived in the trees of Central Park. Lucky for me, Ri has caught the mini bug too. She even did an oral presentation on miniature artists a few weeks ago. We are big fans of mini artist, Mar Cerdà who is based in Barcelona. I promised Ri that we would work on some handmade miniatures this week. Starting with this little guy:
Materials:
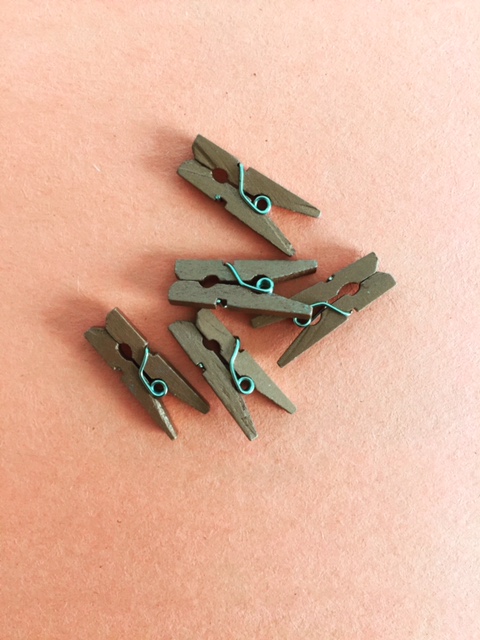
mini clothes pins (we used silver) 1 per Rudolph
tiny scrap of red tissue (for his nose)
diluted white paint for splatters
** Please note that we participate in the Amazon Affiliate program. This means if you purchase any of the products linked here we will receive a tiny sales commission at no additional cost to you. We only link to products we use and love. Your support helps us keep this site running - thank you!
1. Disassemble your mini clothespins, leaving you with two “legs”.
2. Print your template. Scale it down to 60%.

3. Cut out the body piece, ears, and antlers.
4. Trace your Rudolph shape a few times if you are making more than one ornament.


5. Time to splatter! Dip your brush into diluted, runny paint and tap away!

6. Set your reindeer out to dry. *Make sure you are heating up your glue gun at this point. Ours took about 20 minutes to dry.

7. Cut out all of your bodies and antlers.

8. Cut a small slit in the top of the reindeer heads and the base of the antlers so that you can join them together.
9. Add a tiny dab of glue to the top of your reindeer and slide the antlers into place.

10. Attach your mini clothespin legs. Roll up a tiny red tissue ball for the nose and attach it with glue to the tip of your reindeer's snout.

11. Create a hanging loop by adding a small dab of glue and a piece of thread to the center back of your reindeer and you’ve got yourself a cute mini reindeer.


Use them as ornaments or gift toppers or add them to your holiday card for an extra special touch.
xx
a.

