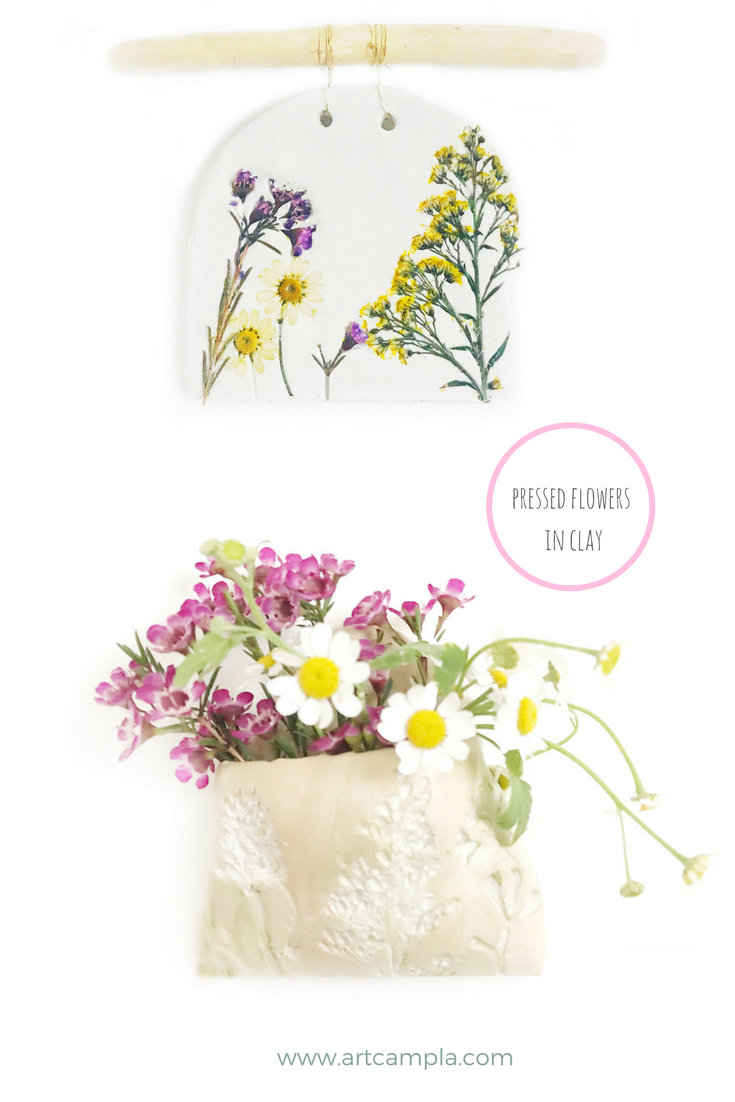
Pressed Flowers in Clay
And the day came when the risk to remain tight in a bud was greater than the risk it took to bloom.
-Anais Nin
When I think of Spring, I think of nature in full bloom. Wild flowers and native plants popping up through the dirt. I wanted to capture that feeling in a project that would preserve the essence of the season long after it has passed. The baking flowers in clay part was an experiment. I wasn't sure how it would go but I am really delighted with both the process and the finished pieces! I hope you enjoy this one as much as we did!

Materials:
fresh flowers
oven
skewer
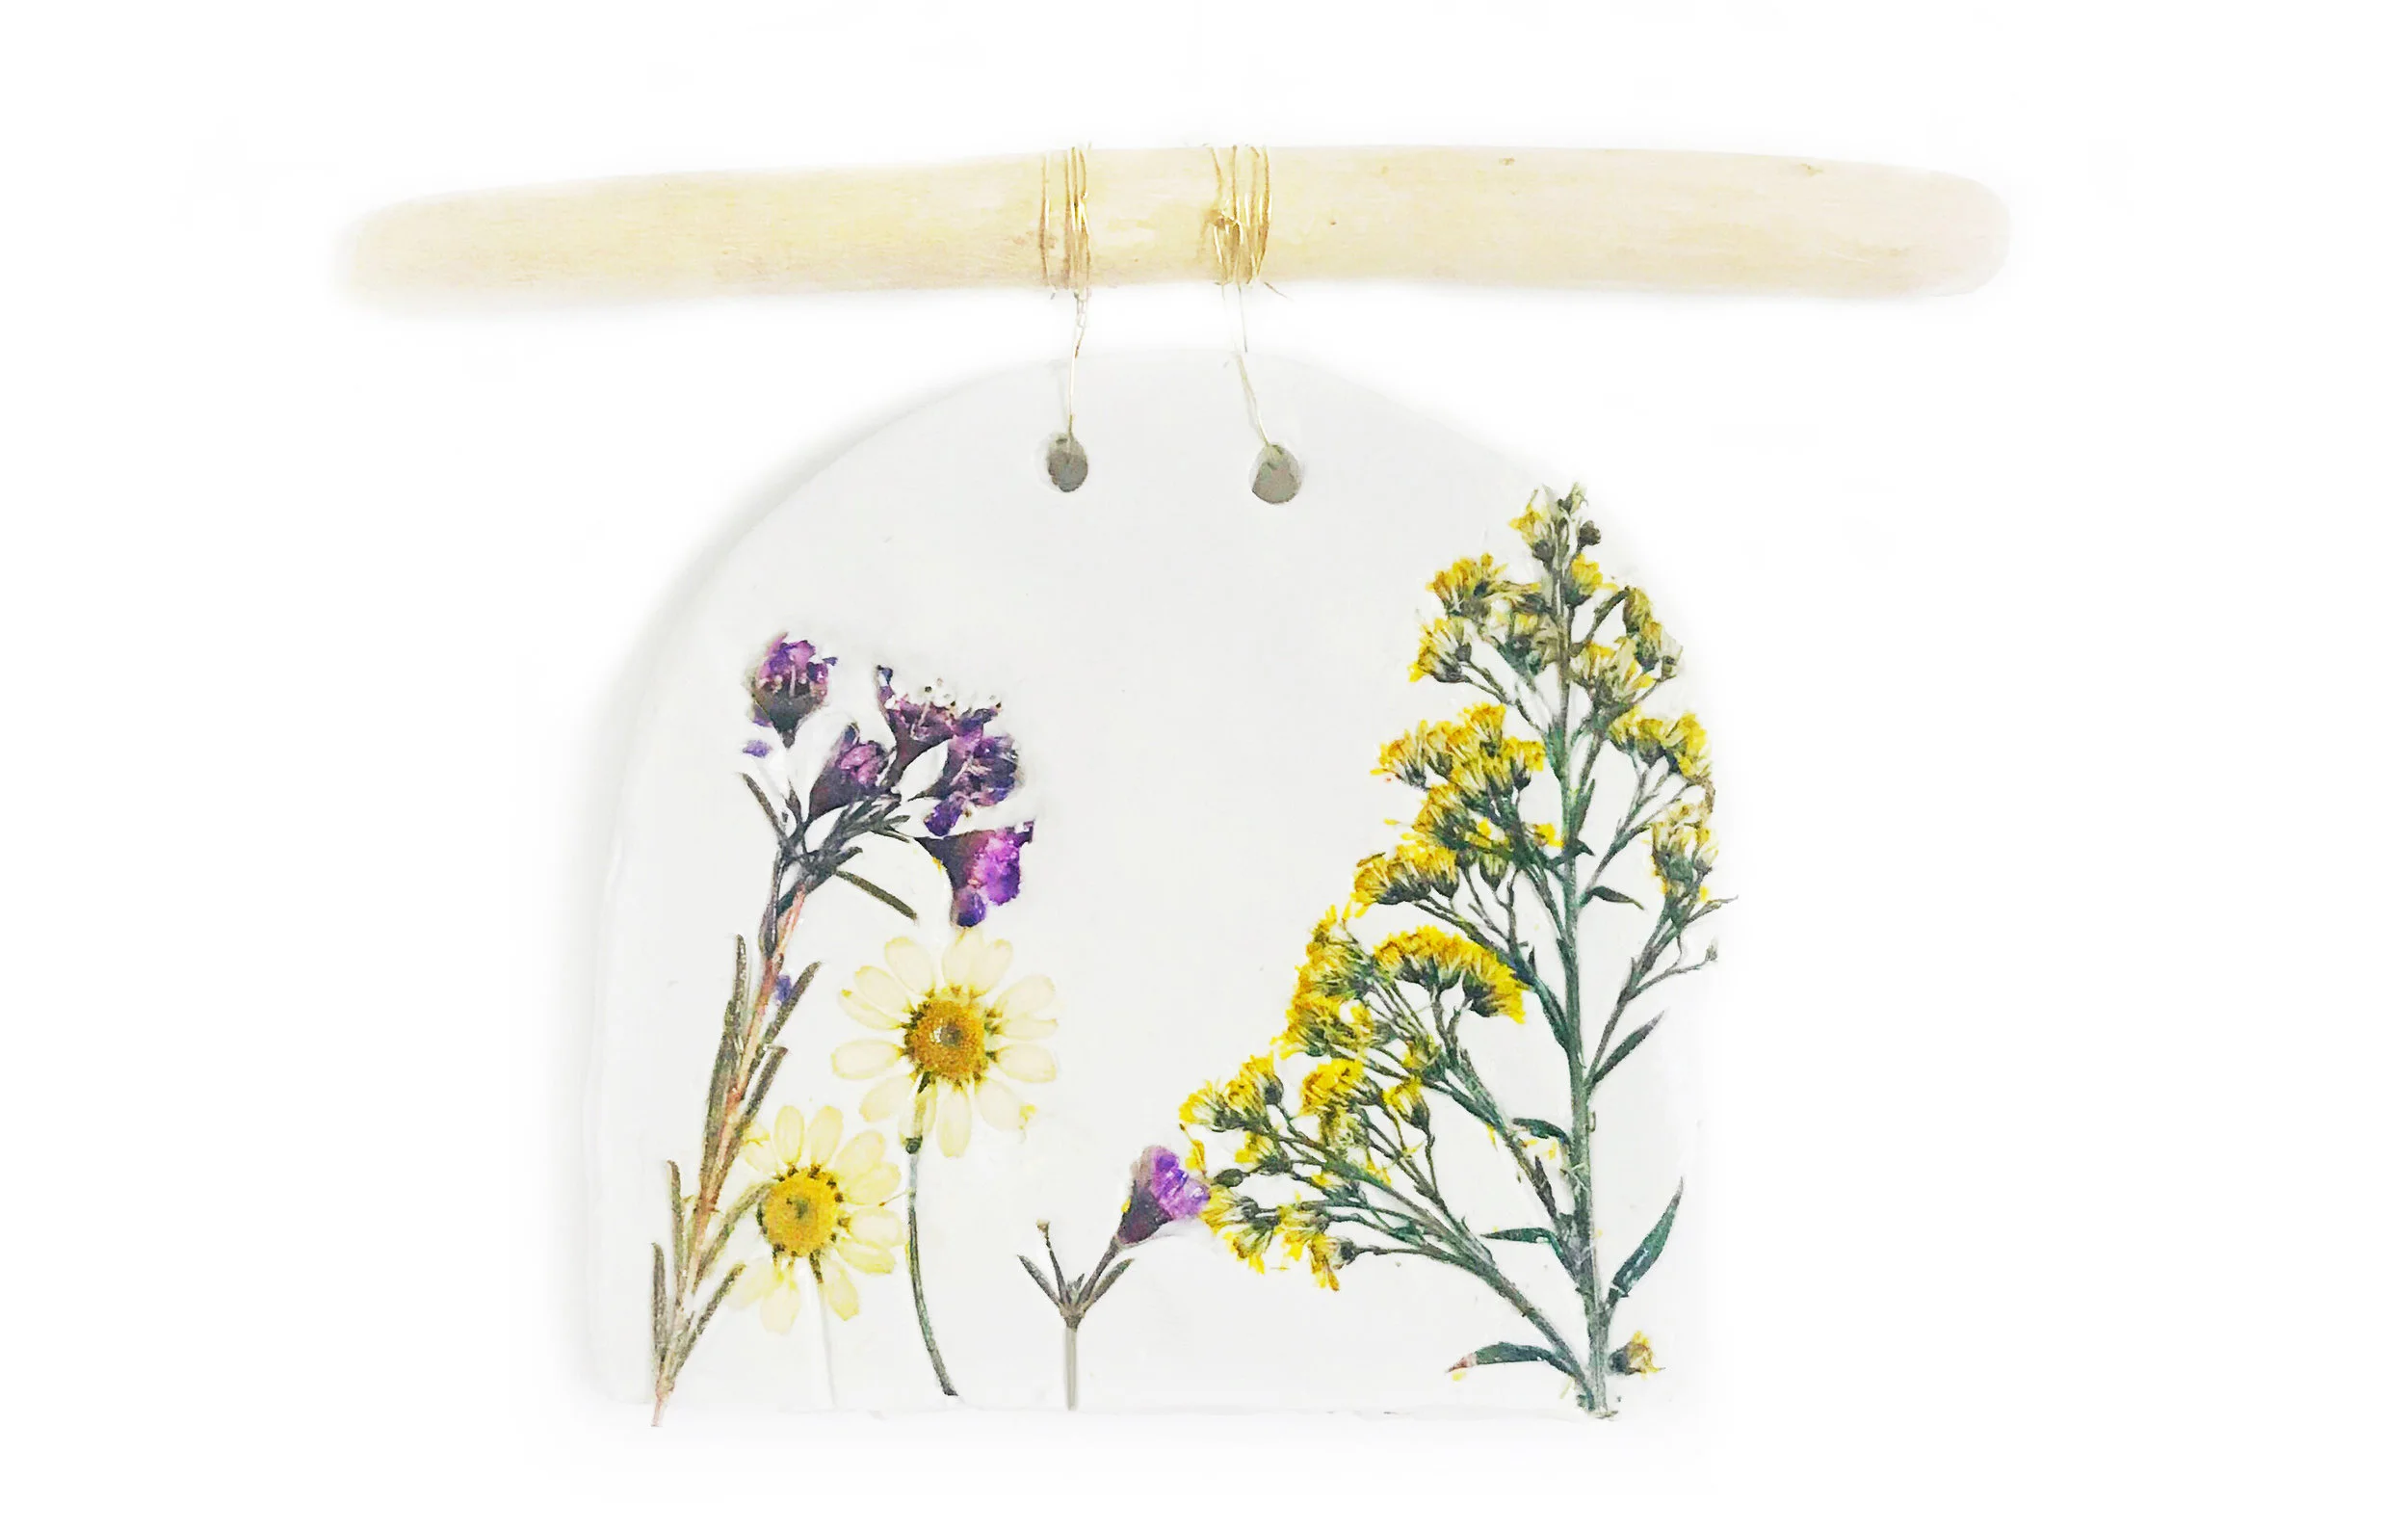
branch (optional)
twine
*if you purchase materials using our links we will receive a small % of the sale at no additional cost to you. We only link to materials we use. Thank you for your support!
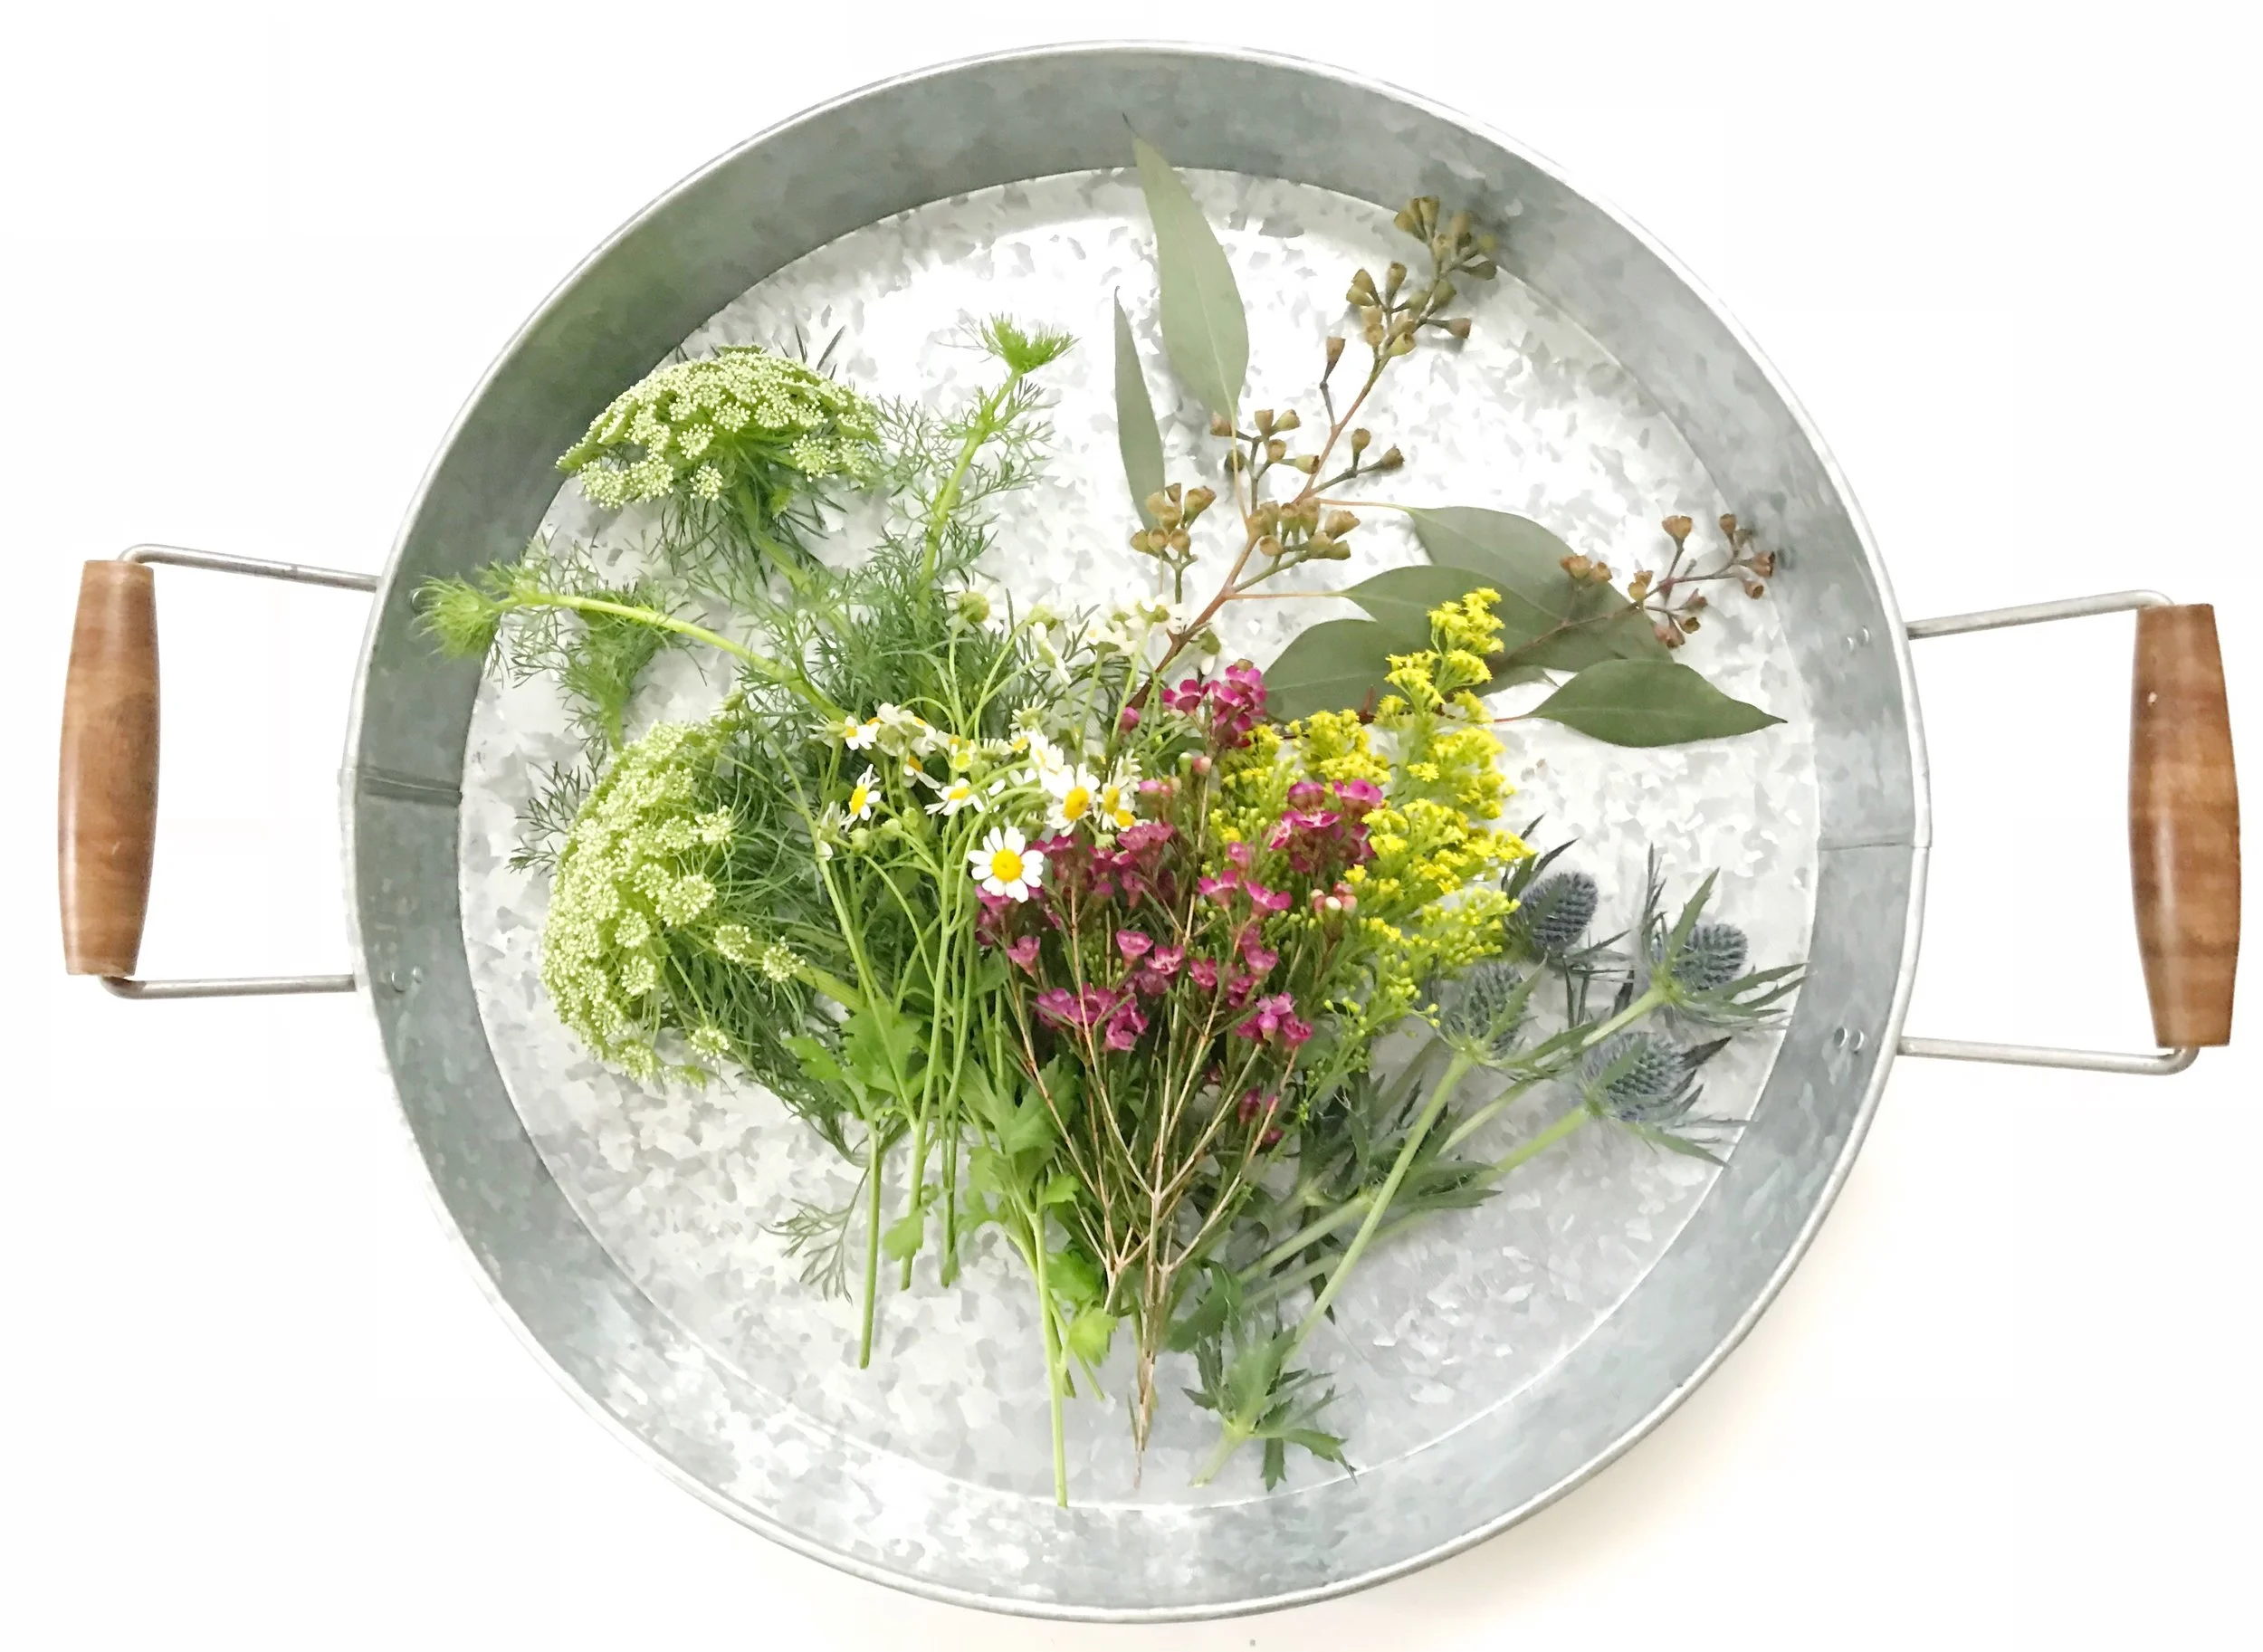
Gather a nice selection of small flowers. You can forage out in nature or buy them from your local floral shop. These types of flowers are considered "filler flowers" so they are more affordable than bigger blooms. Some of our favorites are: myrtle, chamomile, statice, poms, delphinium, gyp, feverfew, thistle, solidago, wattle, and wax.
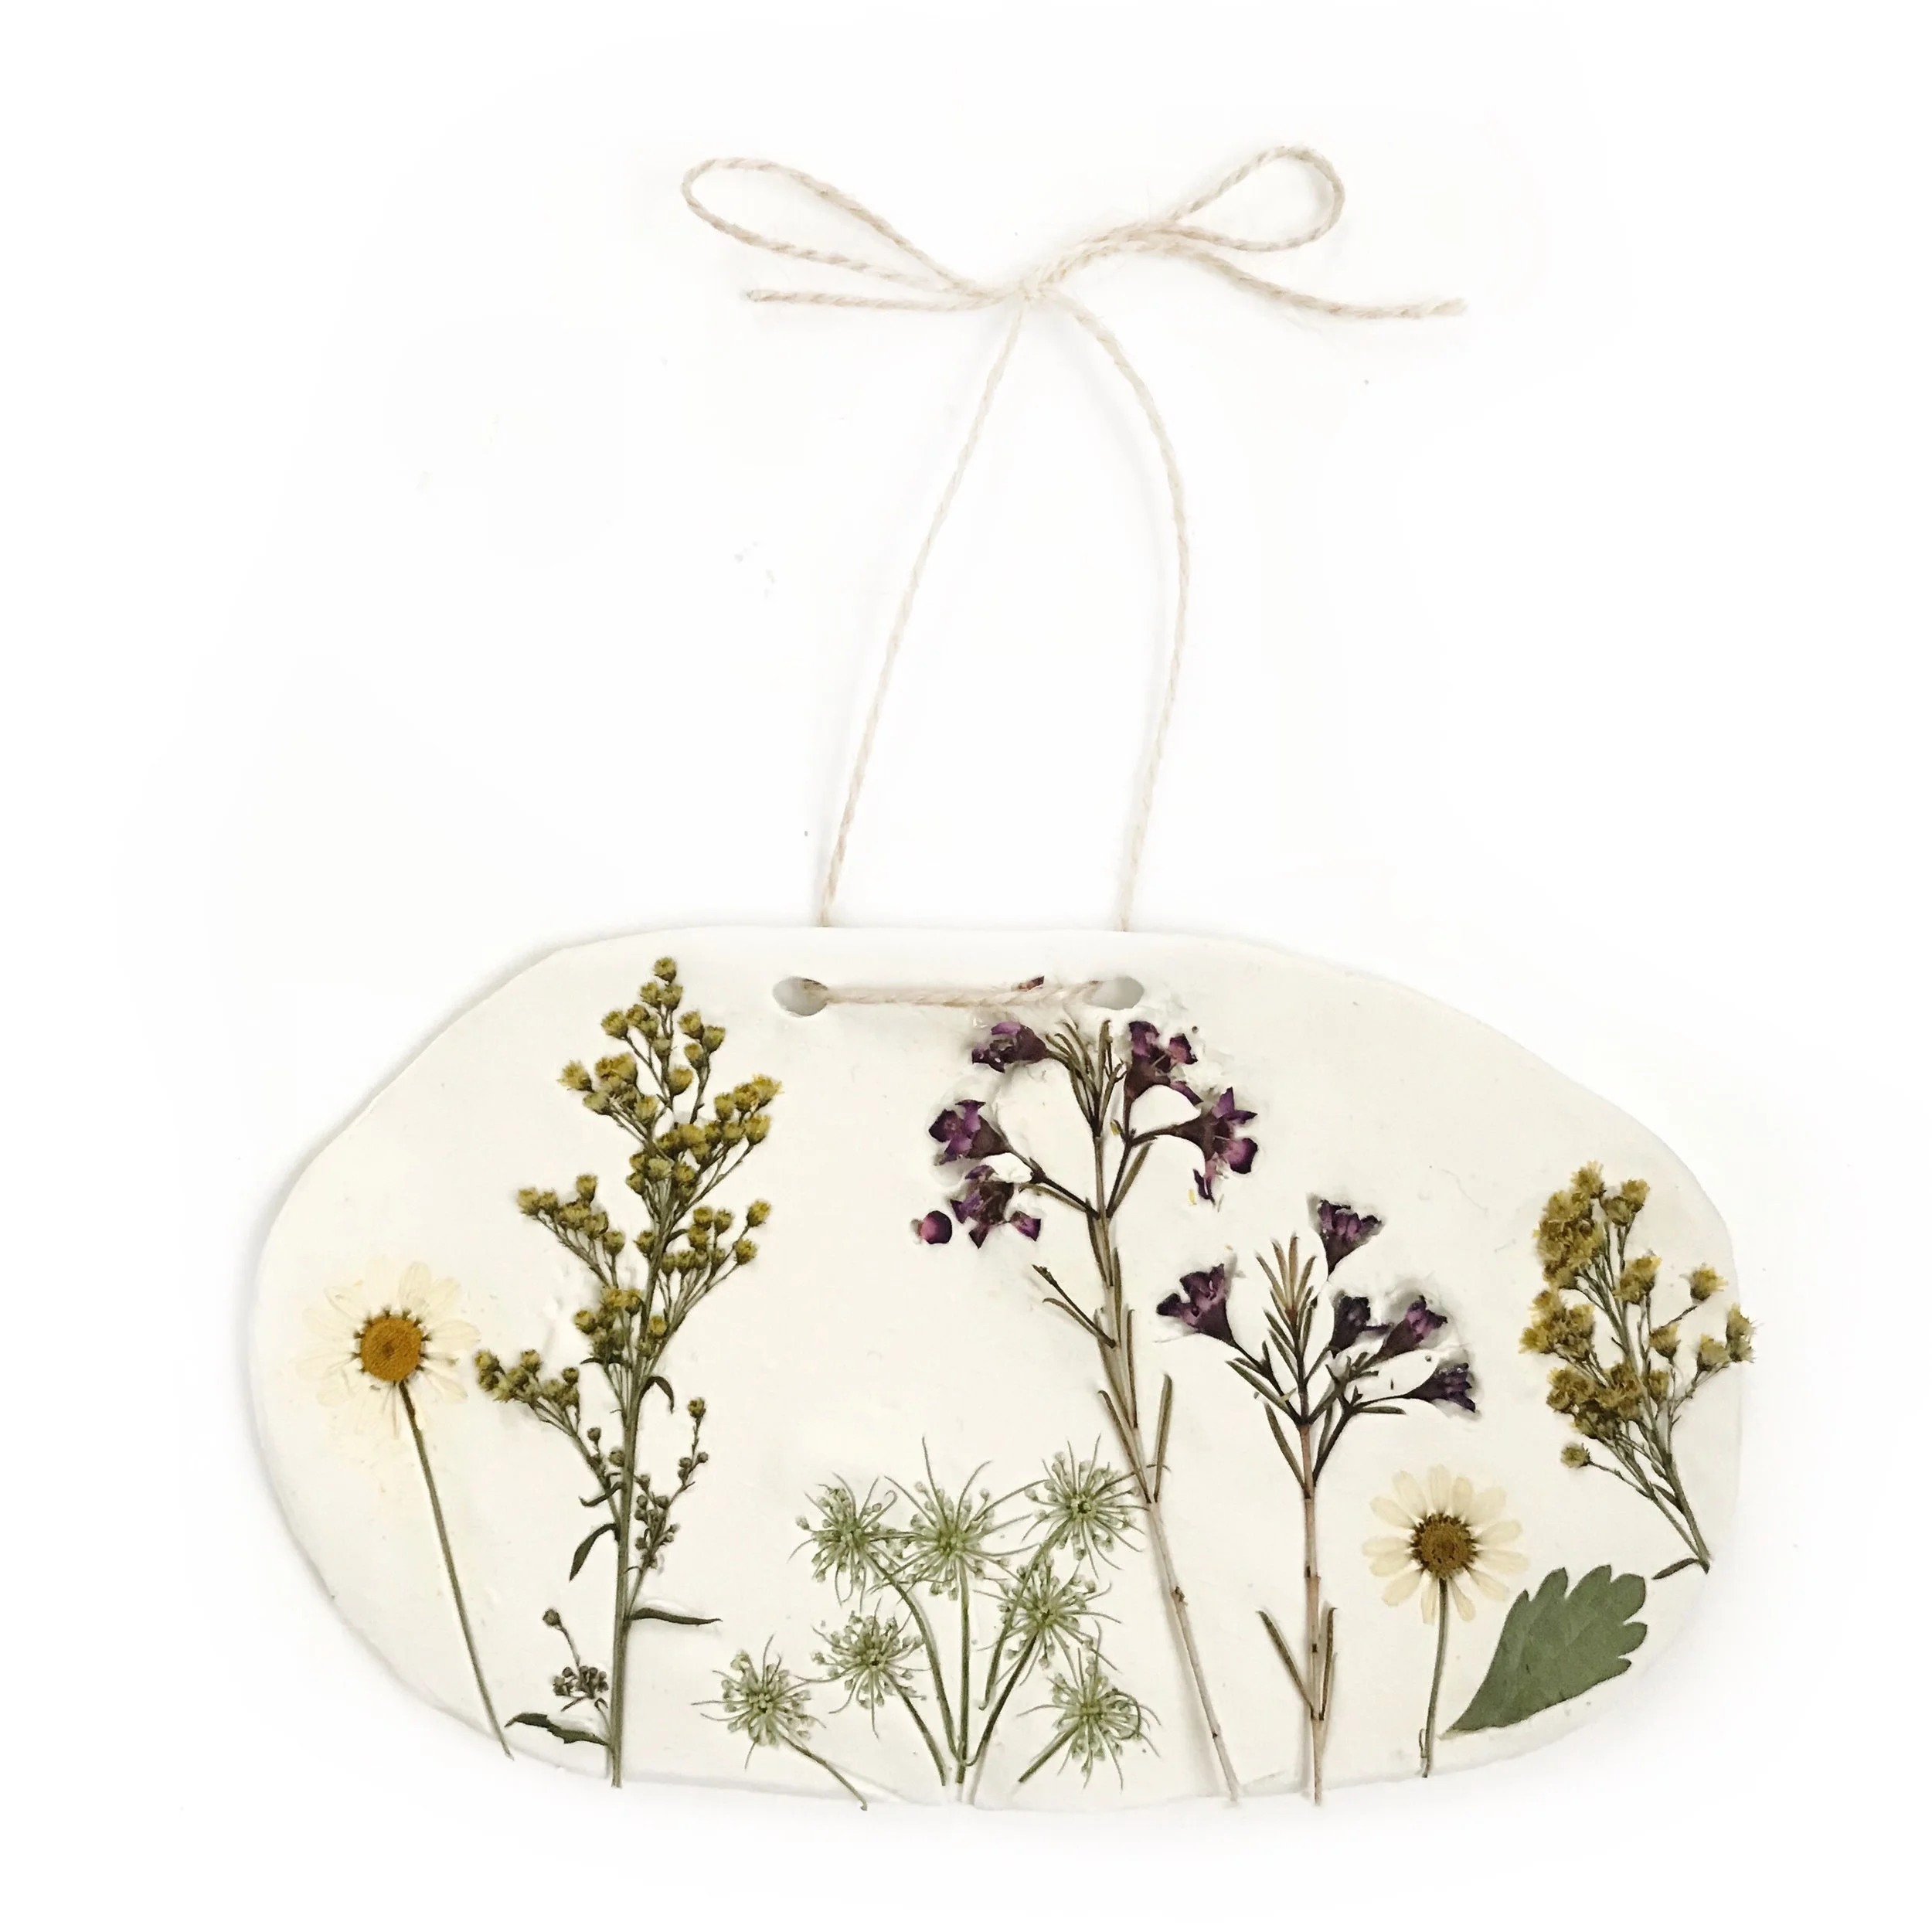
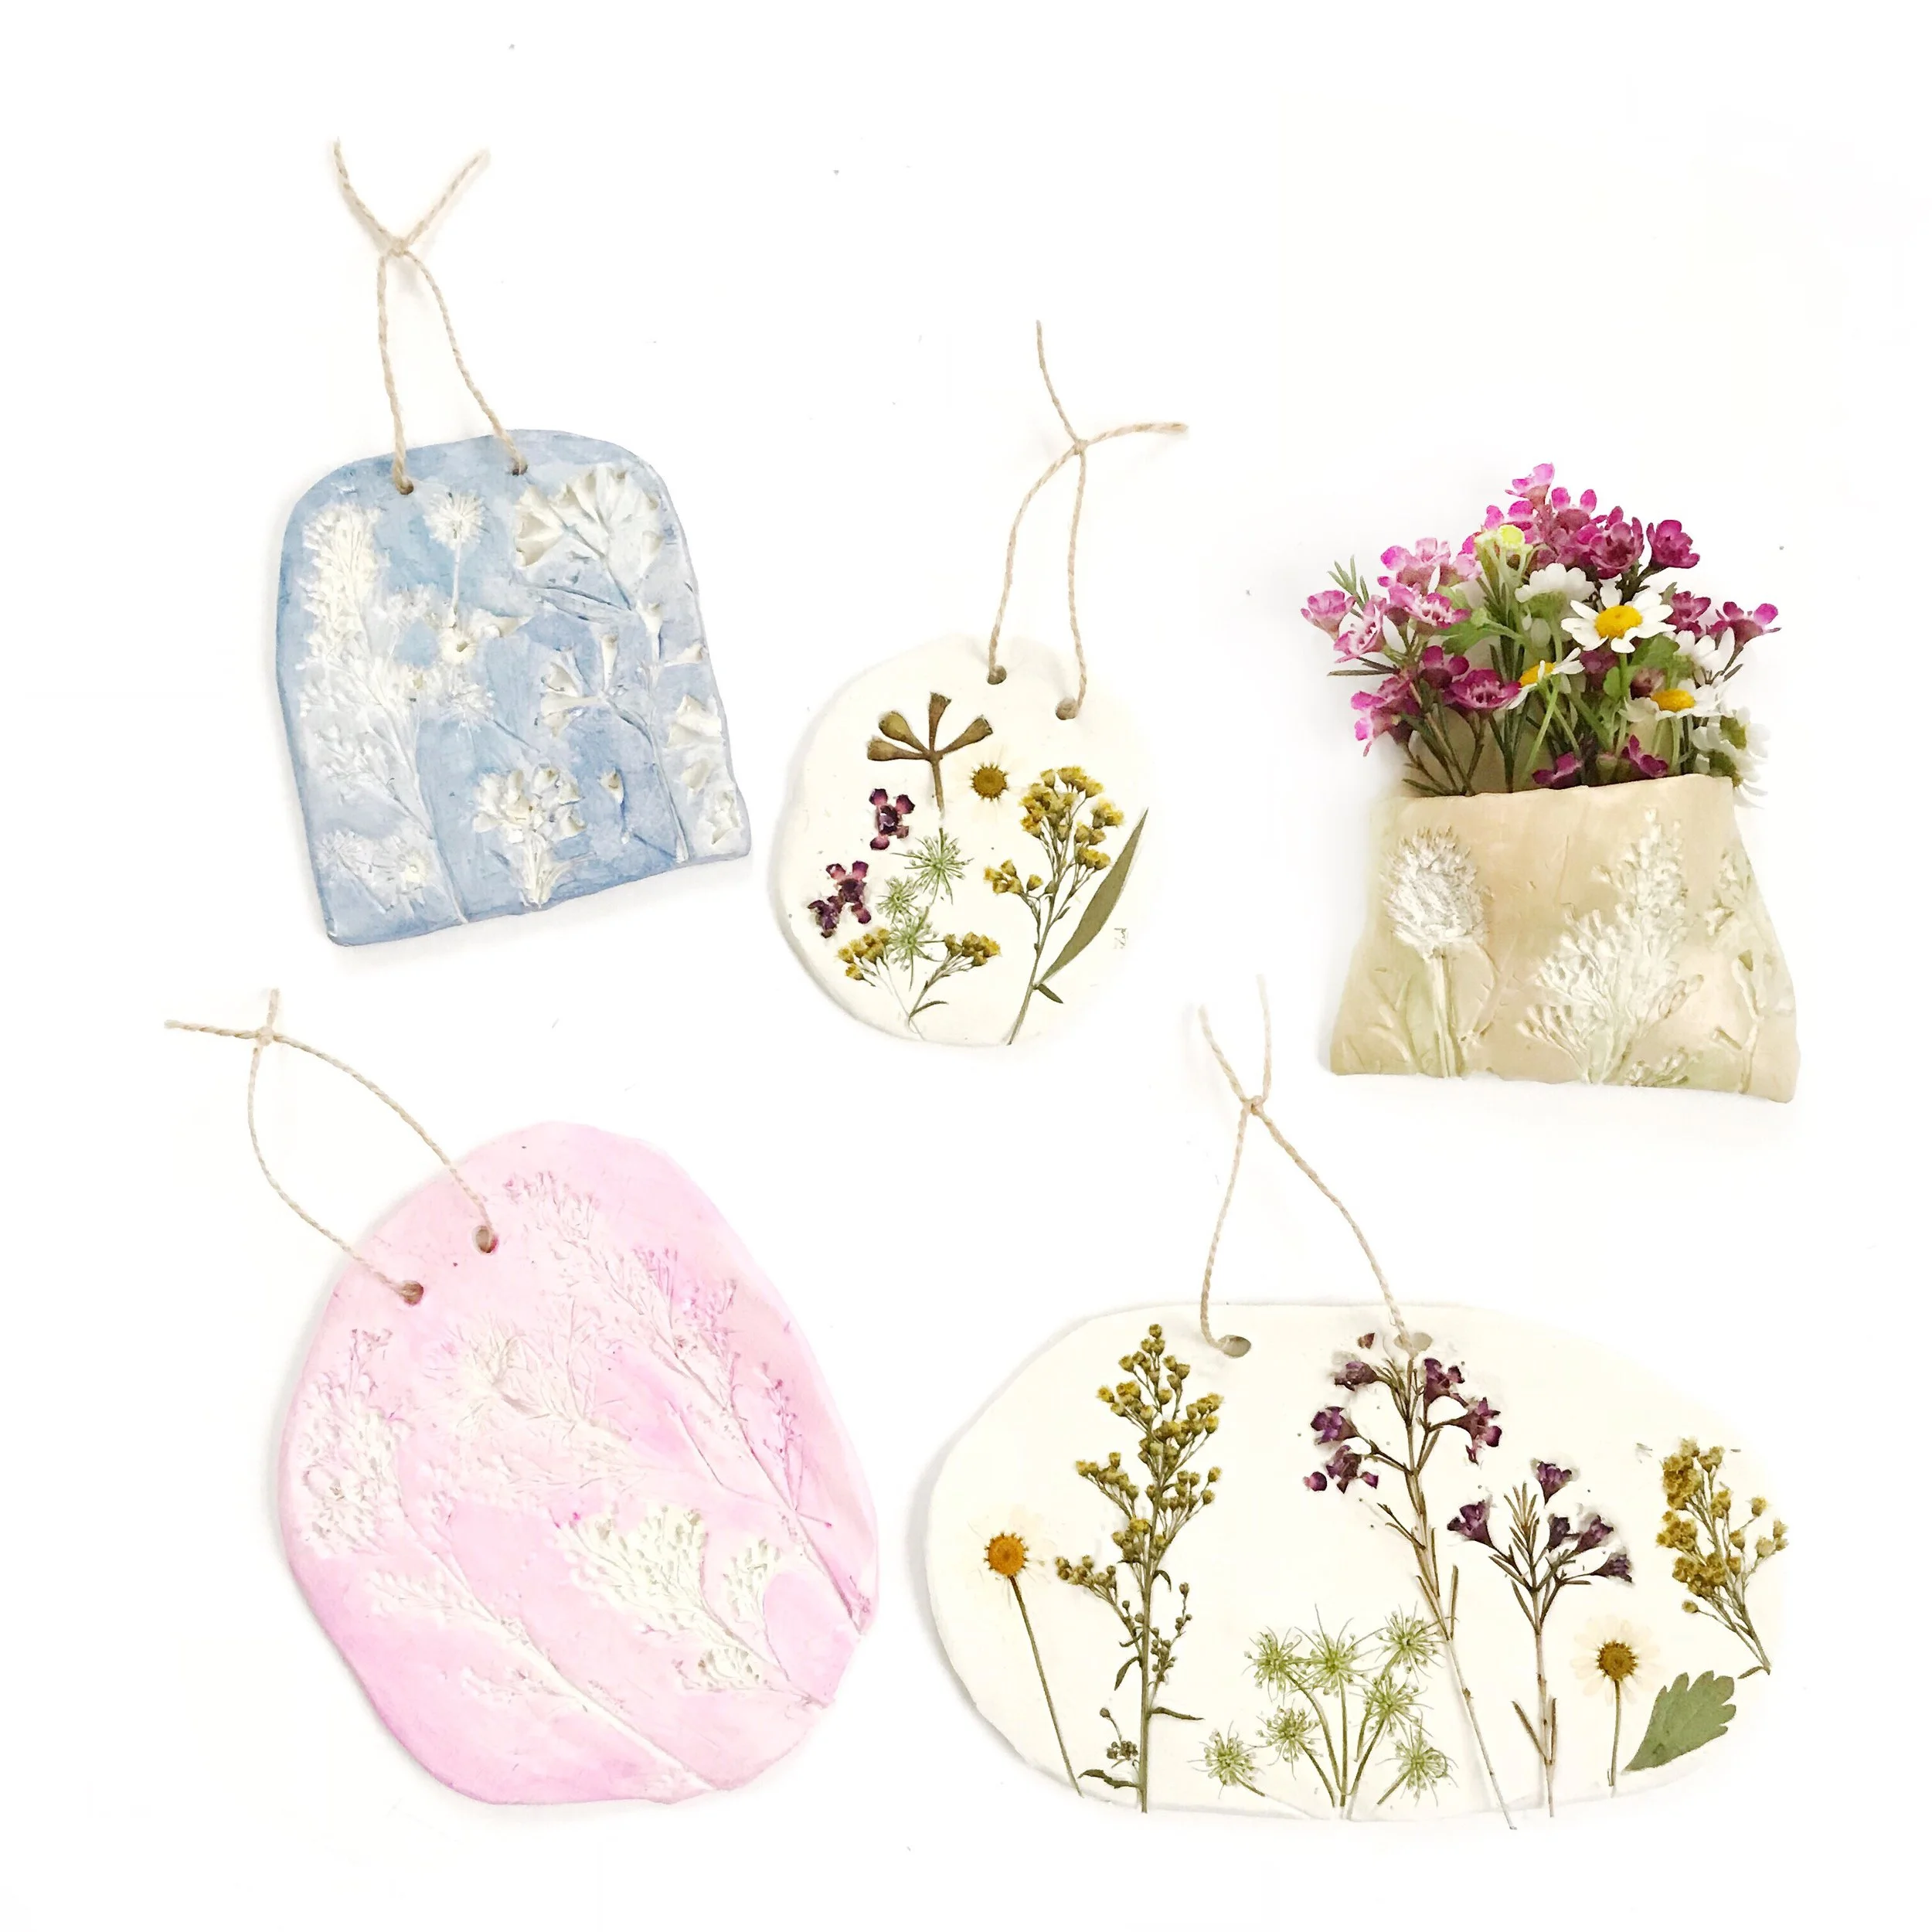
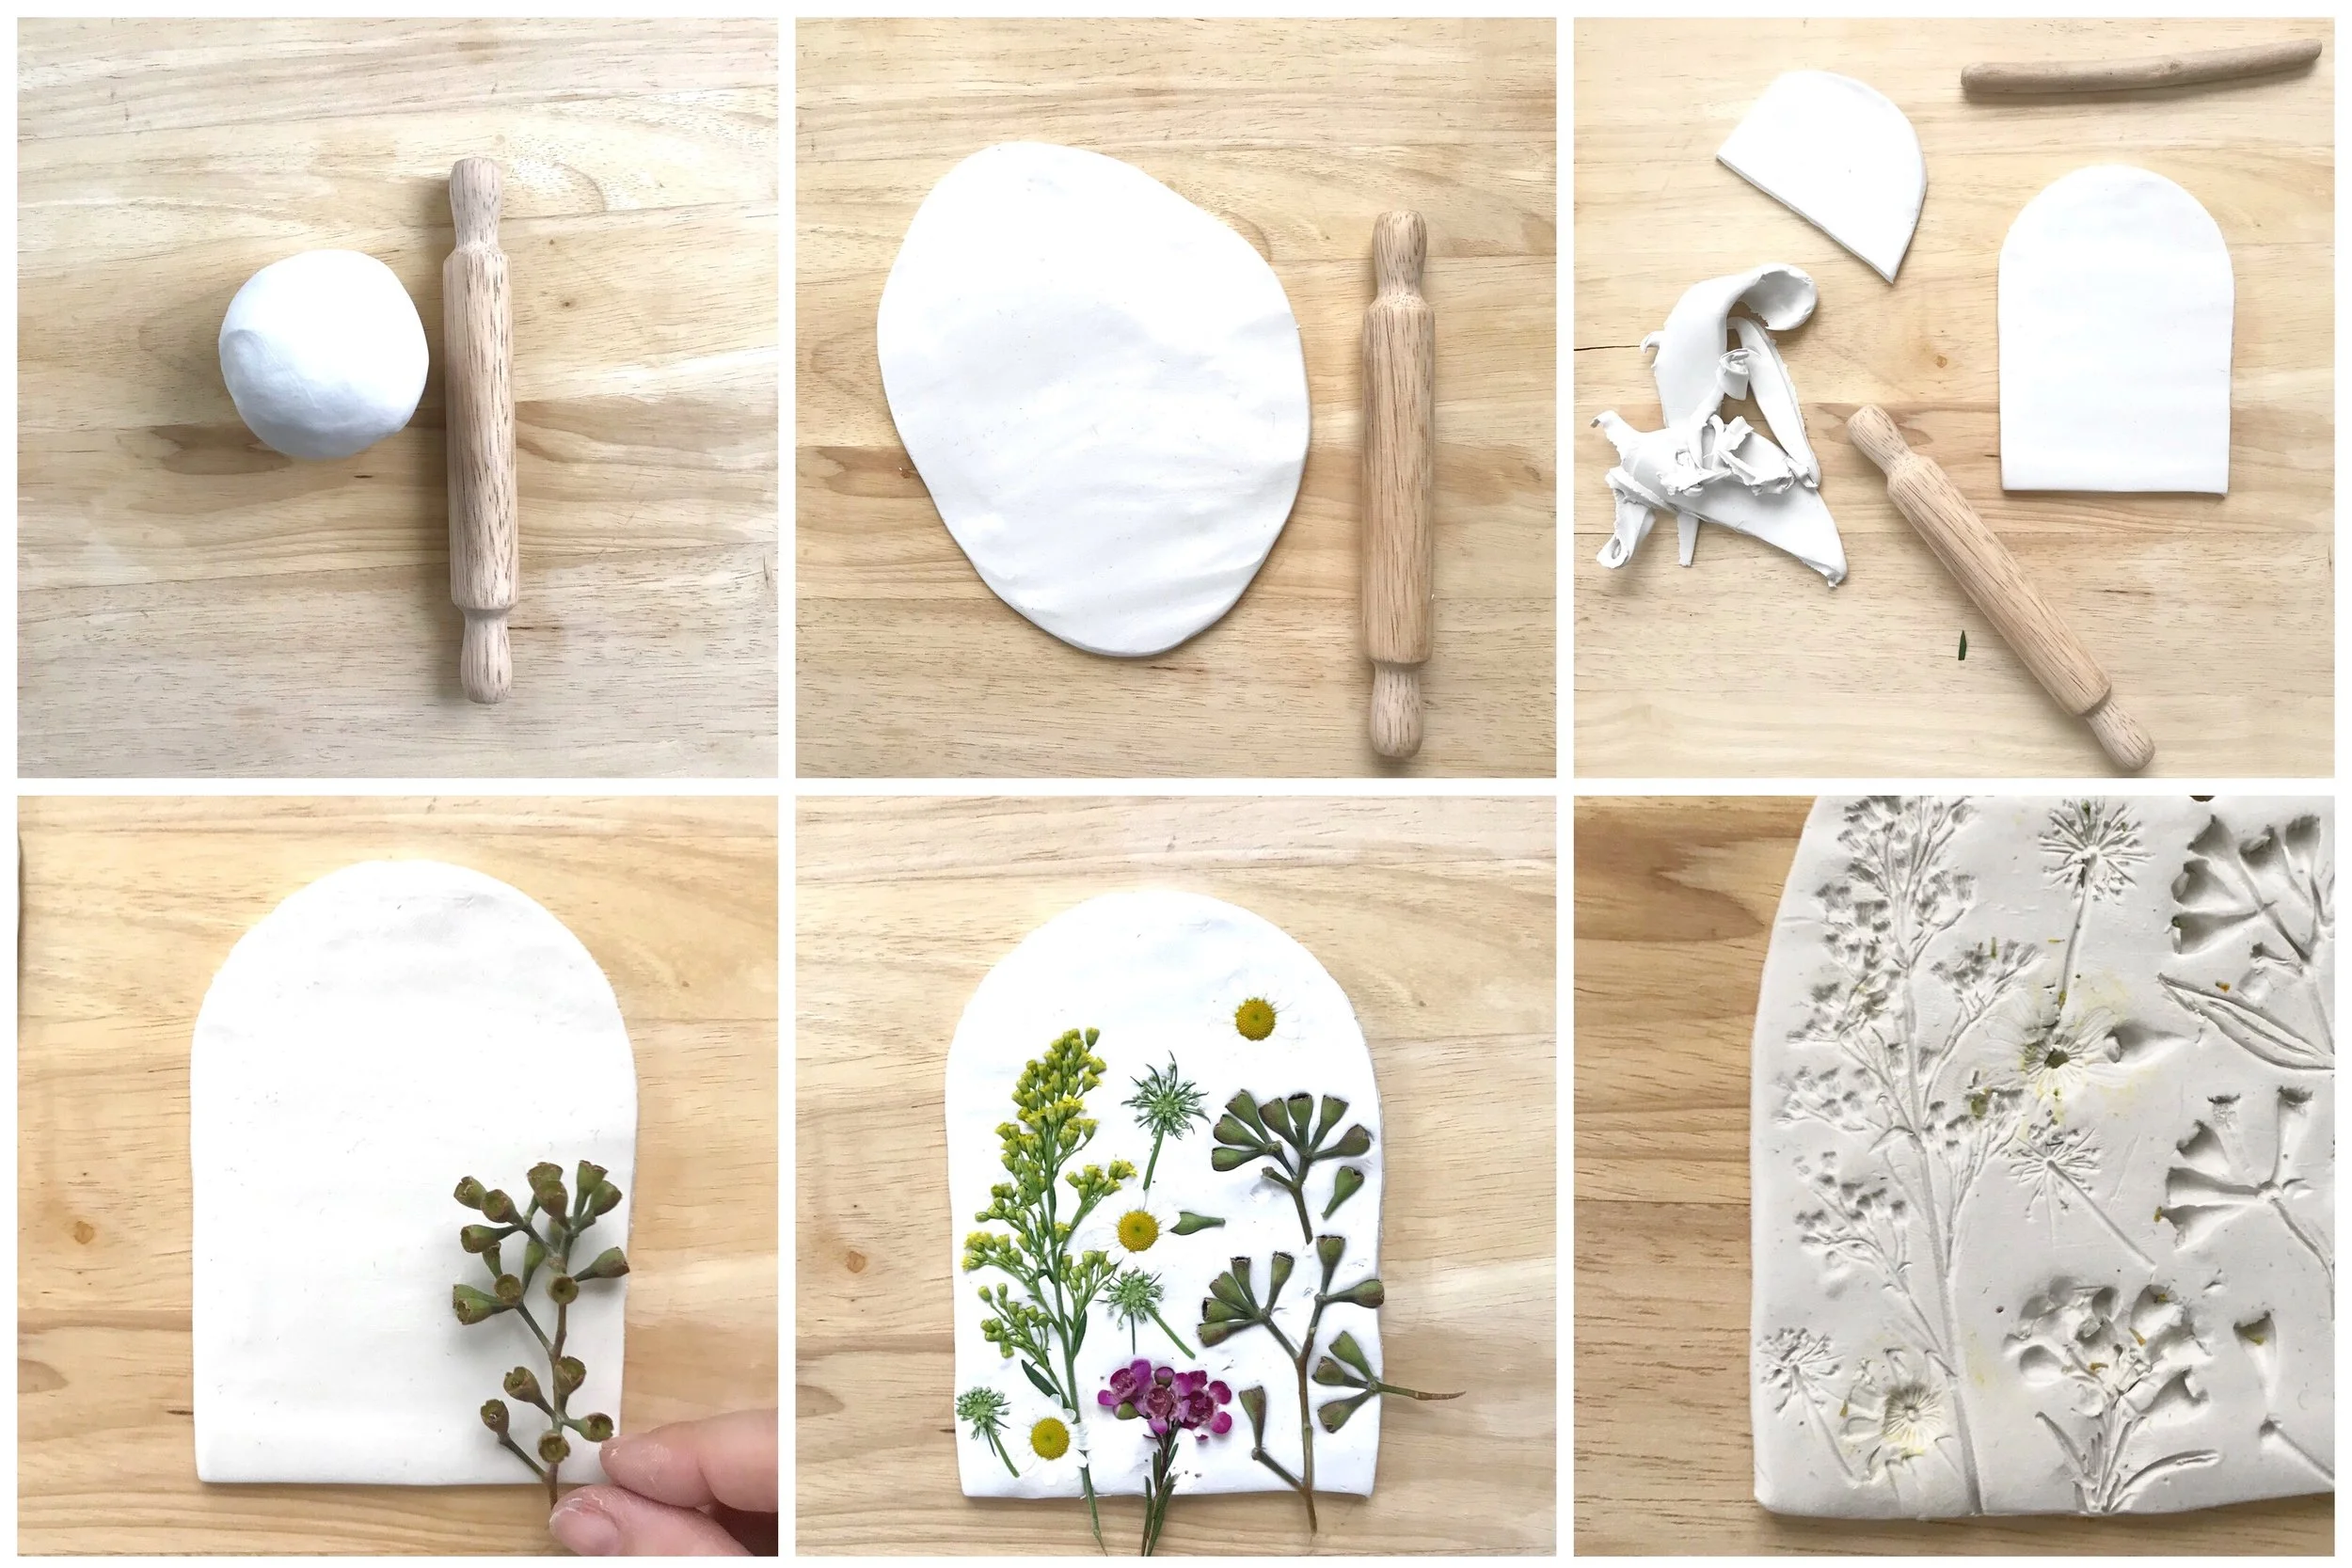
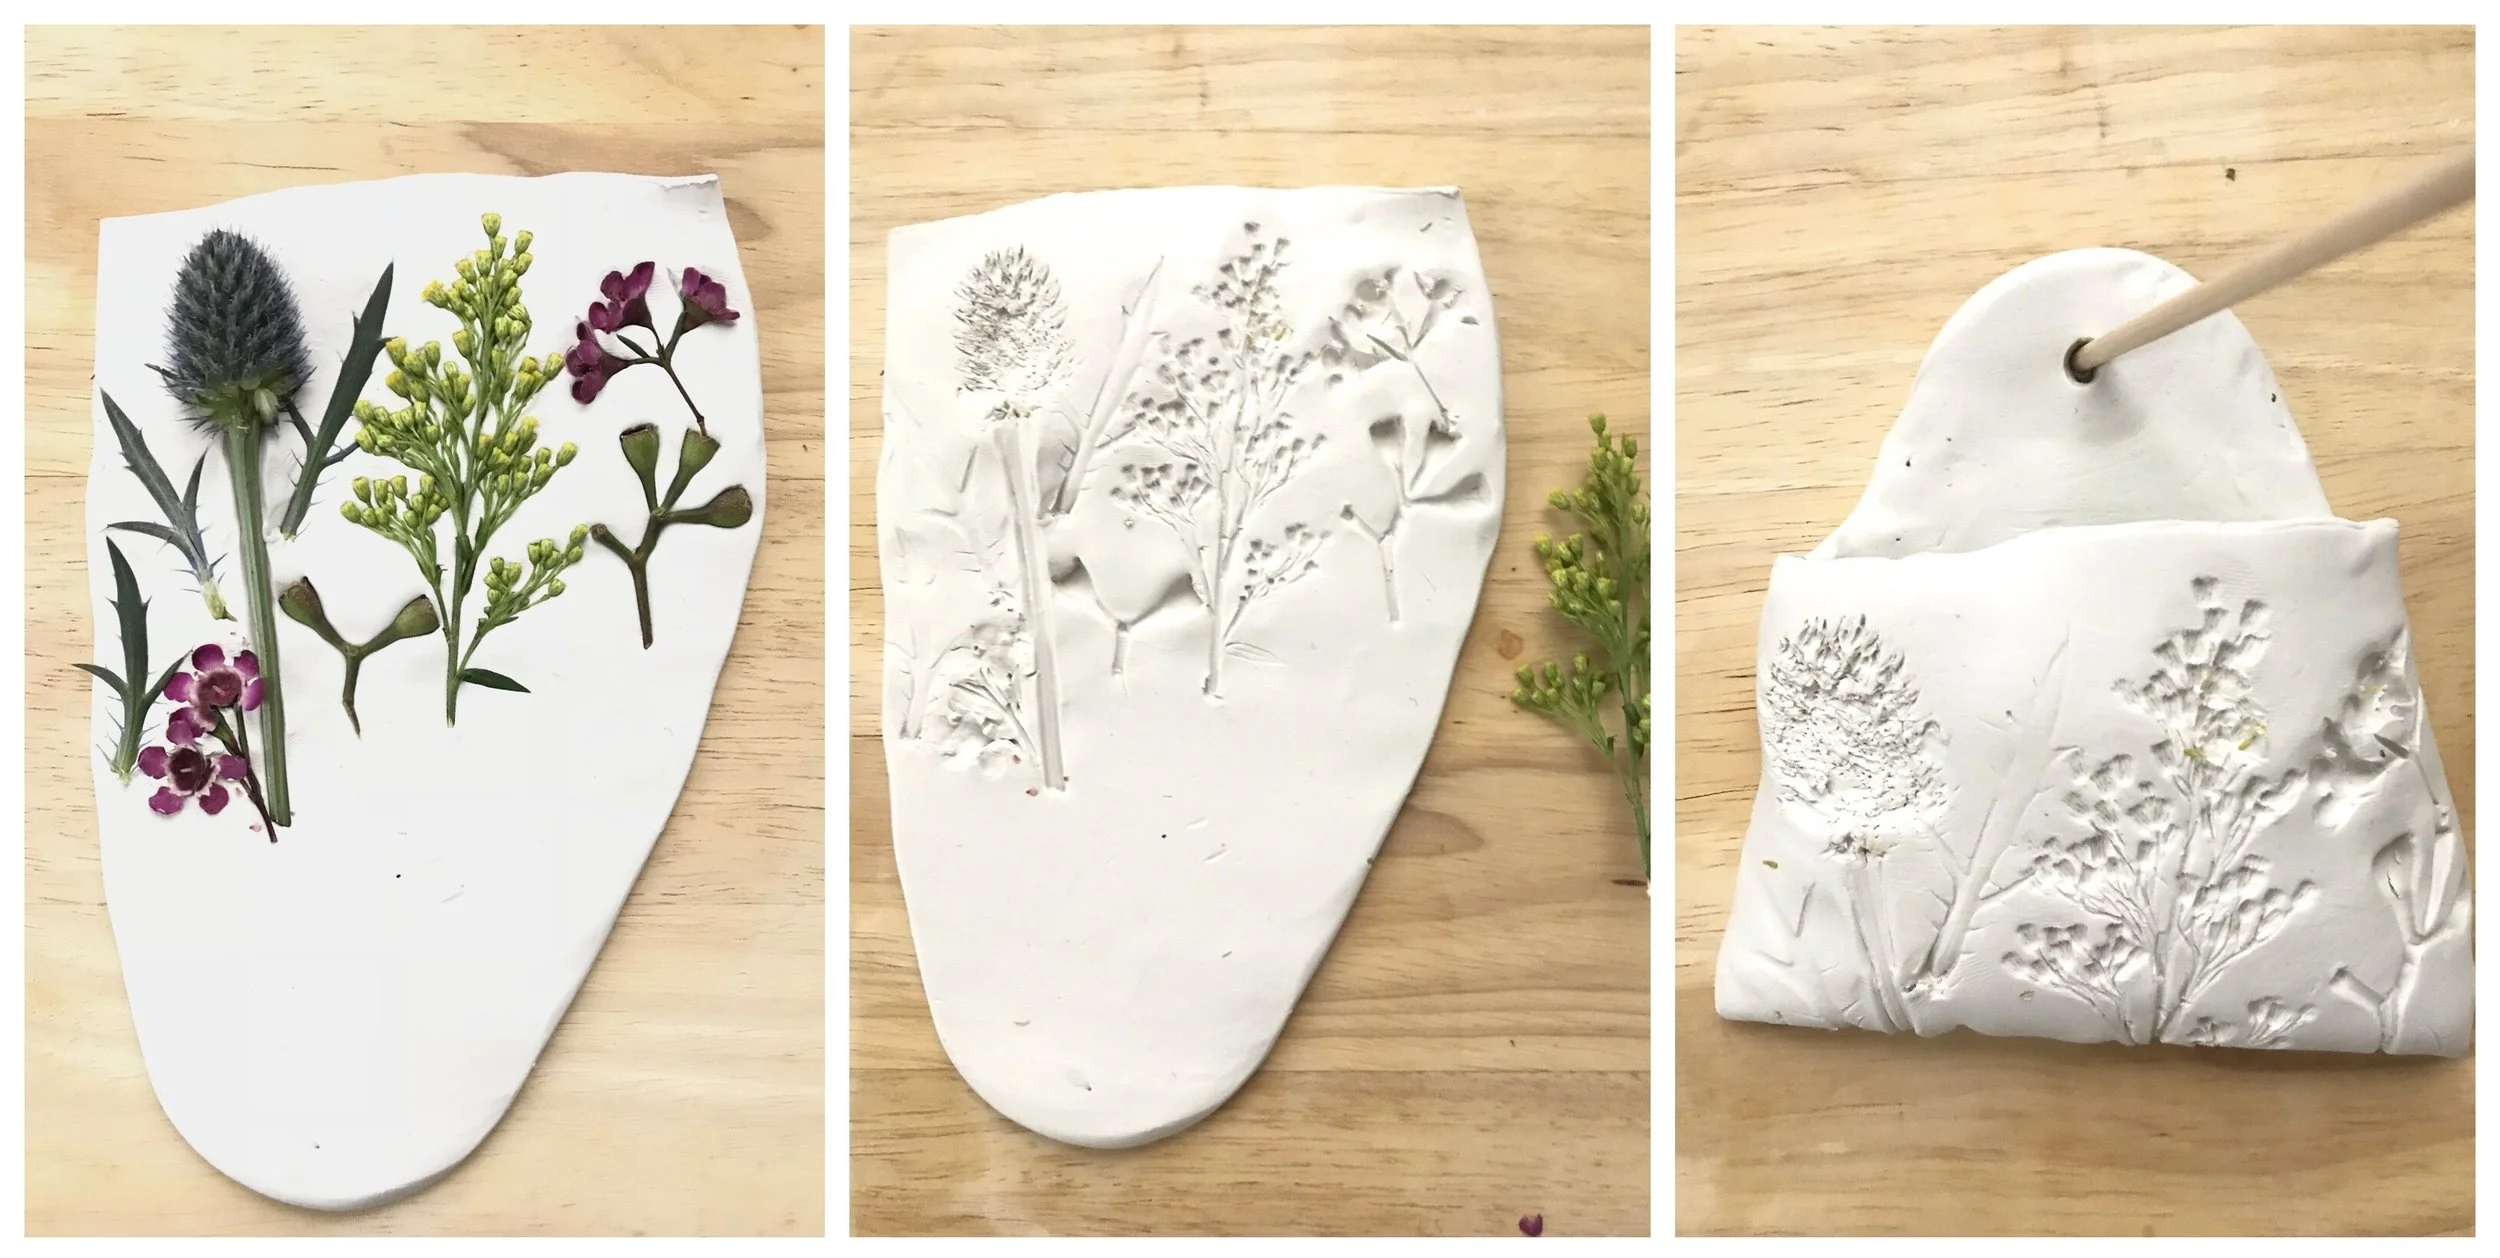
Start with a clean surface to work on, a ball of white polymer clay, and a rolling pin. If you don't have a rolling pin, you can use the palm of your hand and a smooth mason jar to flatten out your clay. What kind of shape do you want to create for your clay "canvas"? Circle? Oval? Arch? Square? Once you have started you will begin pressing your plants into the clay, first with your fingertips and then with a rolling pin or jar. Your flowers should be firmly in place. If you want to create a relief impression, carefully lift your flowers from your clay. You may notice that some of the little buds get left behind. We used a pair of tweezers to remove the stray bits.
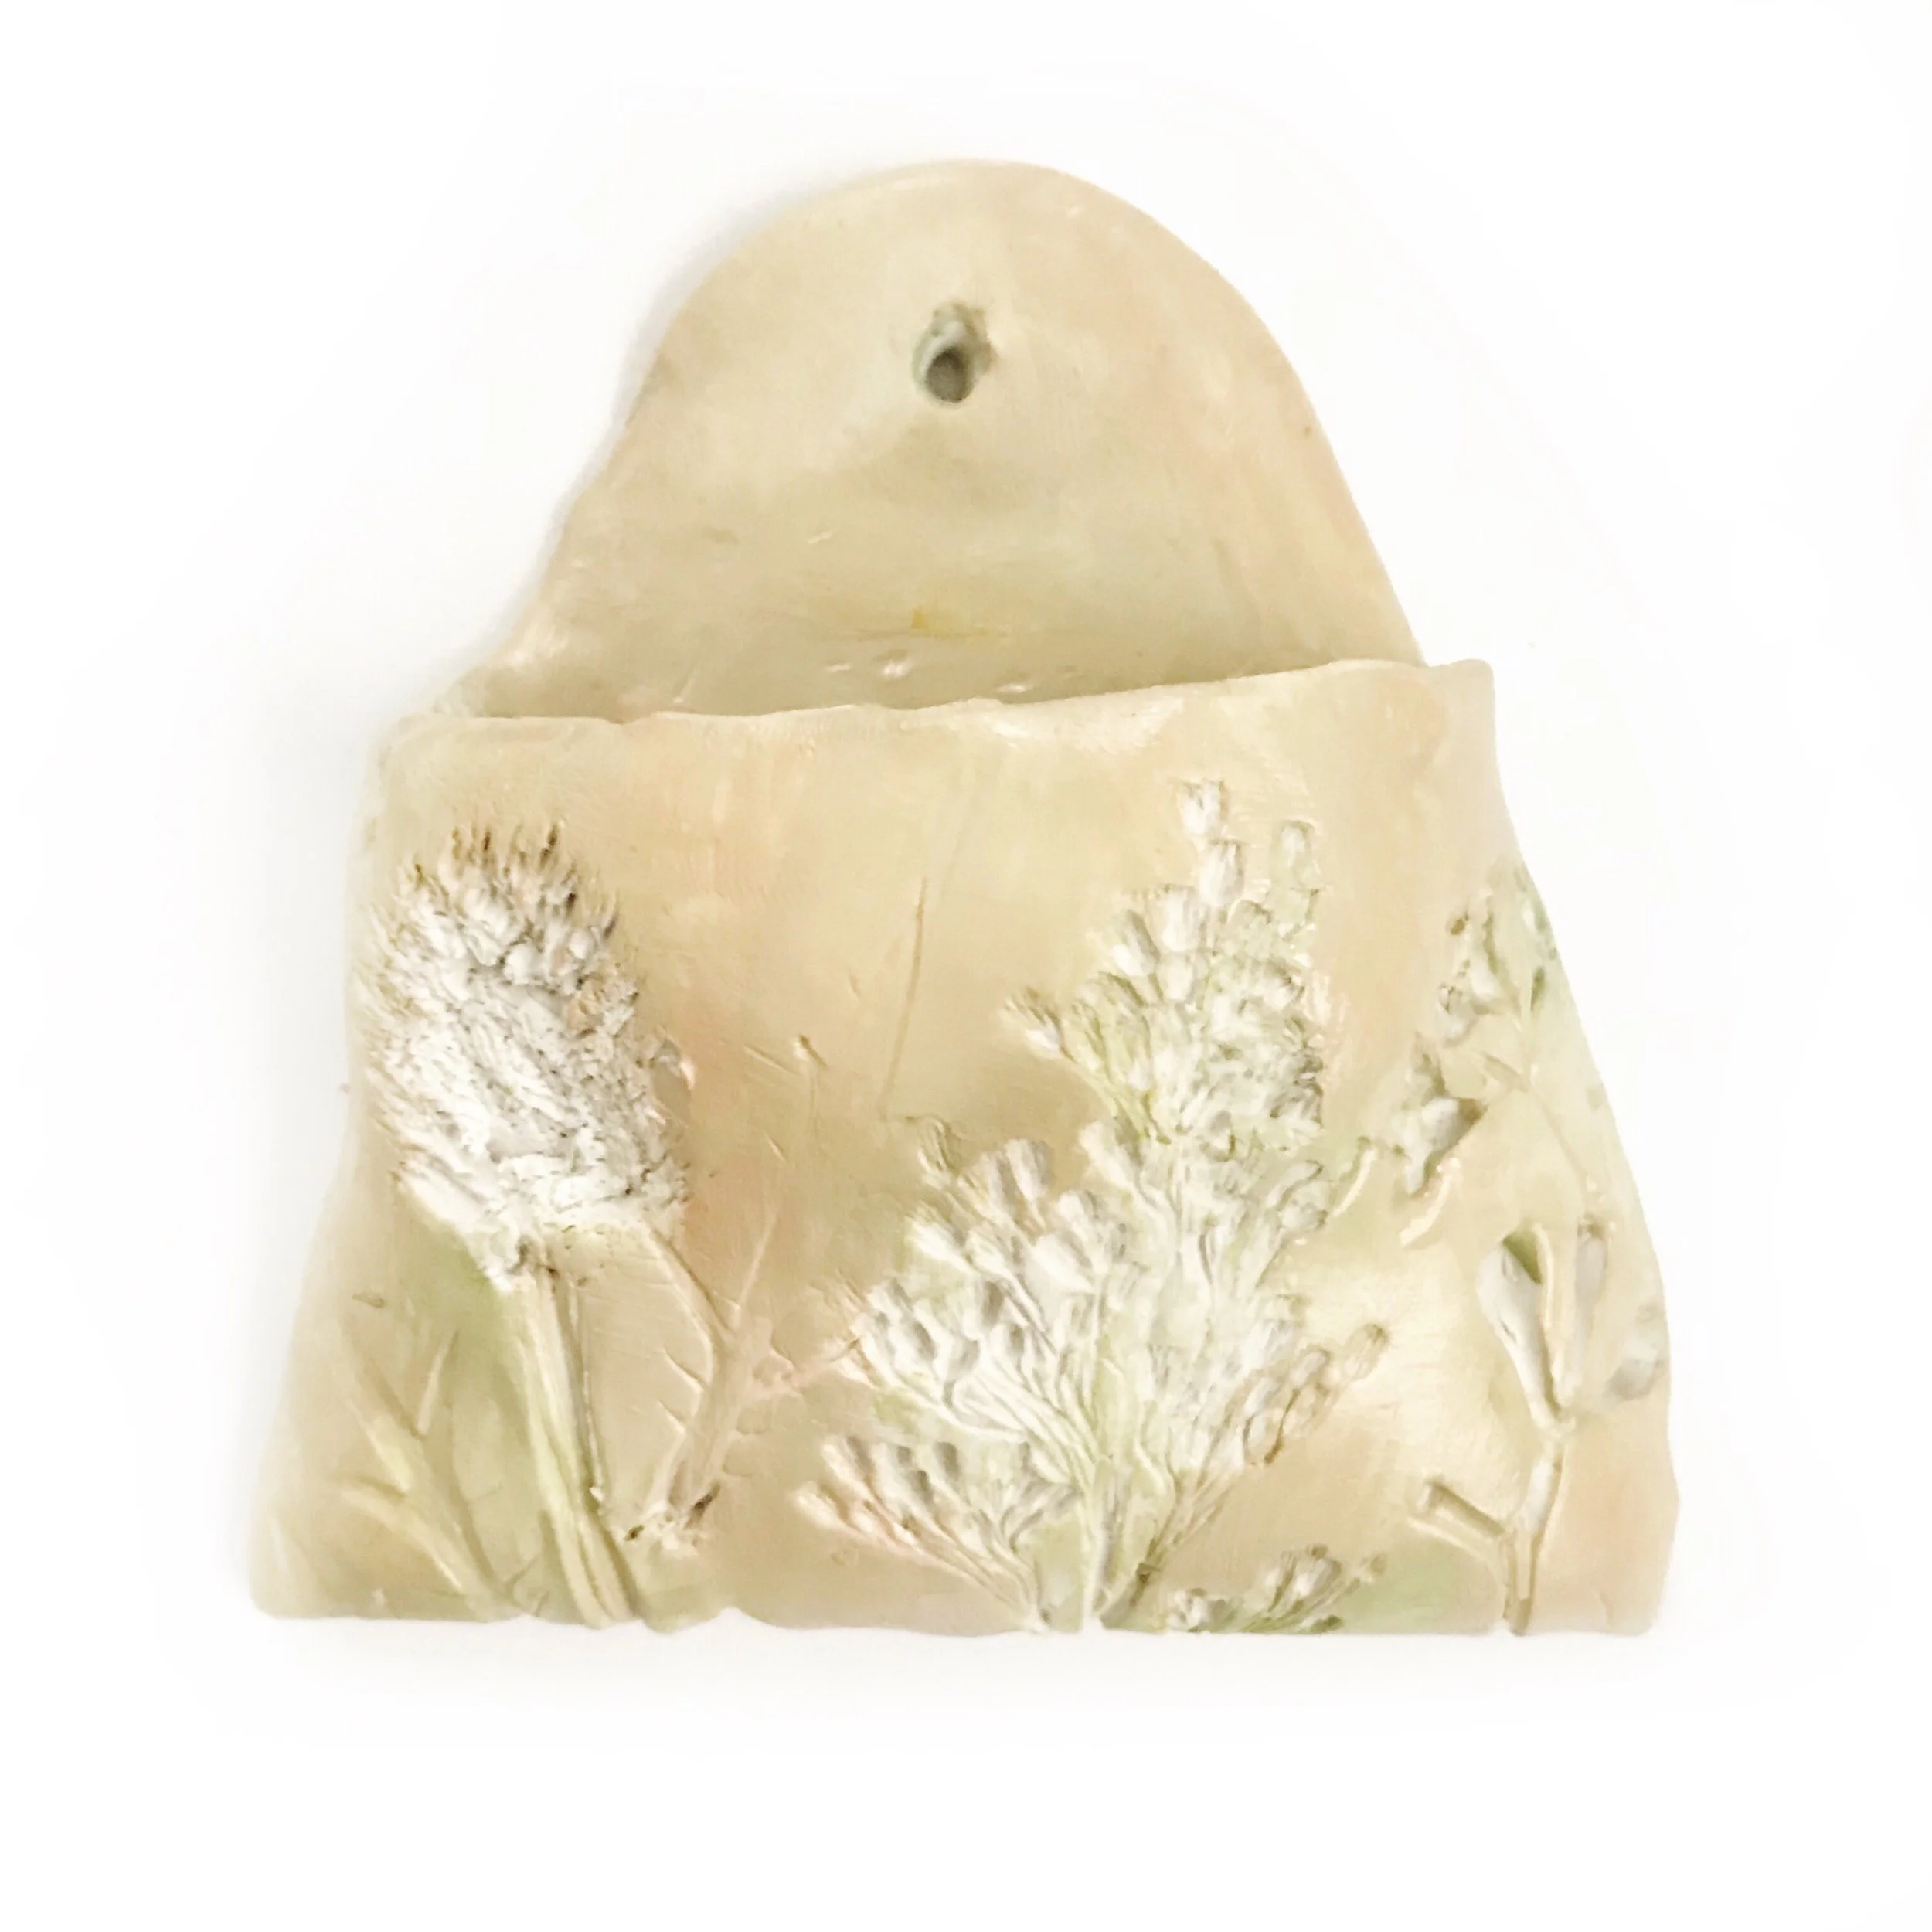
Here we made a little clay pocket to hang on our wall.
Don't forget to add two small hanging holes to your clay prints with a skewer before baking!
We baked our clay prints for 20 minutes on 275 degrees, but we suggest following the baking directions on your clay box.
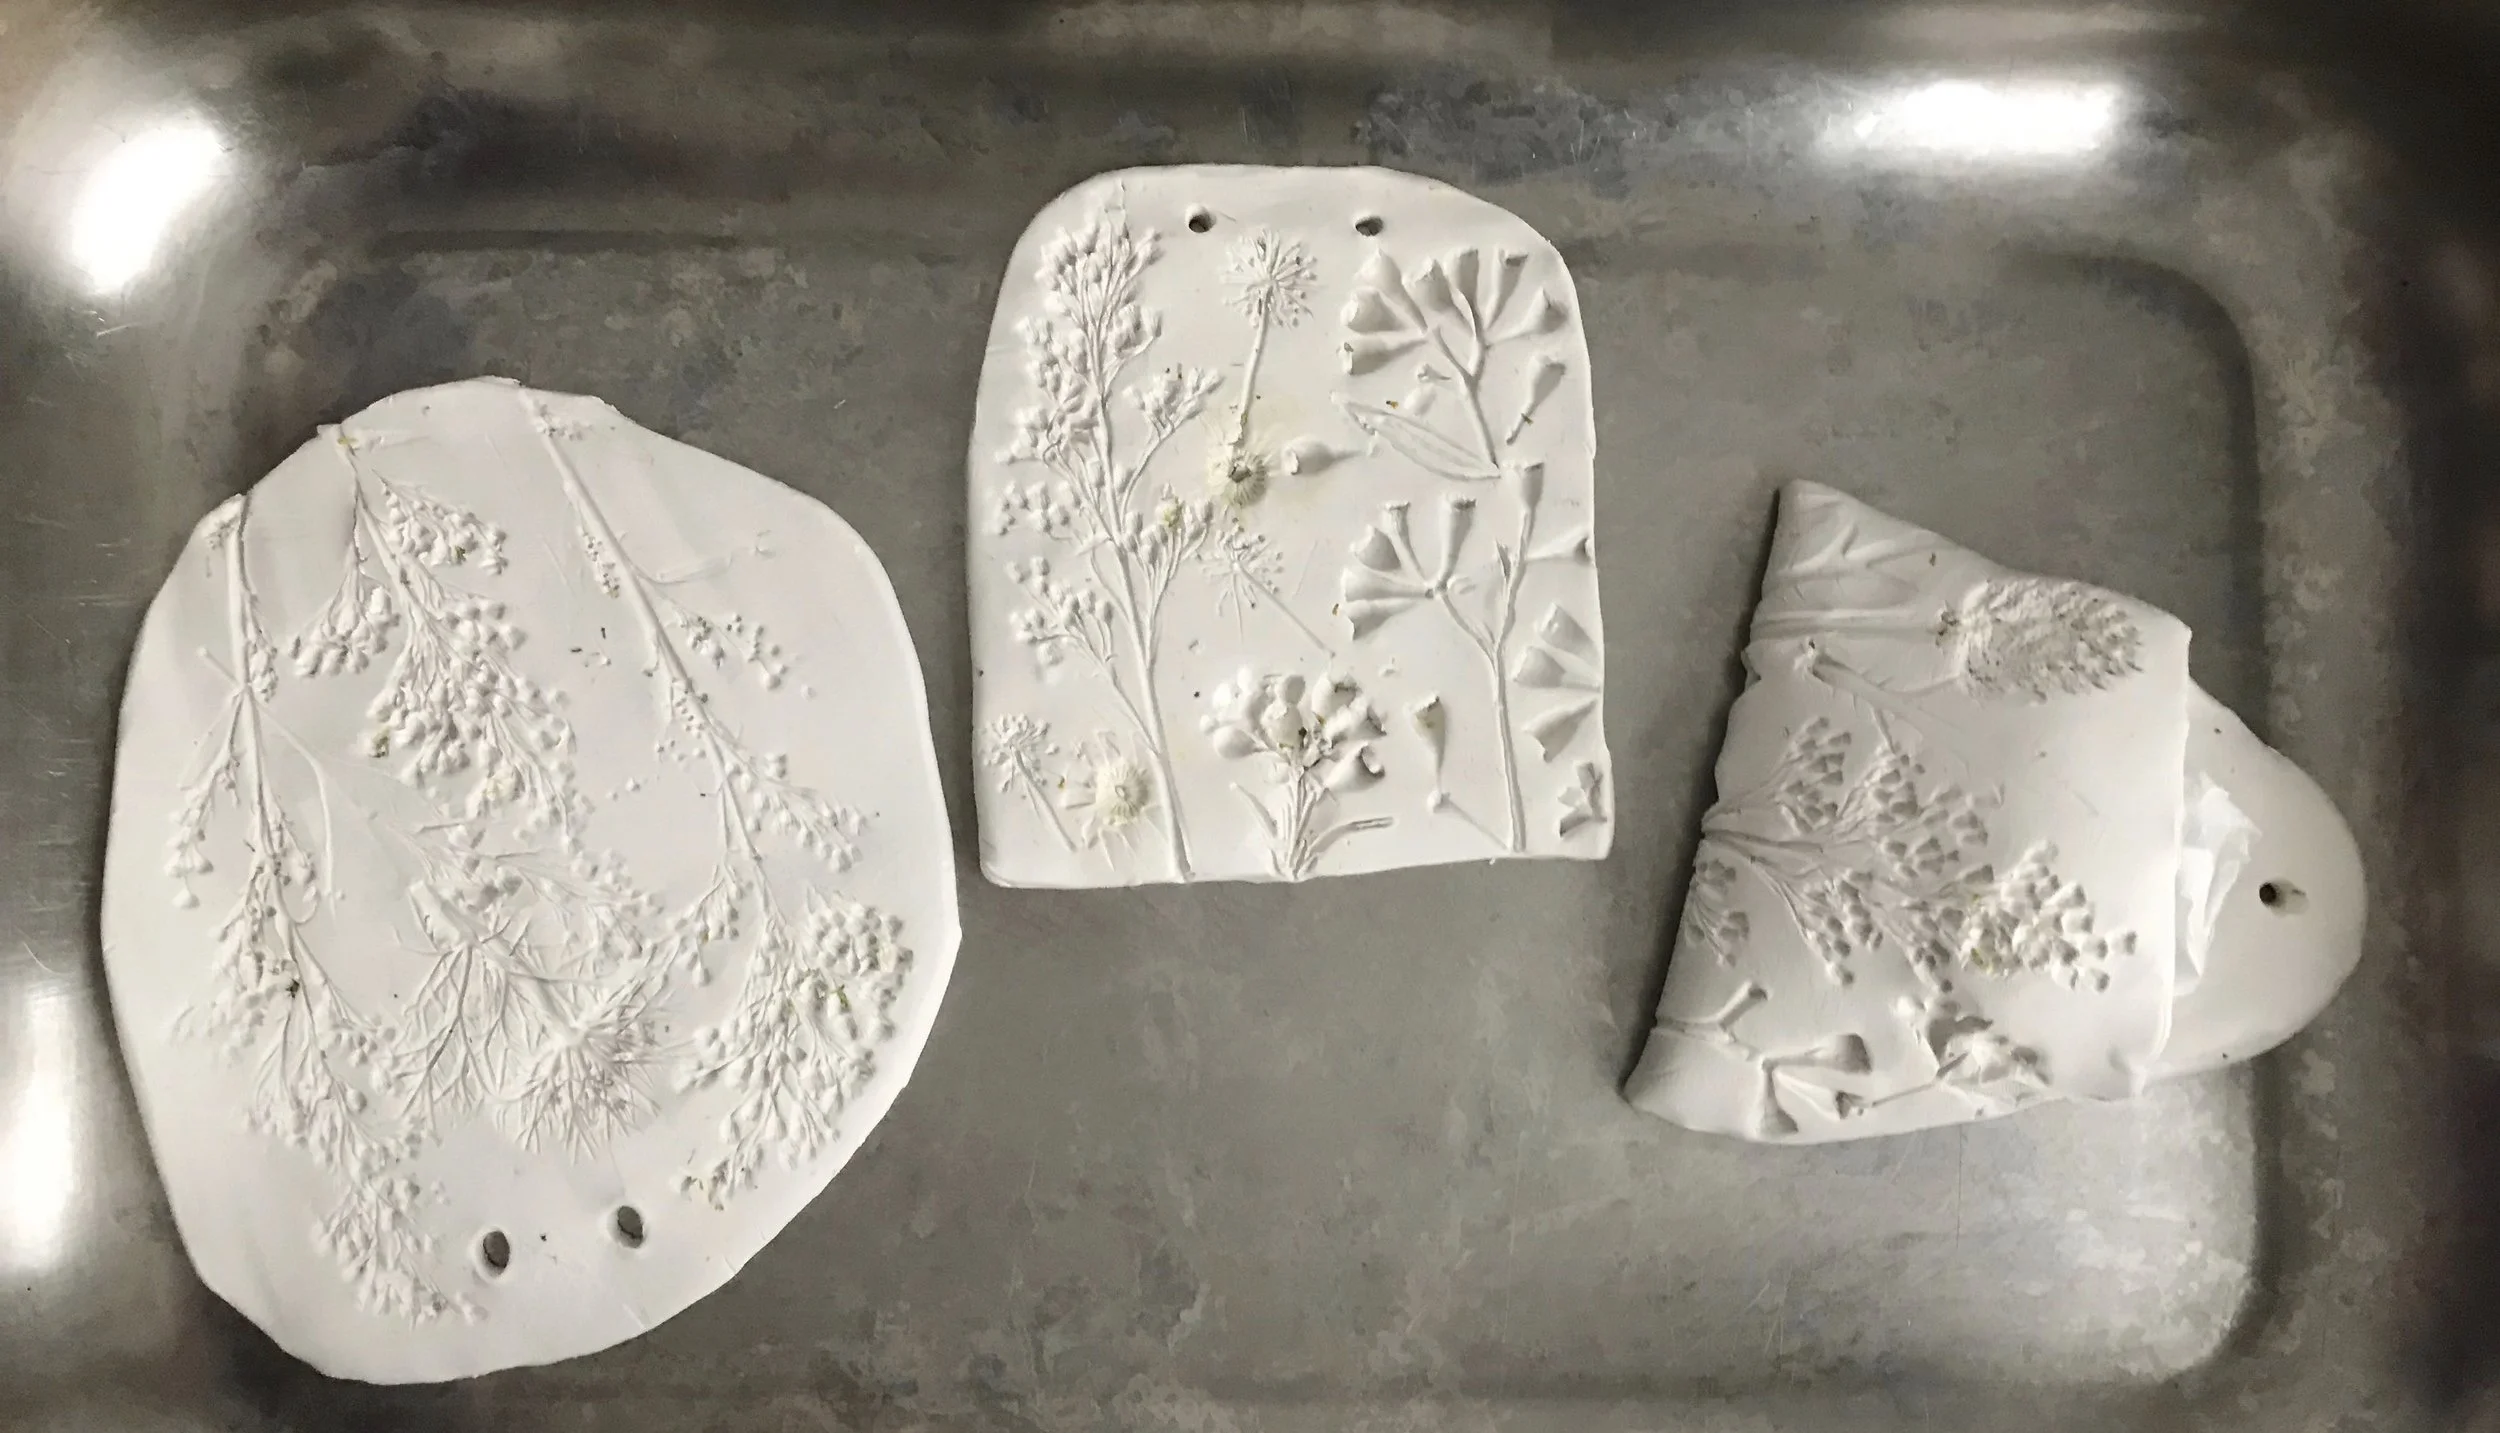
We painted our floral impressions with diluted acrylic paint to achieve a watercolor effect.
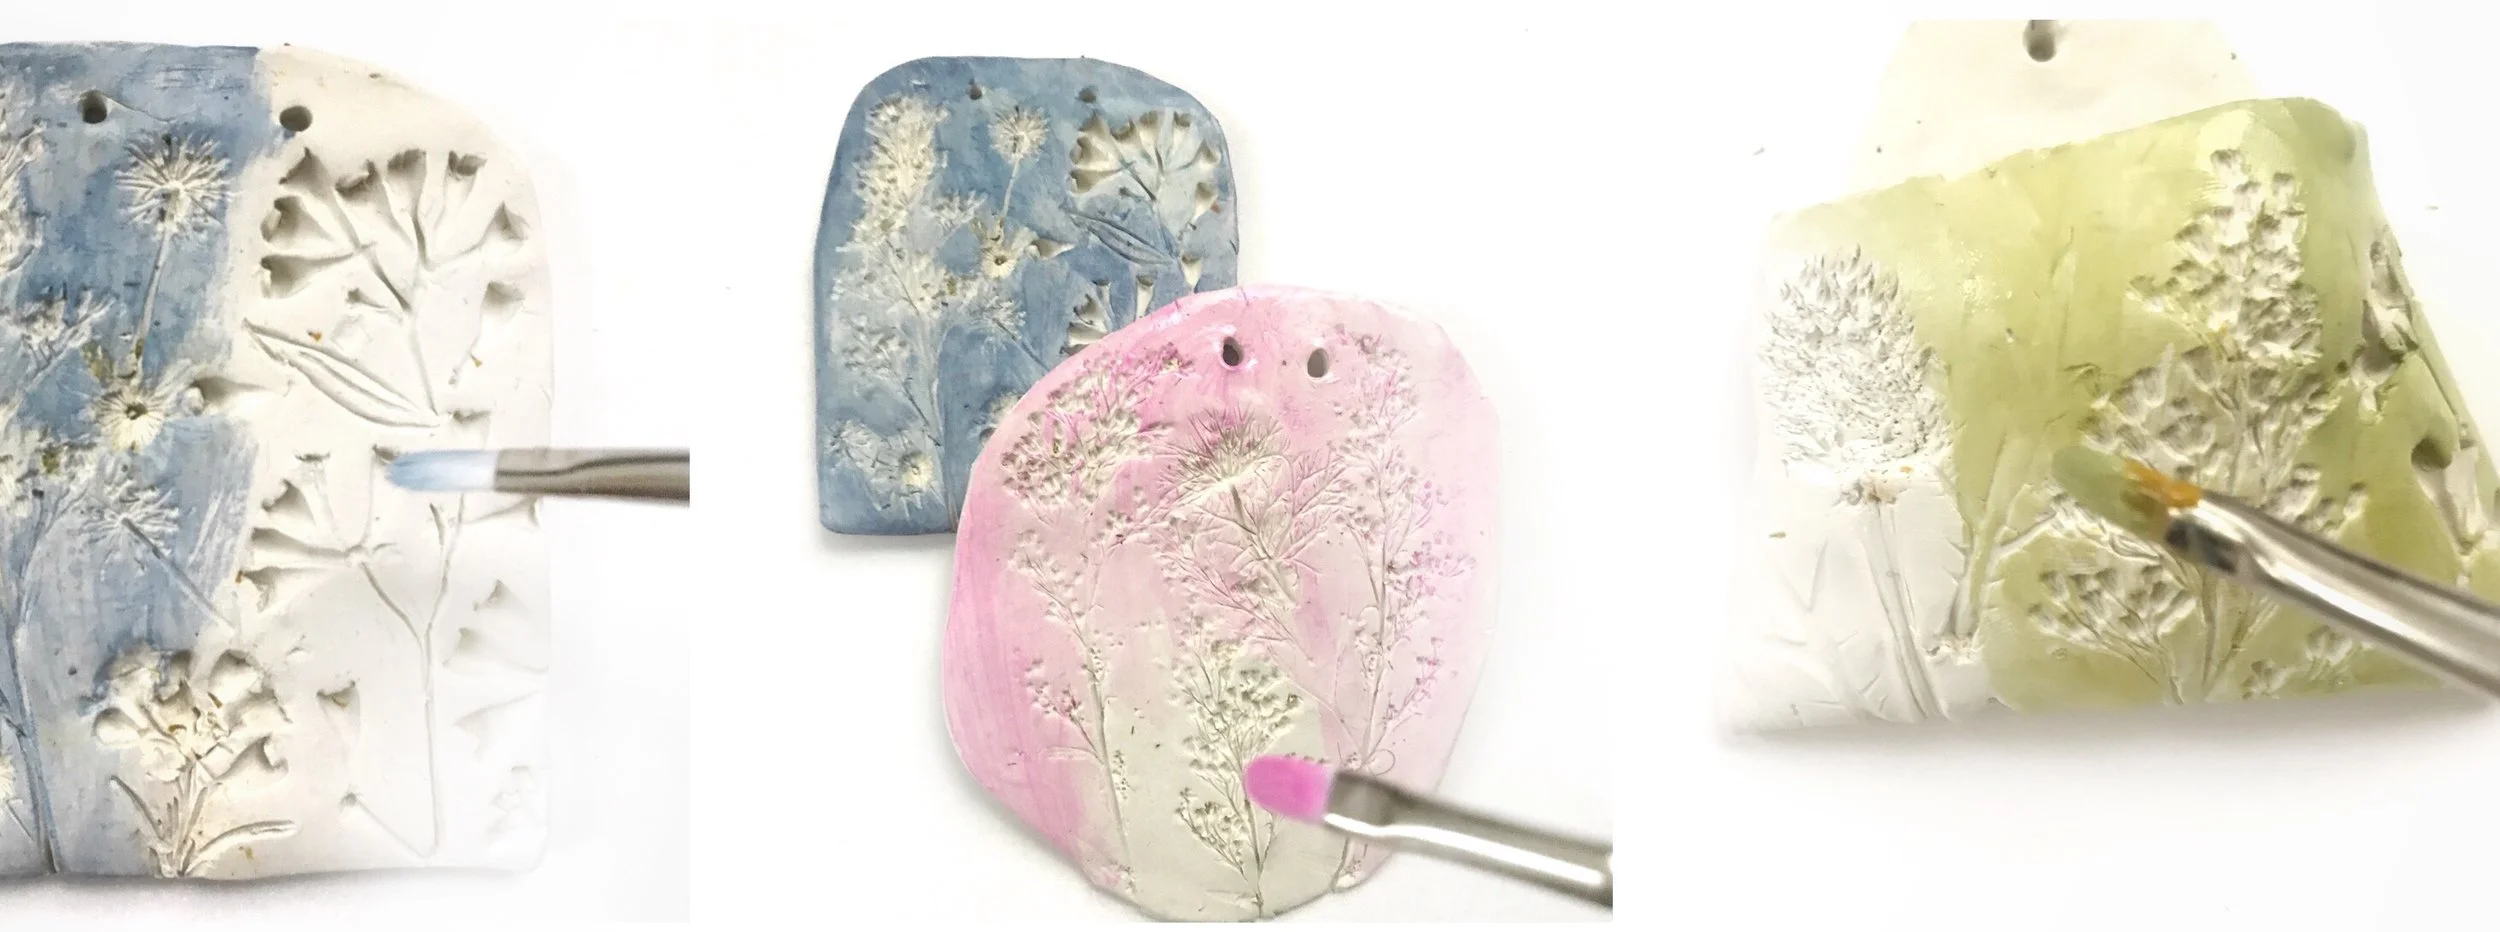
Our little pocket got painted in green first and then we added a light peach overcoat to achieve this sandy earth tone.
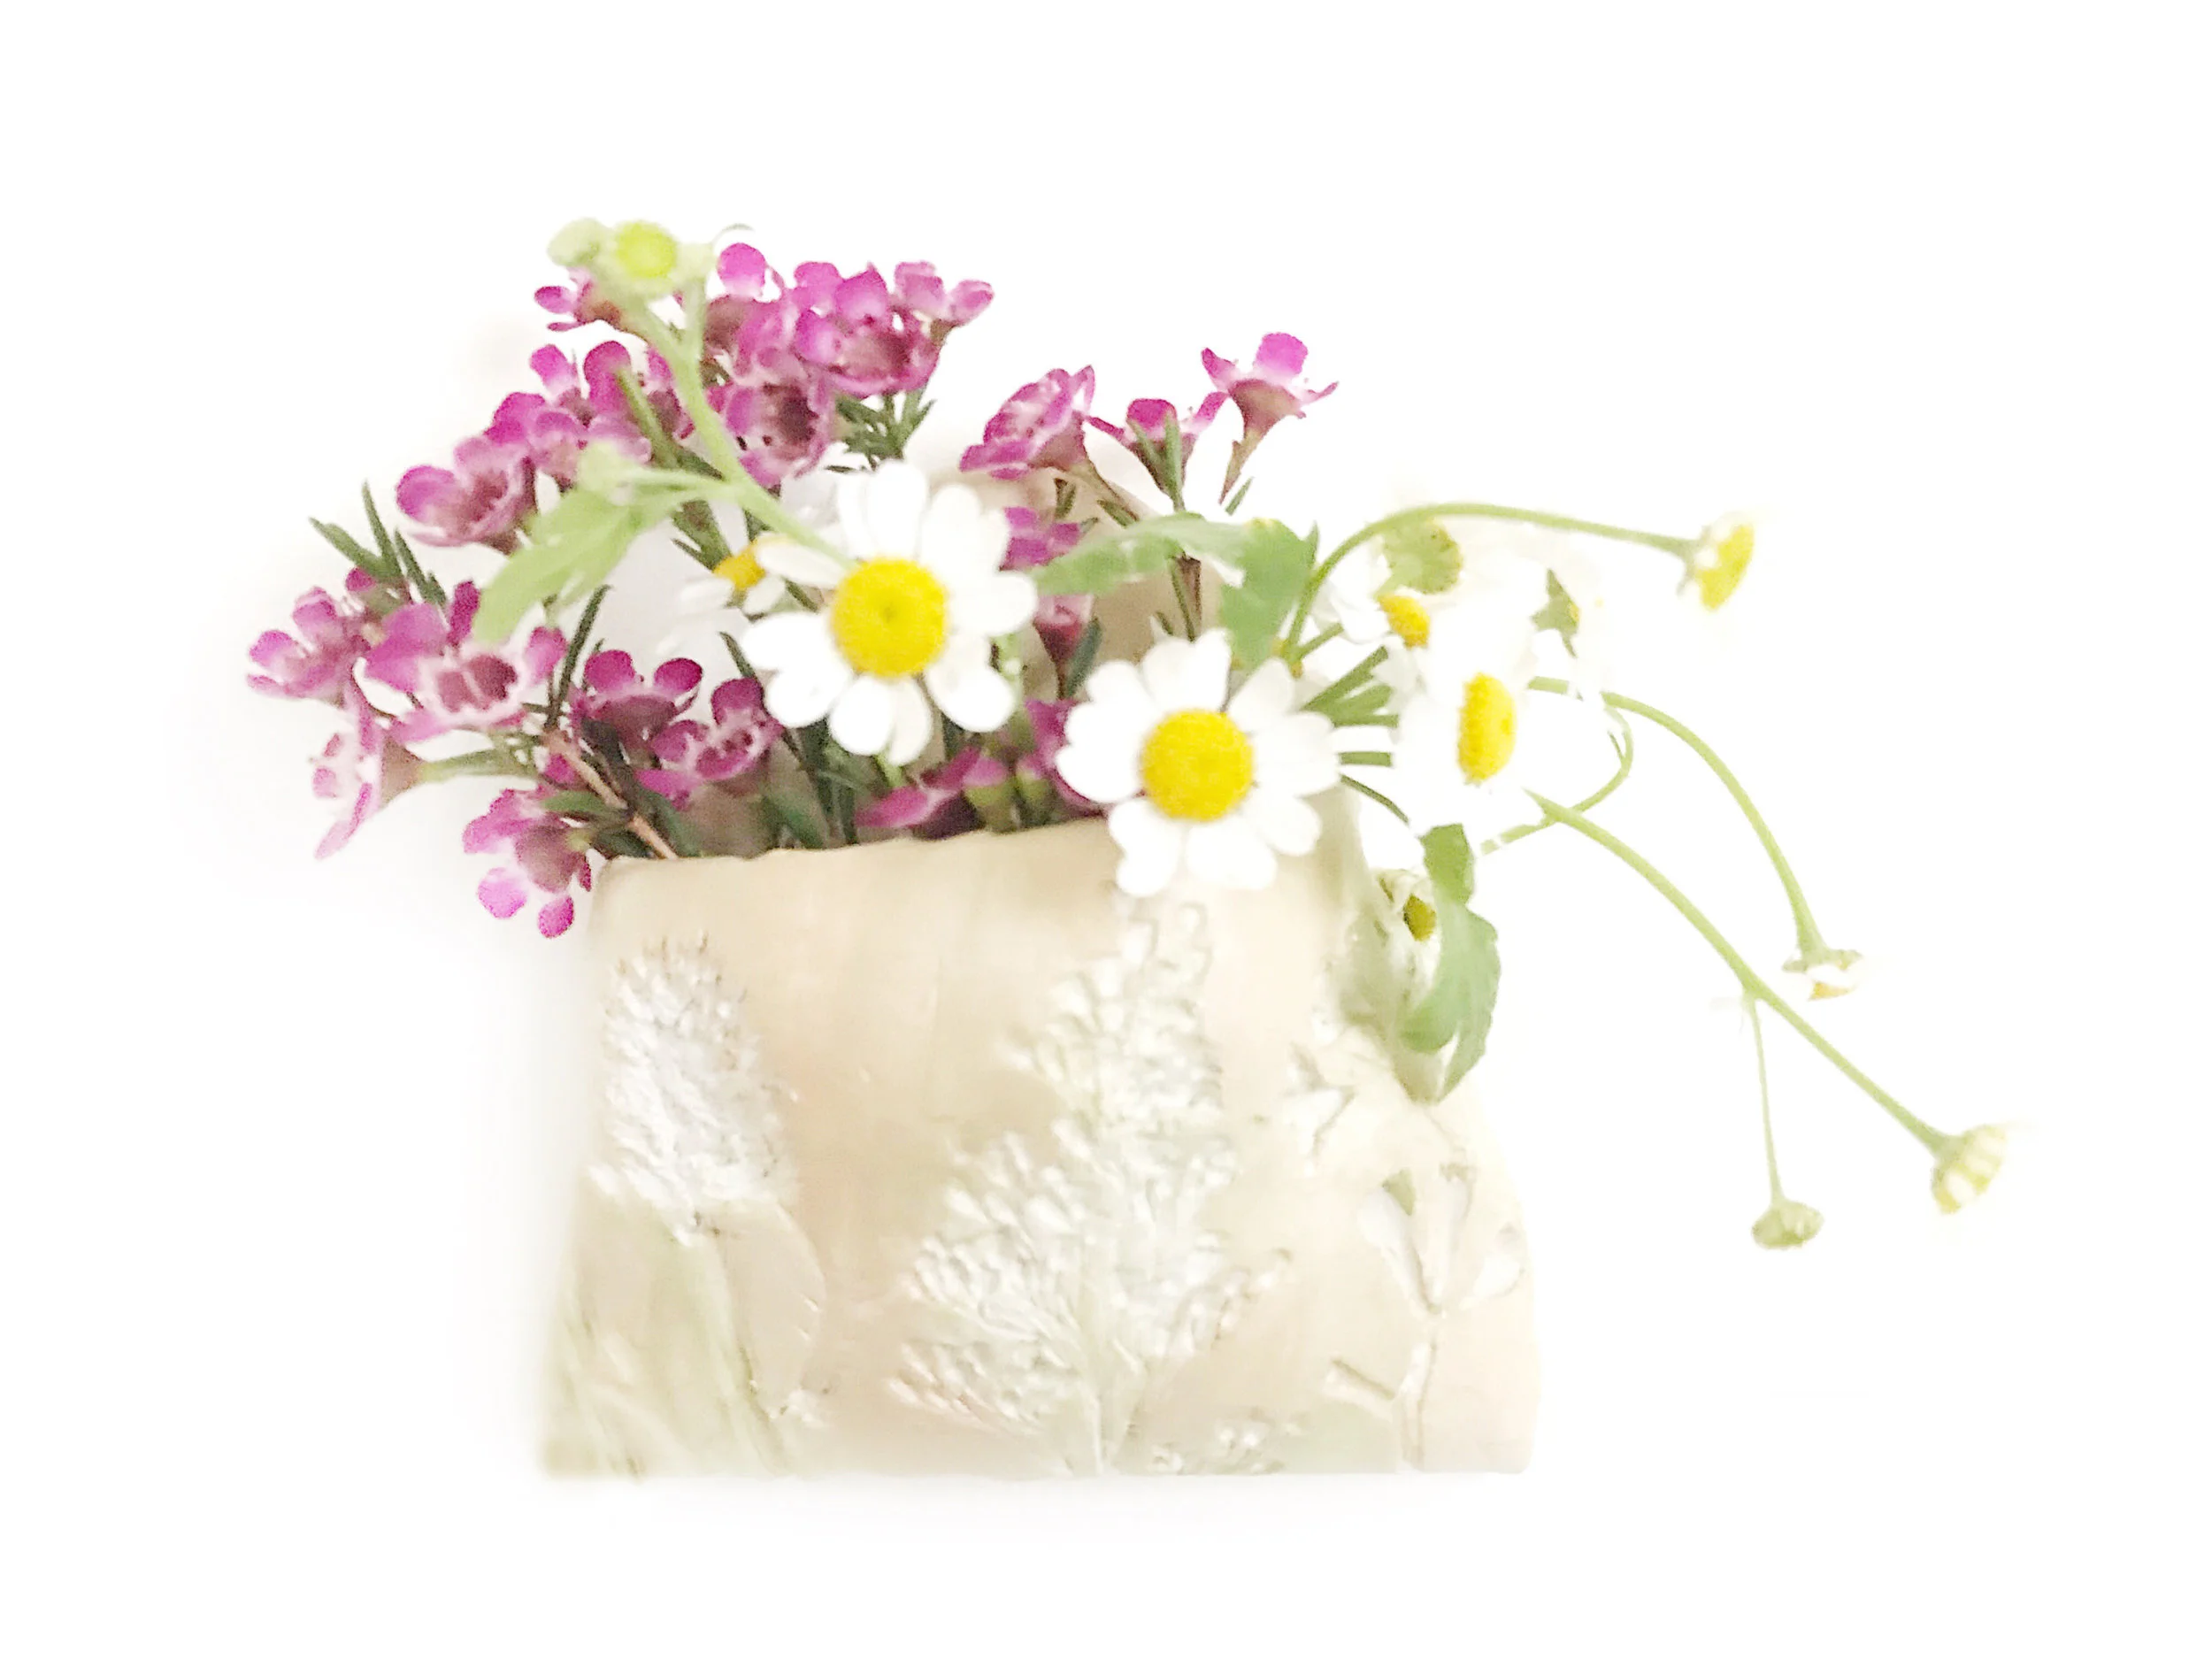
The pocket looks lovely filled with flowers! Wouldn't this make a sweet gift for a special someone?
We wanted to see what would happen if we baked our flowers in the clay!
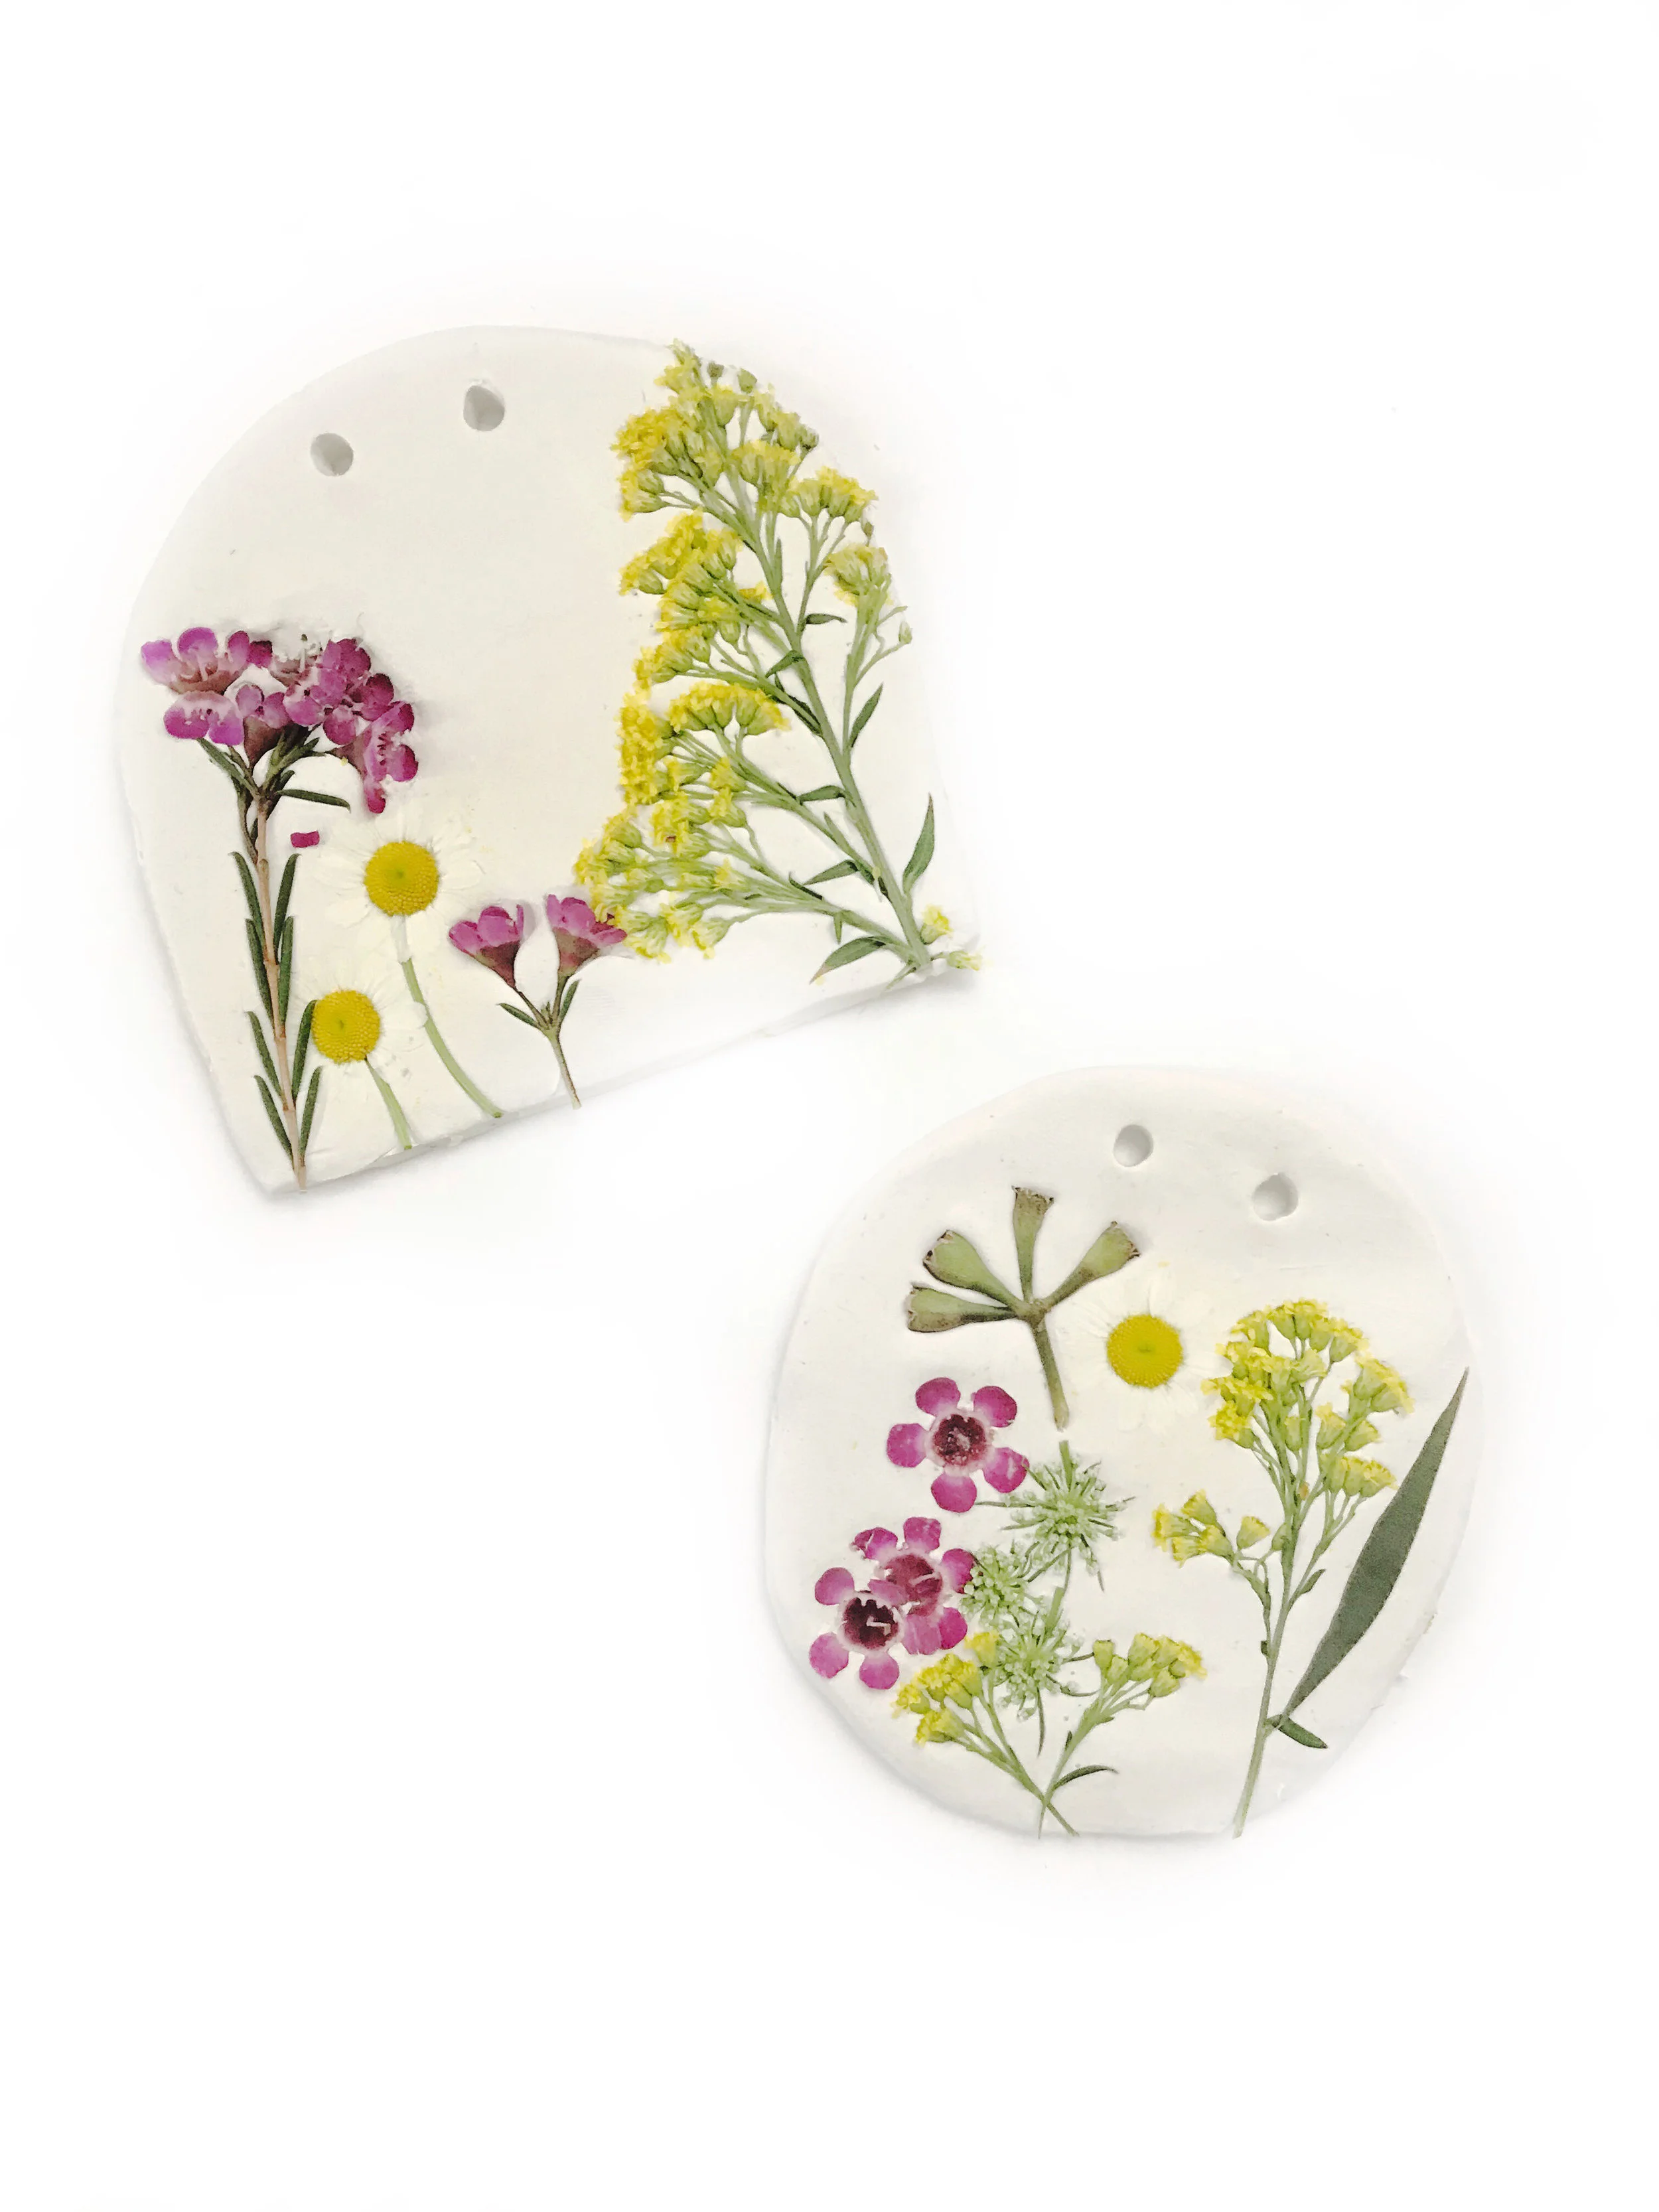
They got a little dark in the oven but they are still pretty. Now they have an antique look!